Installing blinds with metal brackets is the most straightforward task, even easier than running to the grocery store. You will need less than half an hour, and the best part is that the time remains the same even if you have never used a drill before.
This is one of the secrets that homeowners are not aware of. This guide will teach you, through simple steps, how to install blinds with metal brackets that can change your life. If you are exploring new curtain options or browsing the internet to learn about the installation process so you can freshen up your space, walk through the easiest way to get the clean, modern look you want.
With no stress or mess, you can achieve your goals and learn how to hang blinds with metal brackets, get hands-on with properly fitted blinds that can transform your room’s look in seconds.
A Simple Comparison Between Metal Brackets and Plastic Brackets
Before we get to the details and find out how to install blinds with metal brackets, let’s find out why metal is more preferred compared to plastic brackets.
Feature |
Metal Brackets |
Plastic Brackets |
| Durability | Strong, long-lasting | Light, less durable |
| Stability | Very stable | Moderate stability |
| Installation | Slightly more effort | Quick, easy |
| Best For | Roller & roman blinds | Lightweight blinds |
| Lifespan | 5–10 years | 1–3 years |
Simple Tools and Materials Needed to Put Blinds Up
Tools For Installation
Before you learn how to install blinds with metal brackets, you must have all the necessary items with you, so nothing can stop you from enhancing the look of your room. A simple checklist includes:
- Screwdriver and Drill: These tools will help with attaching the brackets.
- Level: This tool ensures that the blind hangs straight.
- Measuring tape (Steel is the best one): Steel measuring tapes help get exact measurements.
- Step ladder: Last but not least, if your windows are high, you can use a ladder for safety.
With all these tools, you can save your time and keep things organized.
Material Needed for Metal Brackets
Metal brackets are the hidden element that holds your blind in place. There are different types for different needs.
- Standard brackets are the ones that can fit all kinds of blinds.
- Center support brackets hold the middle of long blinds.
- Extension brackets are perfect if you want your blind away from the walls.
- Side-mount brackets are good when top mounting is not possible.
When your blinds are heavy, they need strong brackets to avoid damage. To prevent any mishaps, always check the manufacturer’s guide to choose something that matches your blinds. Now, let’s learn how to put up blinds with metal brackets.
Getting Ready To Learn How To Install Blinds Brackets
-
Measure The Window In The Right Way
Measuring your window frame correctly is the key to properly fitting aluminum blinds or wooden blinds. Use the measuring tape to measure the width of your window frame.
For inside mount blinds, you must measure from the inside left edge to the inside right edge. However, if you are doing an outside mount, measure from one side of the window, length from the top edge to the bottom rail.
After you jot down the measurements, double-check your numbers to ensure the dimensions are accurate.
-
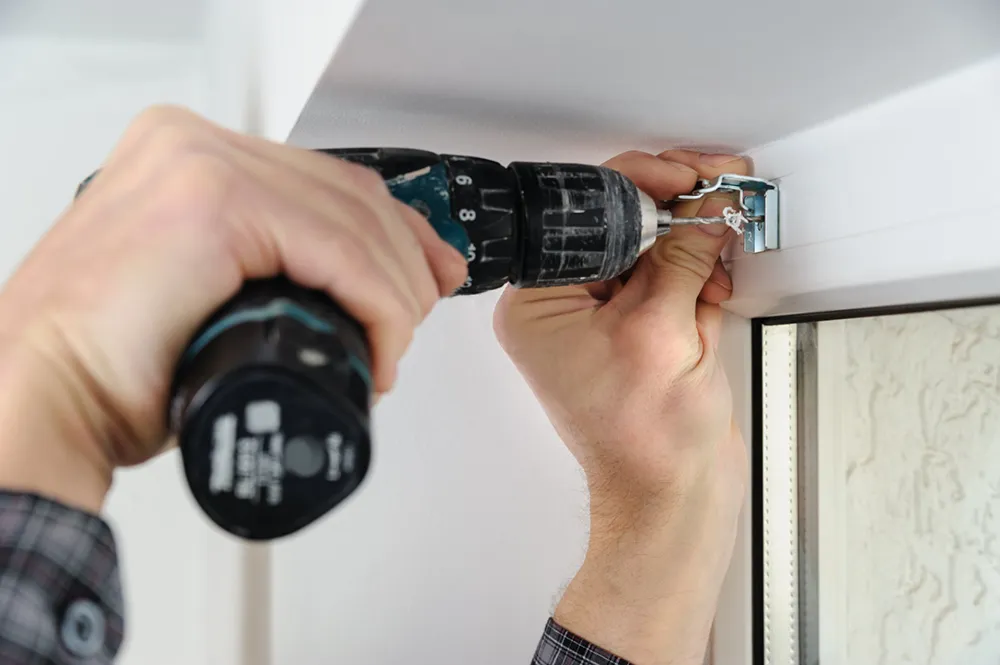
Drill neat and clean holes
Another step of how to install blinds brackets is using the drill machine, drill holes smaller than your screws. Be gentle when you drill each pilot hole. Paying extra attention to this step is essential as it prevents the wood from splitting and keeps the brackets stable.
-
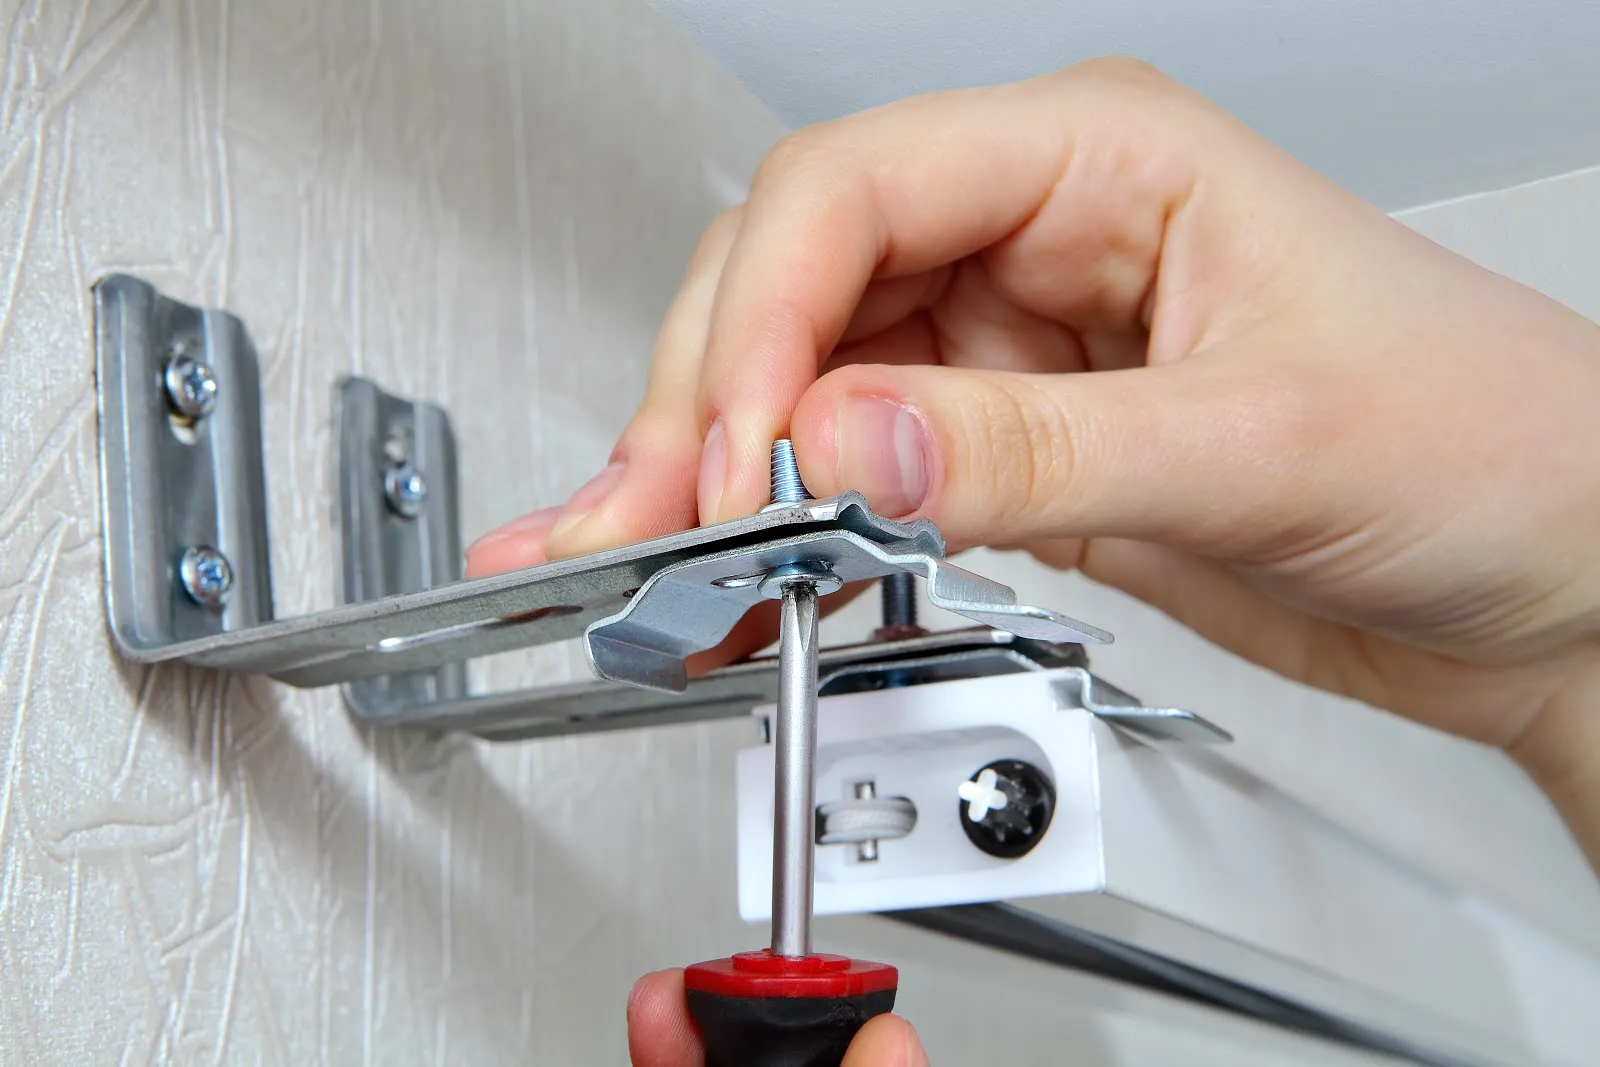
Attach the Metal Brackets Like a Technician
Using the screws provided with the blinds, begin their installation. Ensure that you are tightening it firmly, but don’t over-twist it. When you are learning to install blinds with metal brackets, this is the point at which everything must lock into place. If you feel that the brackets are shaky, remove the screws and drill a deeper pilot hole for a better grip.
-
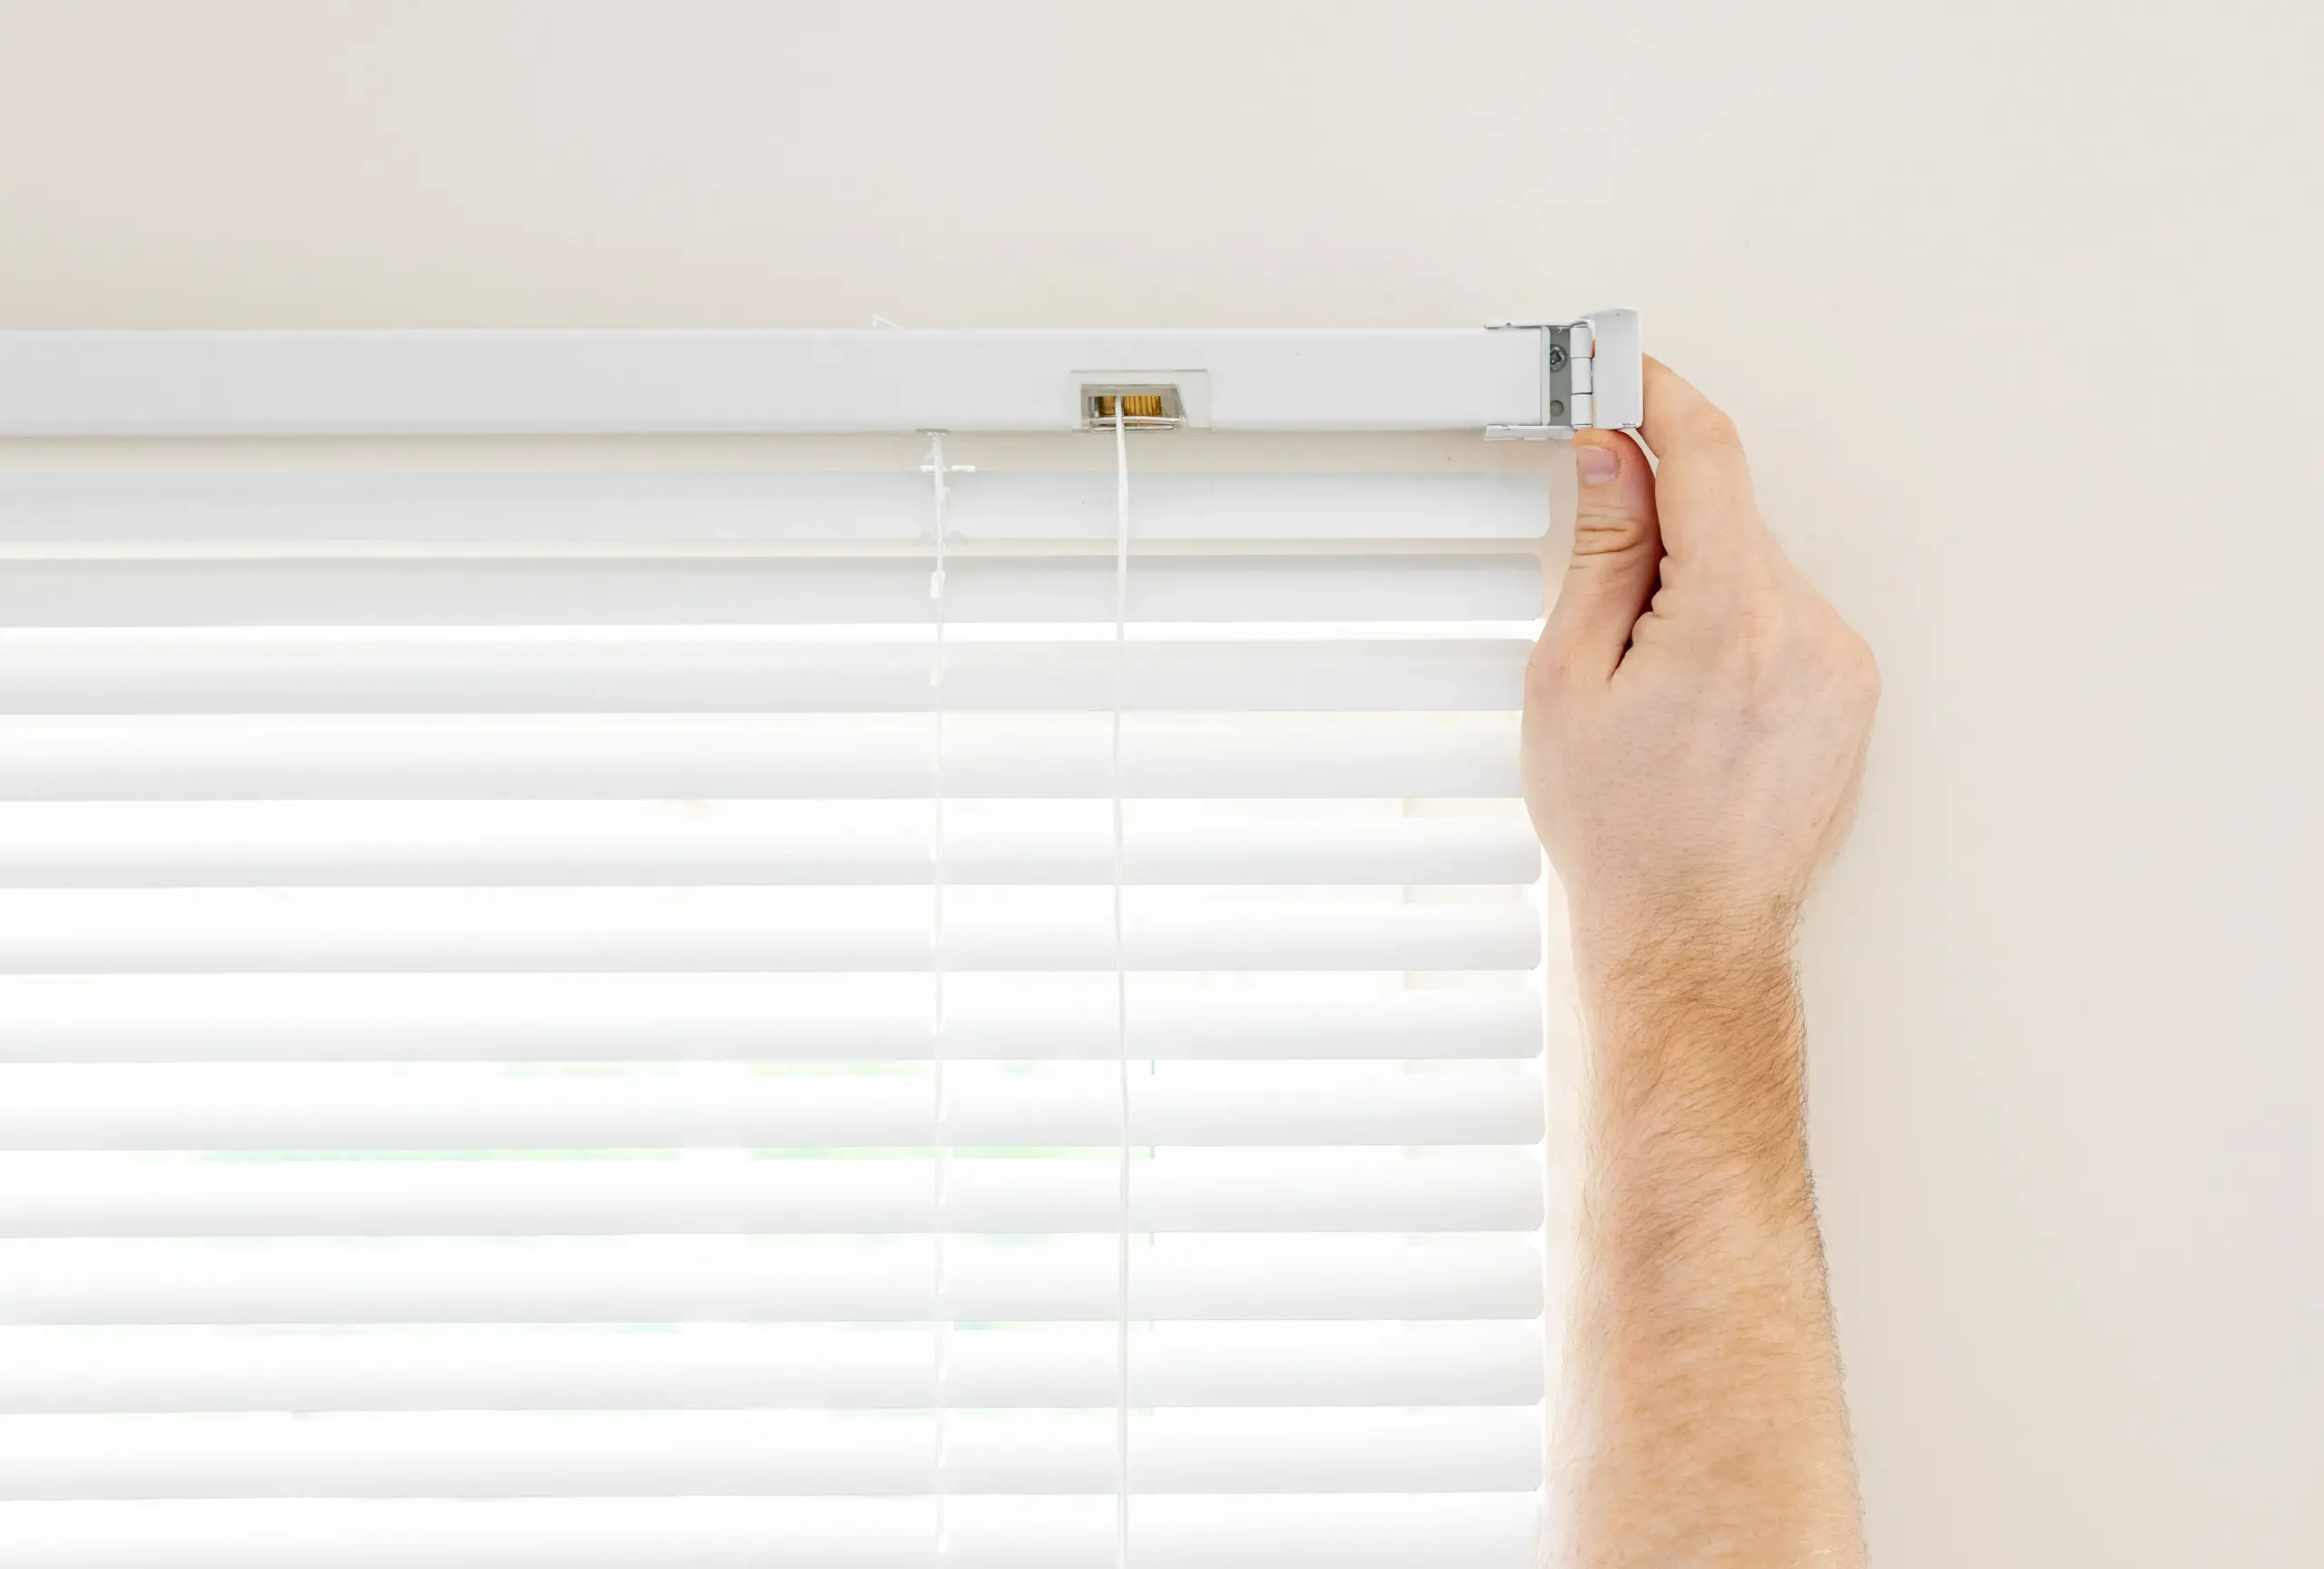
Slot the Blind Into the Brackets Smoothly
Once your bracket is in place, slide the headrail of your blinds into it. No matter if you have chosen Roller blinds or Roman Blinds, most of the blinds click into place with a gentle push.
Some modern ones require a front clip to secure the rail. This can be clarified by reading the instruction sheet.
Believe it or not, but this is the easiest part of how to hang blinds with metal brackets because the mechanism is designed to be foolproof.
-
Test the Motion and Adjust for Straightness
One of the final steps before you are ready and learned how to put up blinds with metal brackets and use your installed blinds. Pull the cord or chain and test the up-and-down movement.
The roller blinds will roll smoothly without wobbling, while the roman blinds must fold neatly. If your blind is tilting to one side, simply loosen that bracket and adjust it by raising or lowering it by a few millimeters.
Minor fixes will make a big difference in achieving a showroom-worthy installed blind.
Final Words: Your Room Looks Neat with Perfectly Installed Blinds
You have learned how to install blinds with metal brackets and enhance the look of your room. There is no room left for confusion or for the way to use complex tools. From the first measurement to the final chain pull, the steps explained make the process simple, smooth, and repeatable.
Whether you are installing roller blinds or roman blinds, or exploring other options, your window needs the polished look that it deserves. Completing the installation process on your own will not only save you money but also give you the satisfaction of transforming your home with your own hands. A perfectly fitted blind is more than a window covering. It is a moment of pride every time the sunlight enters the place, filtered out.