Author: Aura Curtains

  • Block Light From The Top And Sides Of Curtains

    Block Light From The Top And Sides Of Curtains

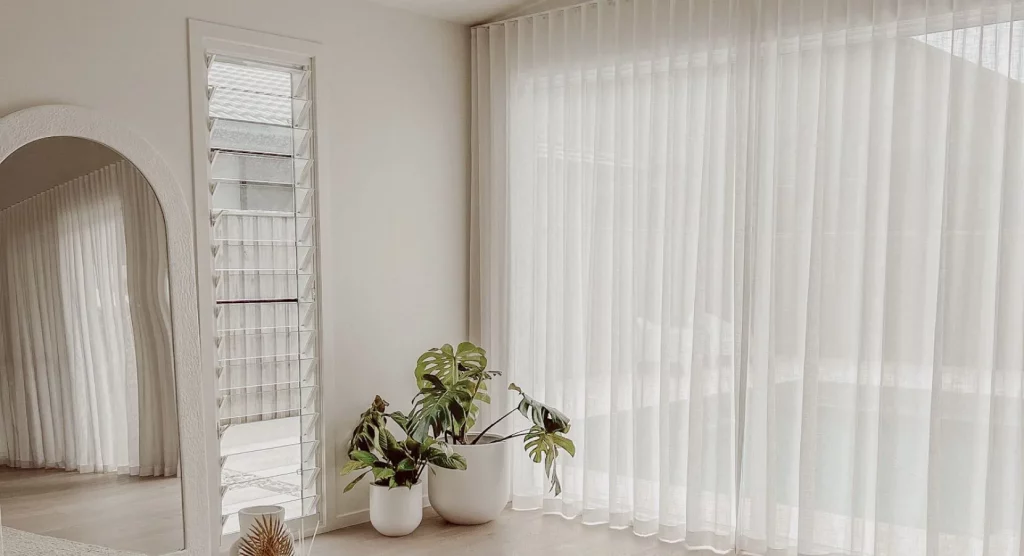
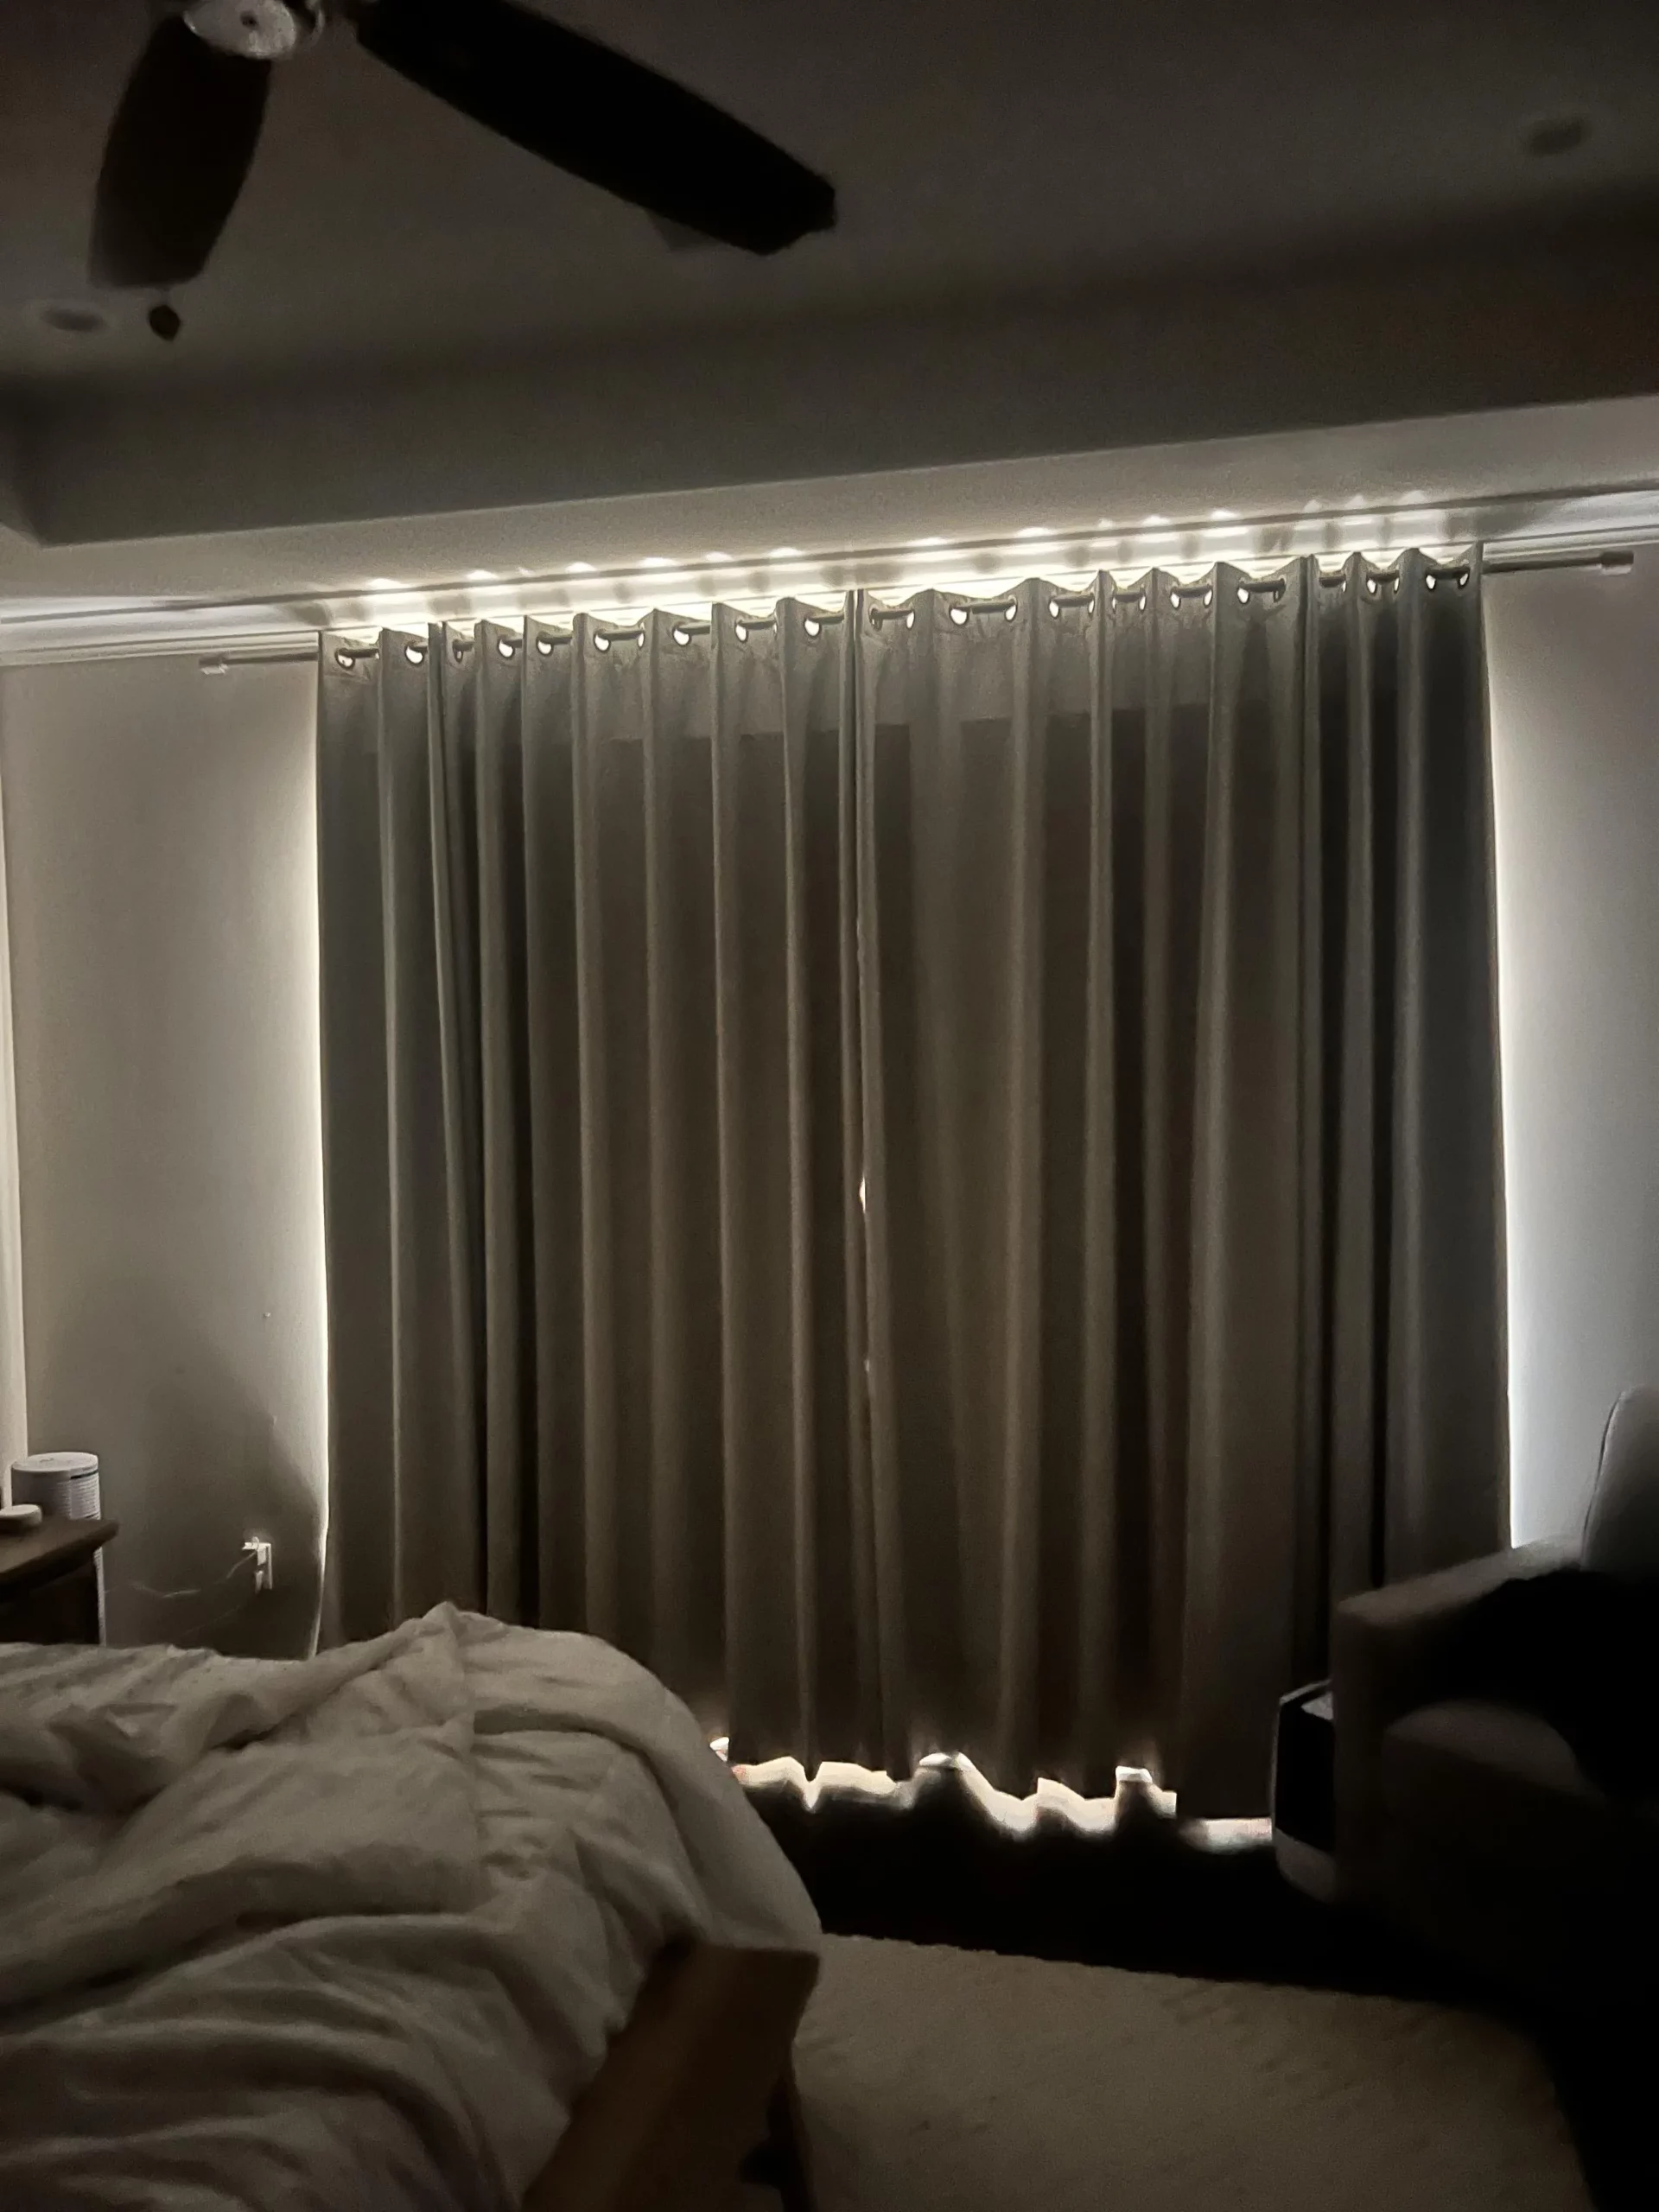
    Besides aesthetical appeal, a curtain’s main objective is its functionality. And one of the major functionalities that we should expect from curtains is block light from the top and sides of curtains. This feature is crucial if you want to have an uninterrupted interior for better sleep even in the daytime. But what if you have light piercing in through the top of the curtains or the sides? Fear not, for we are here to make light of this situation. In this blog, we are going to tell you about the eight most efficient techniques or tips (whatever you like) that will help you block light from the top and sides of curtains. We believe these shortlisted methods are proven and tested. Let us have a look at all of them one by one and make your interior completely comfortable for you to sleep easily.

    How to Block Light from Top of Curtains
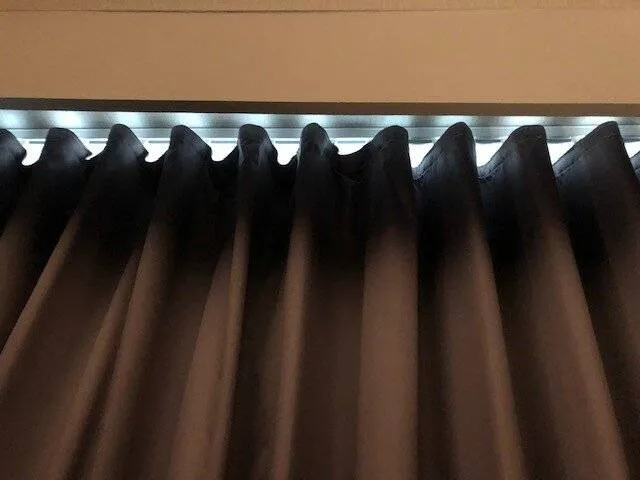
    First off, let’s discuss the tips and techniques that will help you block light from top of curtains. In order to make the room completely dark, we have to eliminate every single light leakage efficiently.

    1. Try Using Curtain Valances
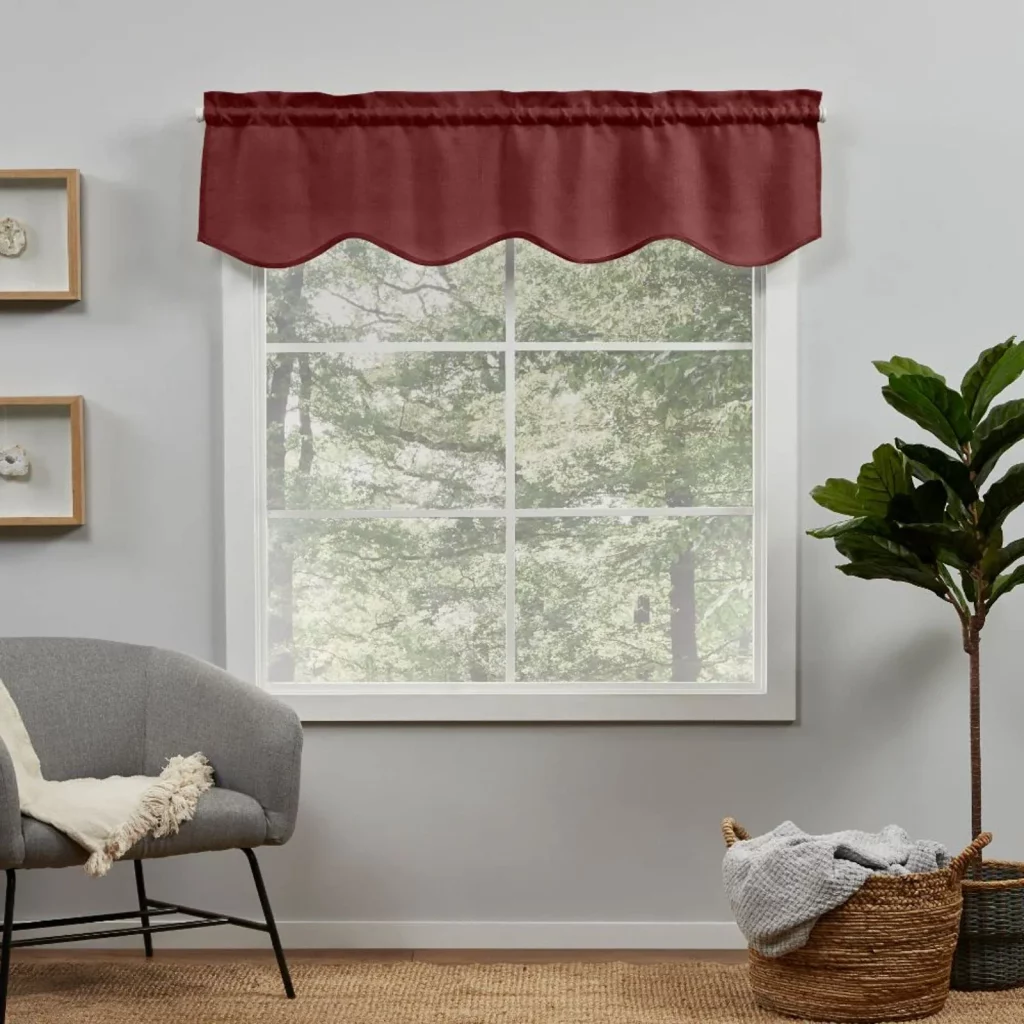
    So, how to stop light from coming through top of curtains? Let��s start off by using a valance. It’s just like a window covering accessory or window scarf that is adjusted on the top of the window. These valances are made from fabrics and cover the top of your curtains perfectly so that they block light from top of curtains efficiently. Besides being this practical, the valances also add to the aesthetical value of your interiors. They cover the space between the curtain and curtain rods. So using these window covering accessories you can easily block any seepage of light from the top of your windows.

    2. Try Using Cornices
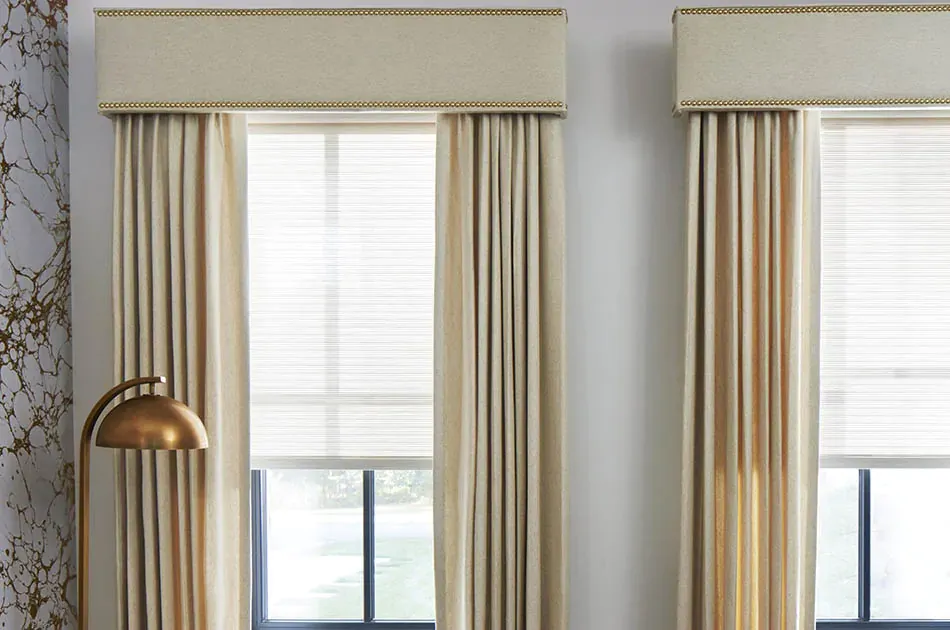
    Now, if you want to block light from top of curtains, have you tried using cornices? It is a wooden or foam board that you can use on the top of your window curtains to prevent coming light. This top of curtain light blocker is a decorative accessory that serves as a functional element for your interiors as well. You can get it matched to the interior decor statement and color scheme of your place as well. These boards are installed above the curtain roads. Their design is sealed against the walls and they act as a potential seal to block the coming light outside the window. These boards proficiently prevent the light from coming into the room that may seep from the space between the curtain rods and the walls. In addition to blocking light, these boards also add a touch of elegance to your interiors.

    3. Try Layering With Shades or Blinds
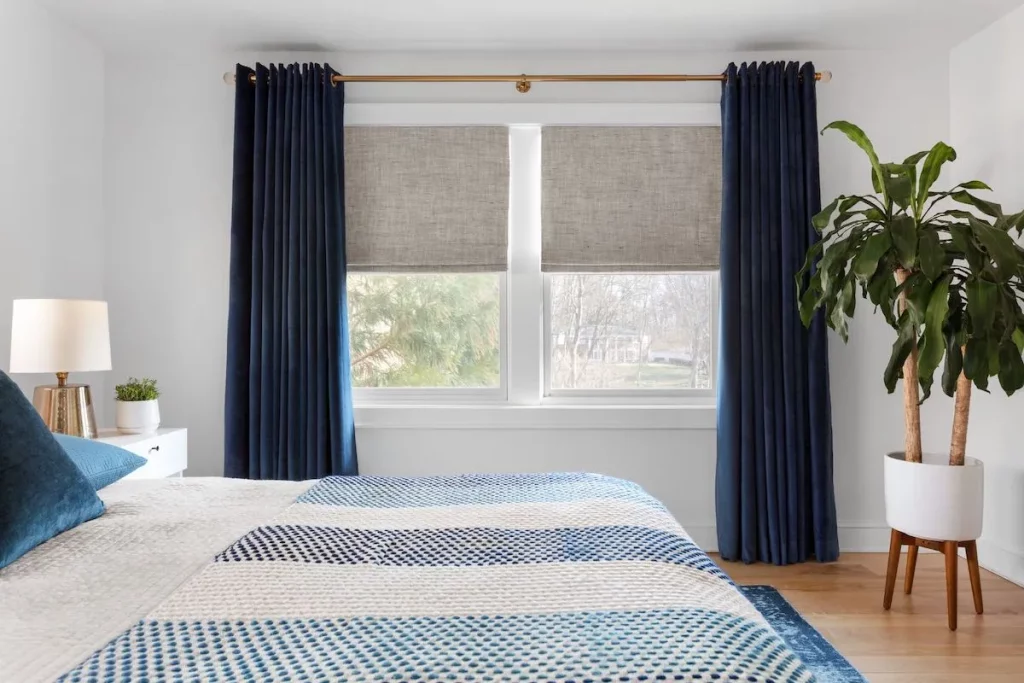
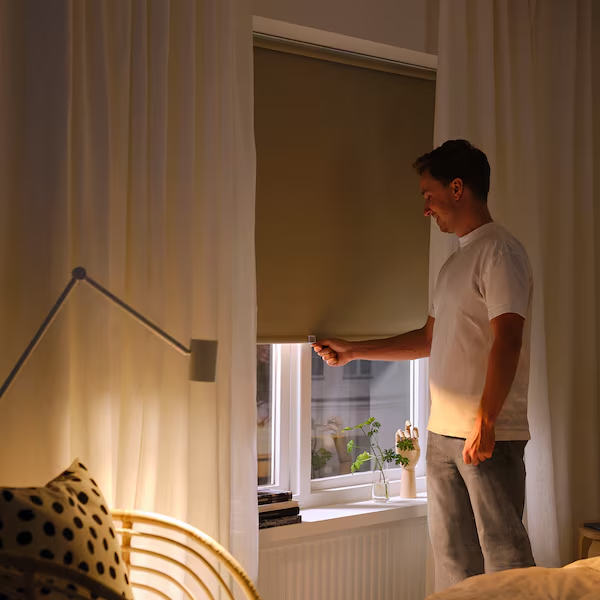
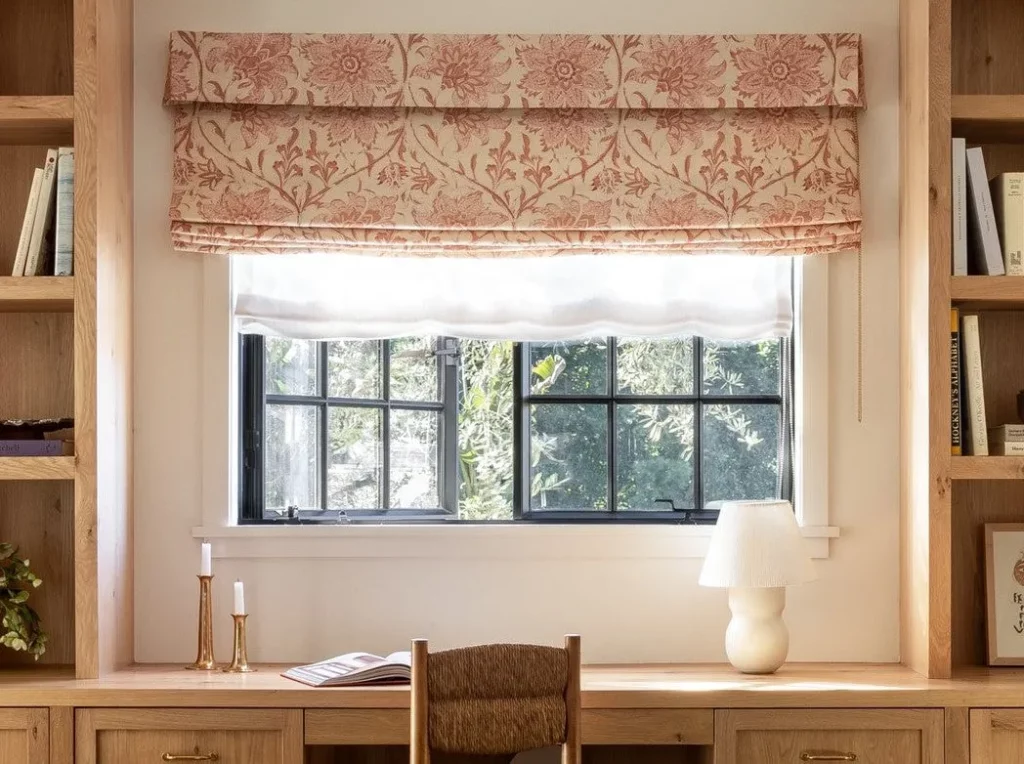
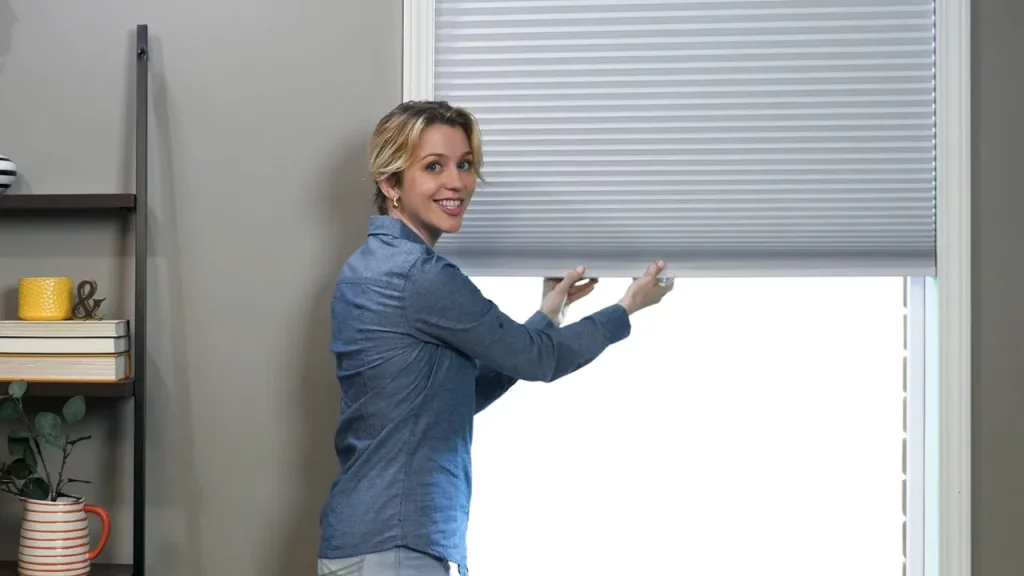
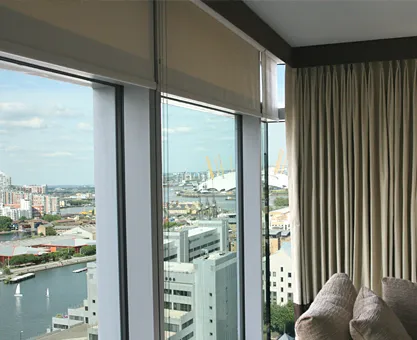
    Another elegant and effective method via how to block light from top of curtains is to pair your curtains with blinds or shades. This technique is quite efficient and aims to give your space a pitch-black darkness. You can choose the right type of shades and blinds as these are available in a wide variety. We recommend that you should choose cellular shade or honeycomb blinds to make a perfect blackout environment in your place. Likewise, Roman shades or blackout blinds can also be used to block almost all the light rays coming from outside the window. So layering curtains with window blinds is a good tip to follow.

    4. Try Wrapping Curtains Around The Rod
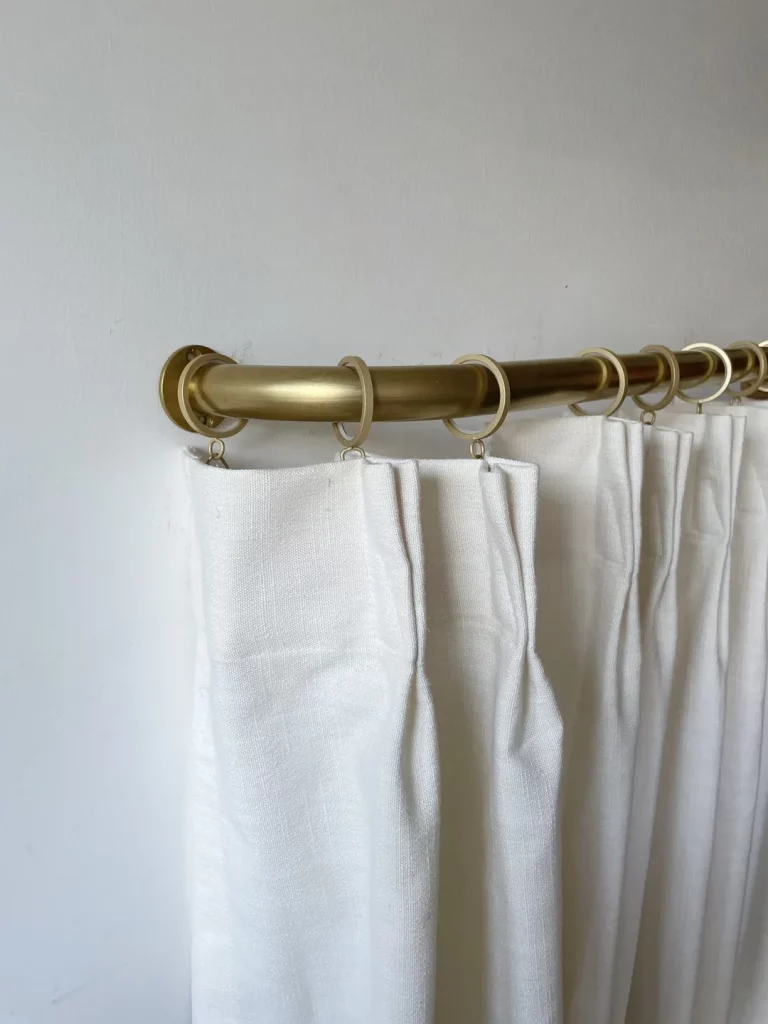
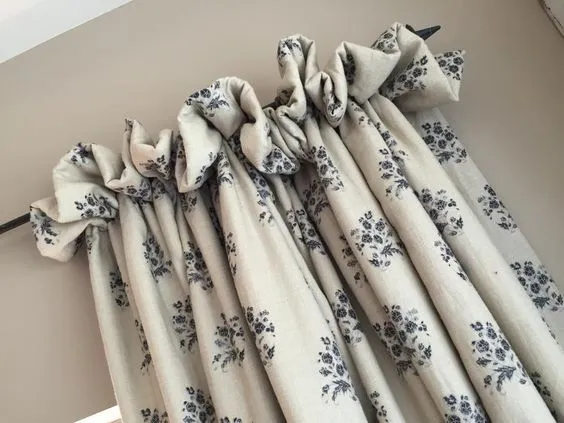
    Sometimes there may be tiny gaps or spaces between the curtain rods and walls. So you can easily cover up these minor gaps using a curtain. How? You can fold and wrap the curtains on the curtain rods at your windows. Such an approach will fill the gaps and avoid any leakage from the top of your window. This is an effective way to manage the amount of light coming from the top gaps of the windows. With this method, you can add numerous benefits to your place. This approach will make your place more comfortable and cozy. So that you can have an optimized surroundings for a better sleeping schedule.

    How to Block Light from Side of Curtains?
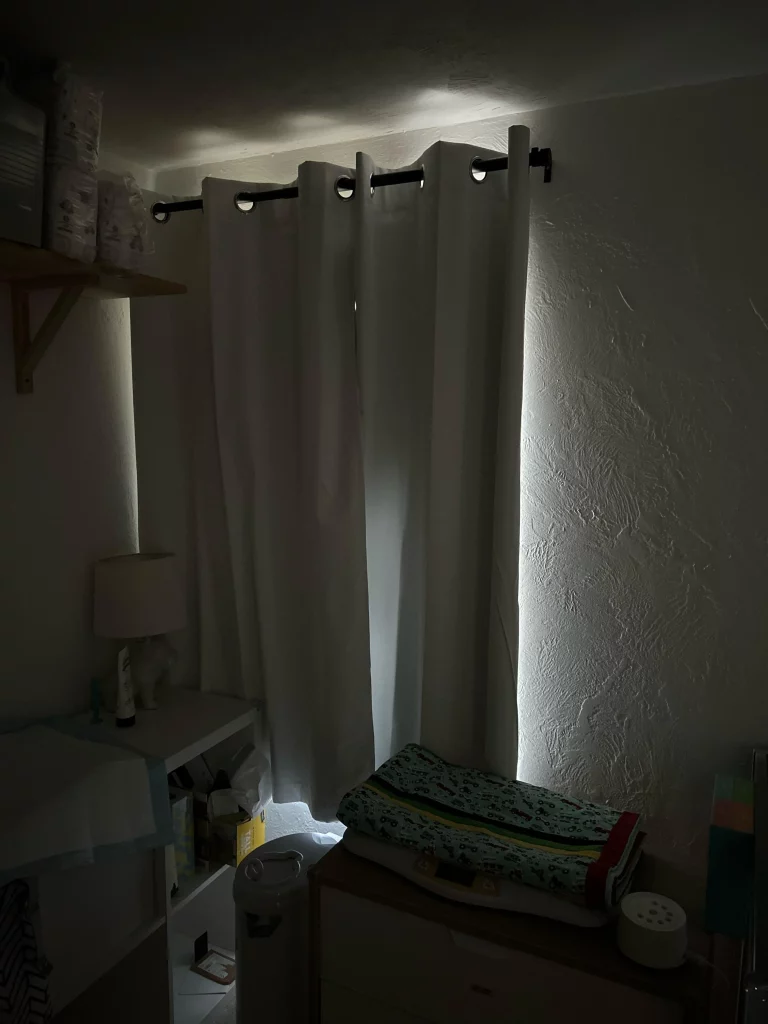
    This blog will help you to block light from the top and sides of curtains. Now that we’re done with tips and tricks that can address your concerns about how to stop light from coming through top of curtains, we can now start talking about how to block light from side of curtains. When the top of our curtains is covered and you see no light leakage then the next is to check whether there is any light leakage from the sides or not. If you can also see some light leaking from the sides of your curtains, then you can follow the following tricks to avoid that leakage completely.

    1. Try Using Magnetic Tapes
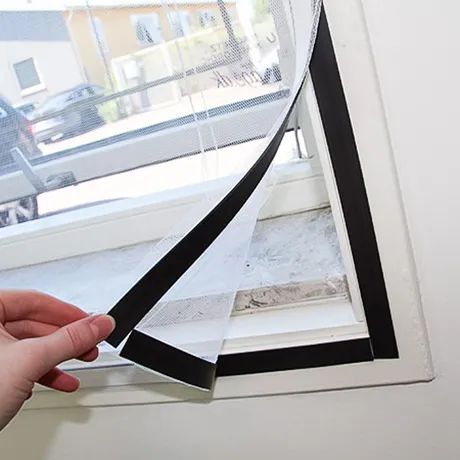
    To block light from side of blinds, try applying magnetic tape to block the light coming from the sides of your curtains as this is considered an effective method in. This tape is very sturdy and is capable of holding the curtain fabric against the window frame. The magnetic tapes are available in a wide range of varieties and they can hold almost all types of curtain fabrics perfectly. The main purpose of using this tape is that it is easy to use and install. For people who are renters and are looking for a temporary solution on how to block light from side of curtains, this magnetic tape is no less than a blessing. It can withstand the test of time and can provide you with a long-lasting serviceability approach as well.

    2. Getting Right Sized Curtains Helps
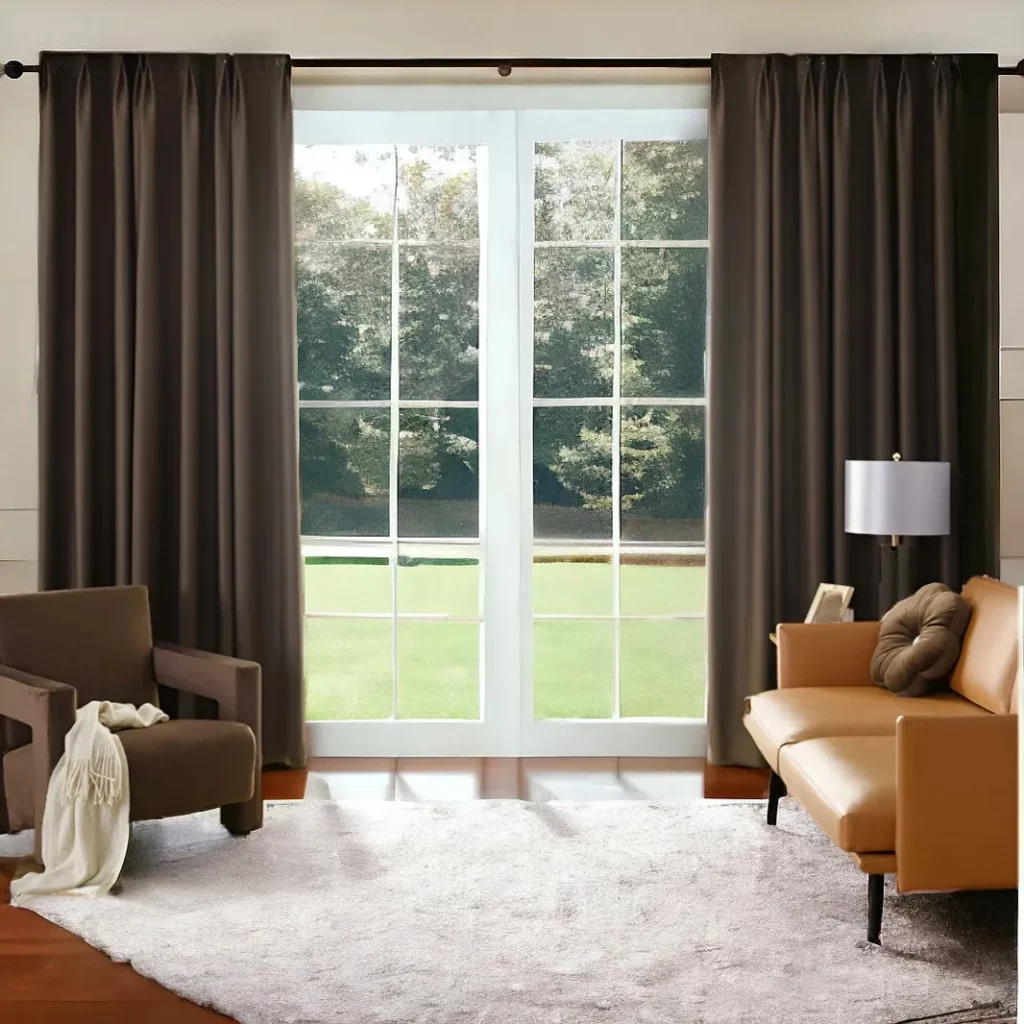
    Not getting the right-sized window curtains is one of the main reasons of leaking lights from the sides of the curtains. Measuring the windowsill perfectly and adding an extra three inches to the measurements helps you a lot in perfectly covering the window. Such a practice will block light from side of blinds or windows. Try to go for curtains that are of the right size and as a bonus, you should choose those curtains that come up with light-blocking abilities. If you choose the right size of window curtains for your windowsill then your curtains will become a potential barrier against the light coming from the outside. They will then offer you a robust and fully blackout environment and address the how to block light from side of curtains concern.

    3. Try Installing Curtains Near the Wall
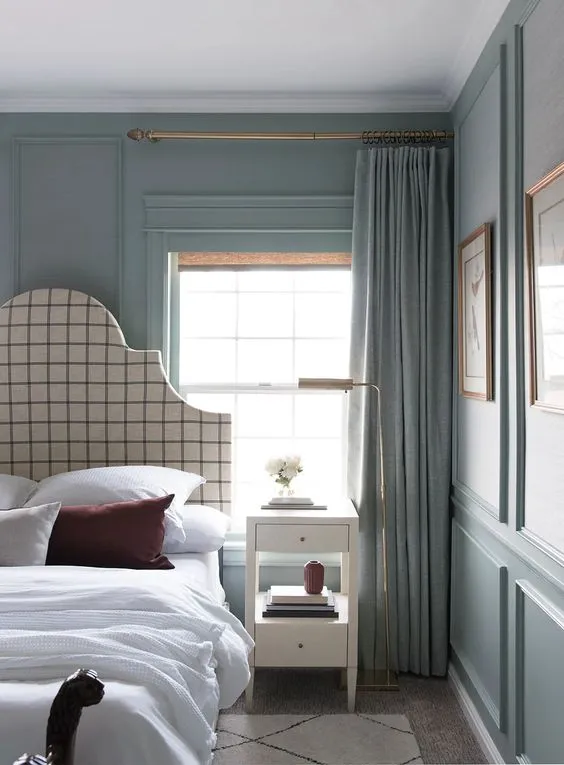
    Another factor that plays an important role in the light leakage from the sides of your windows is the improper installation of your curtains. If the curtains are installed far away from the wall then a lot of space would be there among the wall and the curtains. This space will allow the light to enter from the sides, where you can’t block light from side of blinds. In order to prevent this problem, you should adjust the space between the curtains and the walls. Adjust the curtain rod and bring your curtains closer to the wall. Bring the curtains as close as possible to the wall. Such an efficient approach will block all the light coming from the sides of the curtain and make your room perfect for sleeping.

    4. Try Attaching the Curtains With Sticky Strips
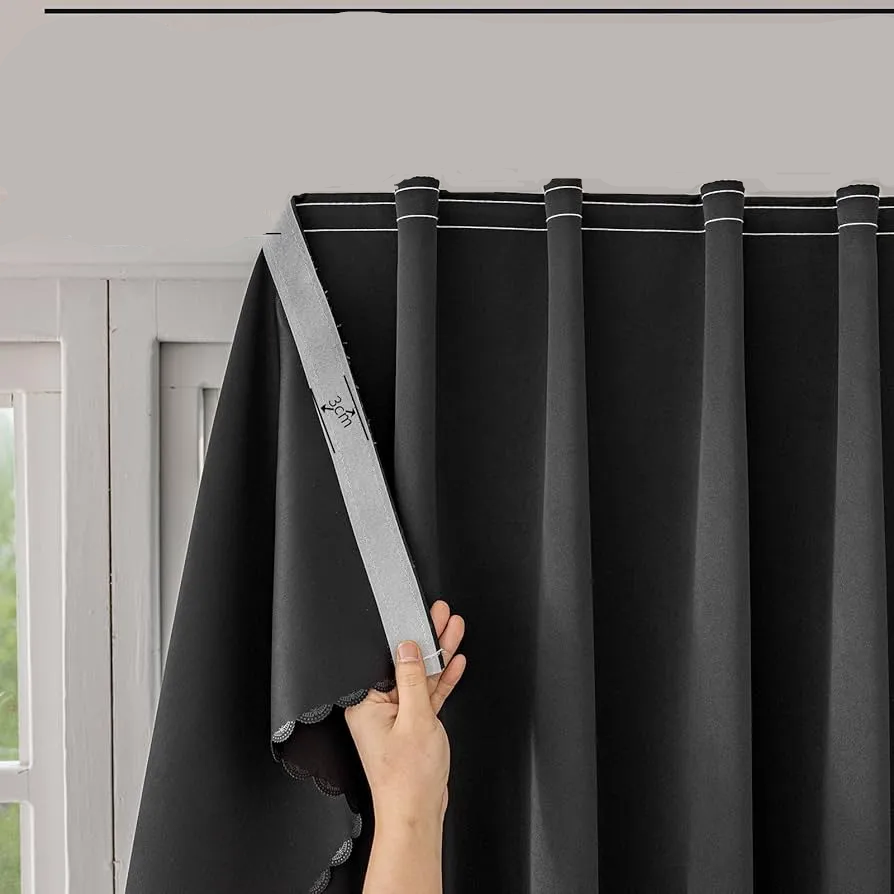
    Another method on how to block light from side of curtains is to attach them to the walls using sticky strips. These strips perfectly hold the curtains to the walls and avoid any slippage as well. You can also use double tape instead of these sticky back strips. Using this technique to block light from side of blinds is very cost-effective and easy to execute. It is also a temporary yet effective solution to cope with this problem in your interiors. You can get these strips from any curtain shop or from a hardware store as well.

    Tryn’na Sum Up

    We hope that after going through this blog you might have discovered ways to block light from the top and sides of curtains. These methods can make your home cozy and private. With cool options like valances, cornices and wrap-around rods, pick what suits your style. It’s like giving your windows a superpower to create the perfect mood in your space. So, whether you love something fancy or straightforward, these techniques make sure your curtains not only look good but also keep your room dark and comfy, just the way you want it by simply knowing how to stop light from coming through  top of curtains.
  • A Detailed Overview of Curtain Trends in 2026

    A Detailed Overview of Curtain Trends in 2026

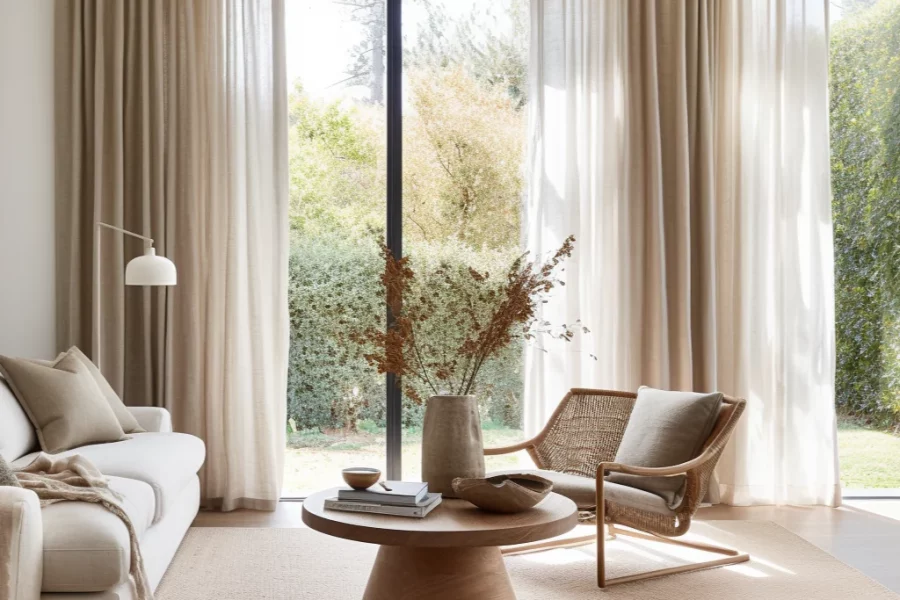
    In 2026, the home style is said to be transformed altogether. Curtain trends in 2026 become an integral aspect of everything including technology, style, and comfort. Window treatments have played a crucial role in shaping the ambiance of your home. However, predicting the different curtain styles may appear overwhelming while shaping the ambiance of your space. 

    This is why, this blog will help you in this regard. Here we will discover the curtain styles that will cover 2026. Whether you are curious about what is to come next, or planning a renovation, this blog will give you the idea you need for window treatments and curtain ideas. 

    Are Curtains Out Of Style – A ThrowBack

    Trendy Modern Curtain Designs For Living Room:

    Before diving into the future, first appreciate how far curtain styles have progressed over the years. Particularly in the past few decades, window treatments have gone through a significant transformation. 

    In the middle of the 20th Century, heavy ornate drapes were accompanied often by tiebacks and valances. These fabulous window treatments were used to showcase status and wealth because of their functionality. A shift towards minimalism and simplicity began while moving into the early 21st and late 20th centuries. 

    More versatile and lighter curtain styles became the norm as the desire for more natural light and open-plan living became the norm. Thus, the popularity of simpler hanging systems, sheer fabrics, and neutral colors became popular increasingly. But aesthetics was not part of this evolutionary phase. It also indicated the need for functional living spaces and growing energy efficiency awareness. Today, with technology and style at the crossroads, sustainability and smart home integration concerns shape our window treatment choices. 

    Are Curtains In Style?

    As an industry, the curtain market is ever-evolving and dynamic. Consumer preferences and trends have shifted alongside broader changes in home décor and interior design. In 2026, many latest curtain trends emerge reflecting the desires and tastes of modern consumers. 

    1. Transforming Space with Colors:

    Bright and bold colors are an ideal choice for curtain trends in 2026. These play an important role in transforming the space. For making a bold entrance, infuse spaces with depth and opulence of jewel tones. Think about the allure of ruby reds, emerald greens, and sapphire blues, adorning your windows. These thus create a luxurious and vibrant atmosphere. 

    Besides the above-mentioned striking tones, the top shades include various halftones and shades of green. The versatile approach of green ensures it is a favorite among consumers, seamlessly fitting into a variety of interior styles. 

    Other versatile and stylish curtain colors that are popular in public include dark blue, beige, milky, brown, chocolate, purple, and wet asphalt. For any space, these colors add elegance and sophisticated touch.

    1. Fresh Touches and Timeless Appeal

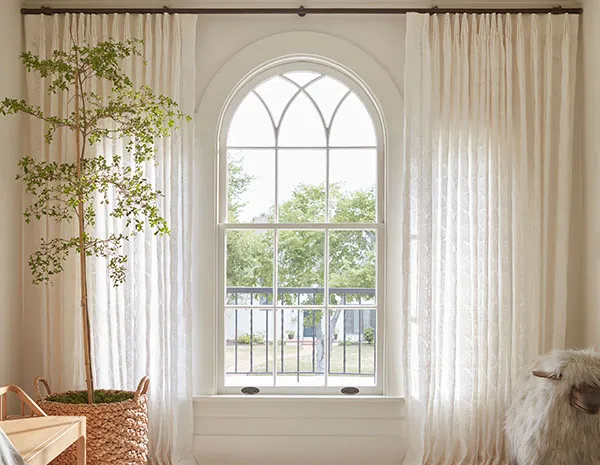
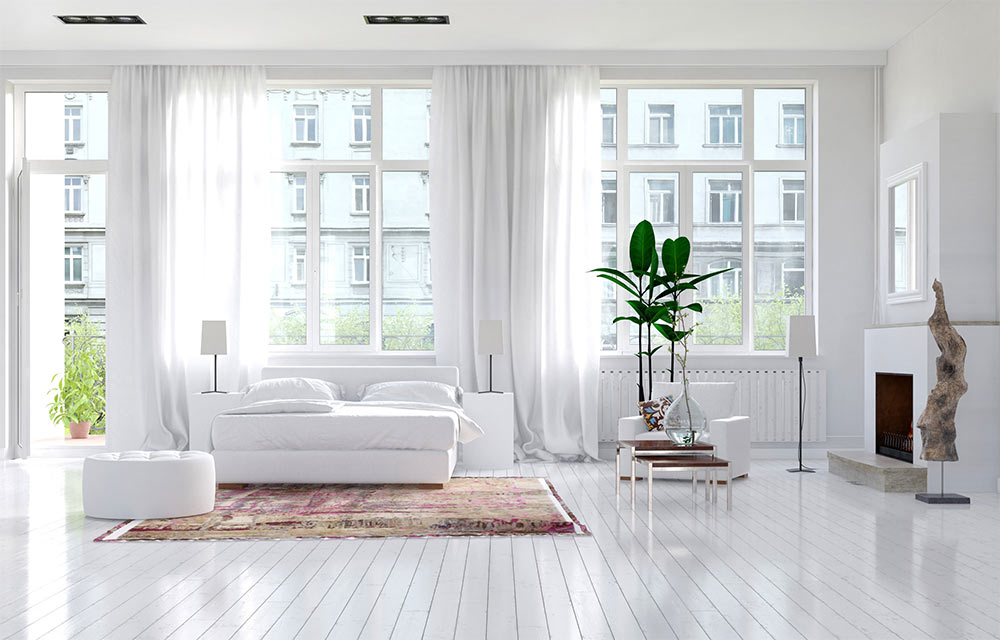
    A few classic trends stay timeless, despite the rise of bold colors. Consumers see white curtains with minimalist aesthetics as their popular choice. The white curtains are known for their versatility and simplicity, thus fitting into several interior styles, including rustic farmhouses and modern minimalist. 

    But one should also remember that beiges and grays are considered overused naturals. These no longer have the favor they previously had. Rather, consumers are looking forward to fresher alternatives. 

    Purple is one of the most preferred colors concerning curtain trends in 2026. The scenario for this color was the same in 2025. Furthermore, light or deep blue and natural green are also among the colors that gain consumers’ traction. This is because these are ideal for those who are looking to freshen up their décor. 

    1. Neutral and Earthy Colors

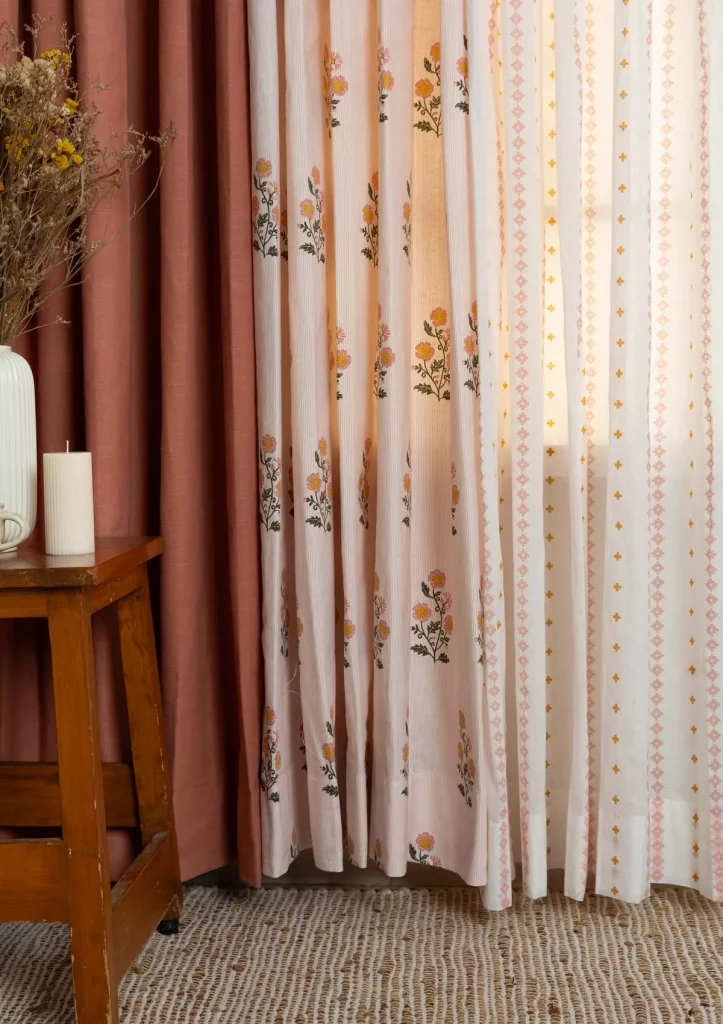
    In 2026, the curtain ideas include terracotta and taupe as the colors that the designers favor warmly. These latest curtain trends also include the likes of sand and sage green colors. These give the snug and warm feeling, while also perfectly coordinating with rough furniture and natural wood at the same time. 

    1. Cafe Curtains

    The ideal place for café curtains includes kitchens and bathrooms. These integrate functionality and softness together. These appear friendly, hence, best patterns for such treatment trends. Café curtains feature a casual vibe with block print, floral, check, or stripe, patterns. As compared to traditional window treatments, café curtains seem to be a moderate investment. Thus, these curtain trends in 2026 are both economical and easygoing. 

    1. Smart Curtains

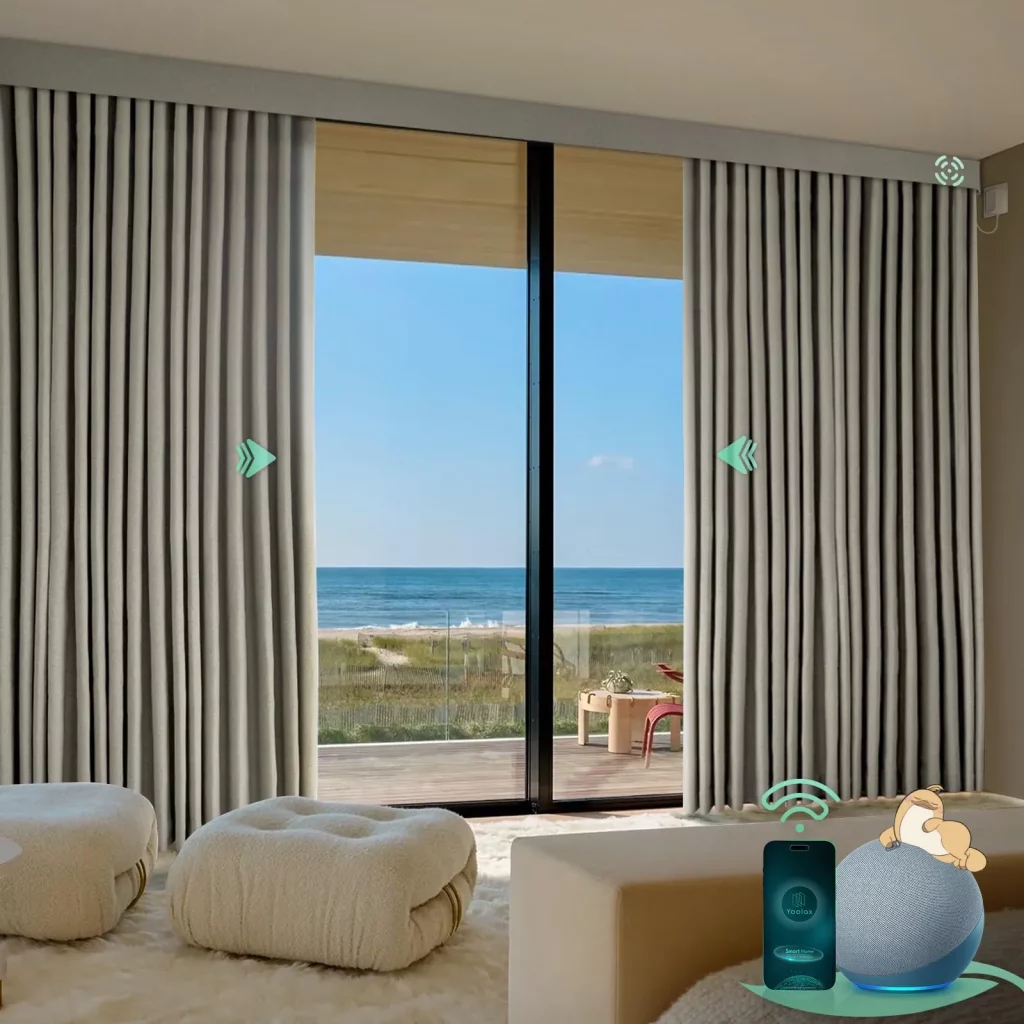
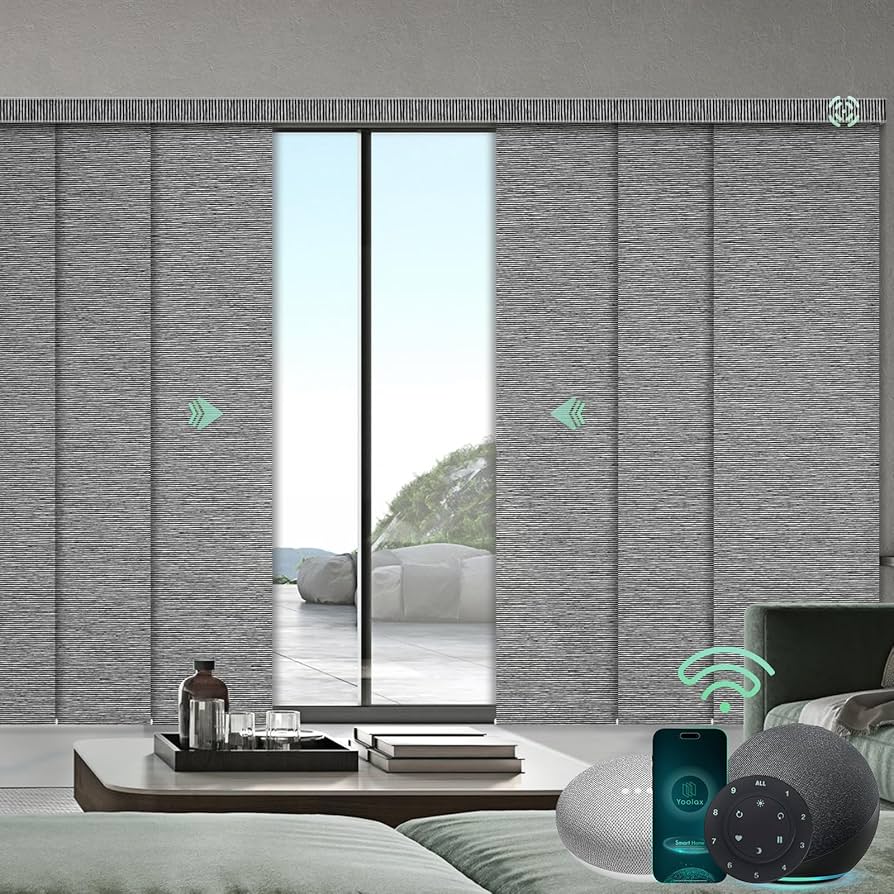
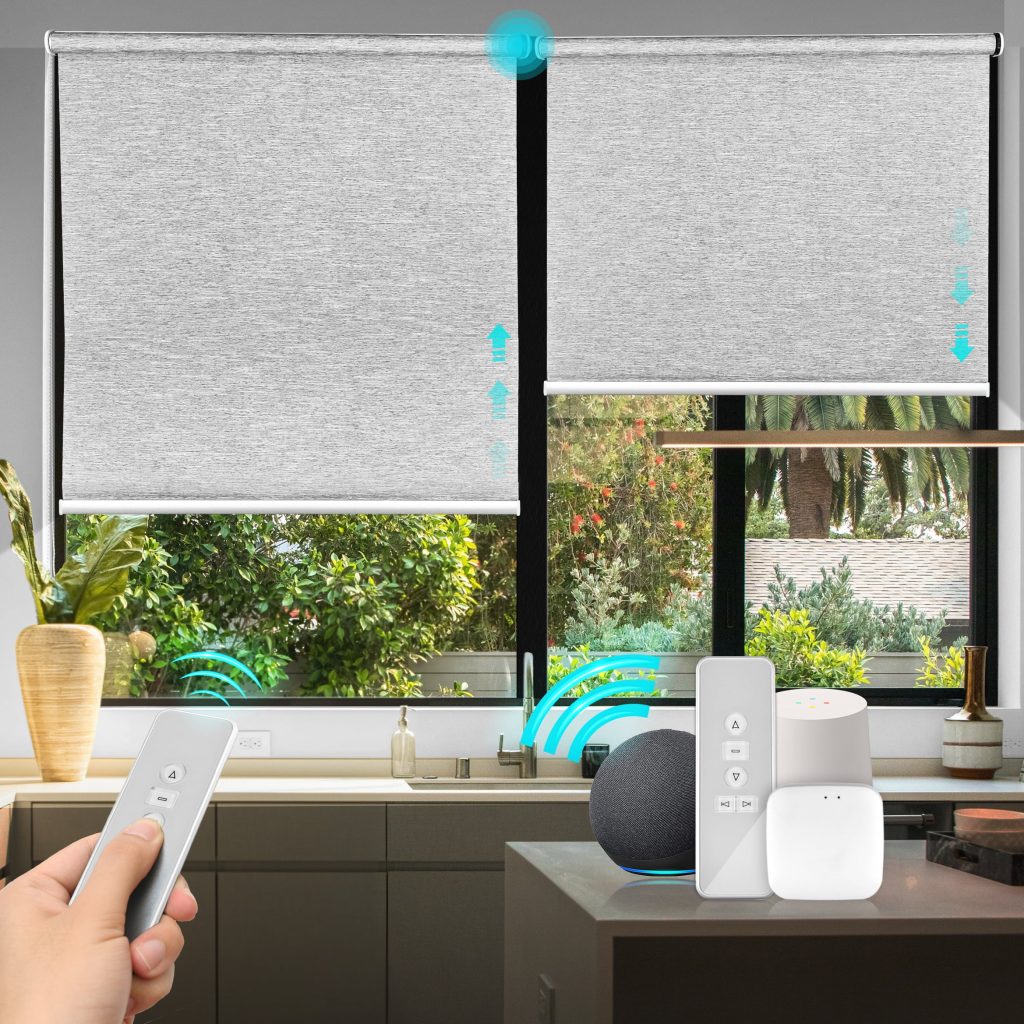
    With smart curtains, you can revolutionize your home décor in amazing ways. It is anticipated that in 2026, smart curtains will become a norm. Thus, they may offer improved functionality and convenience by becoming more mainstream. 

    Smart curtain trends in 2026 may feature app-operated and voice-controlled systems with easy adjustment. Furthermore, to respond to temperature changes and light levels, you can self-adjust these curtains. Also, for seamless automation, these curtains may also integrate broader smart home ecosystems. 
    1. Artistic Expressions and Bold Statements

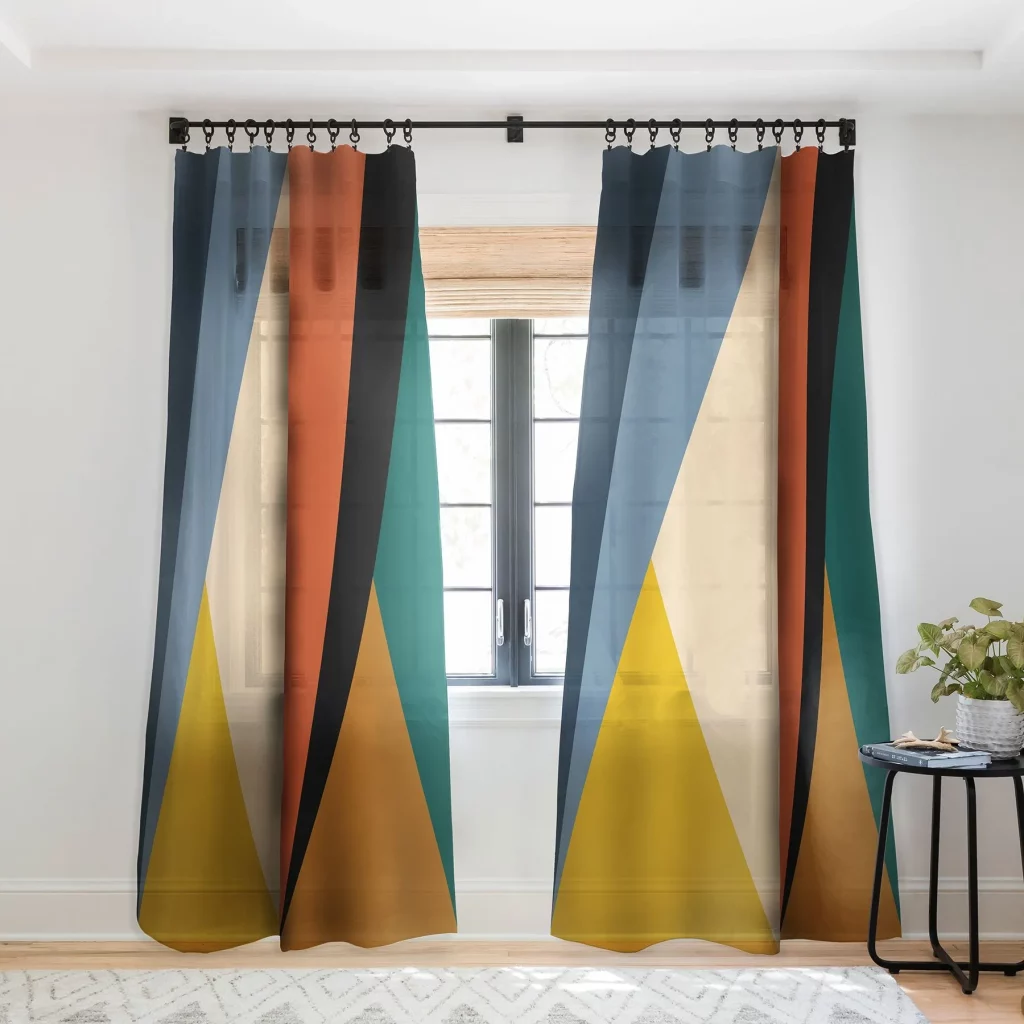
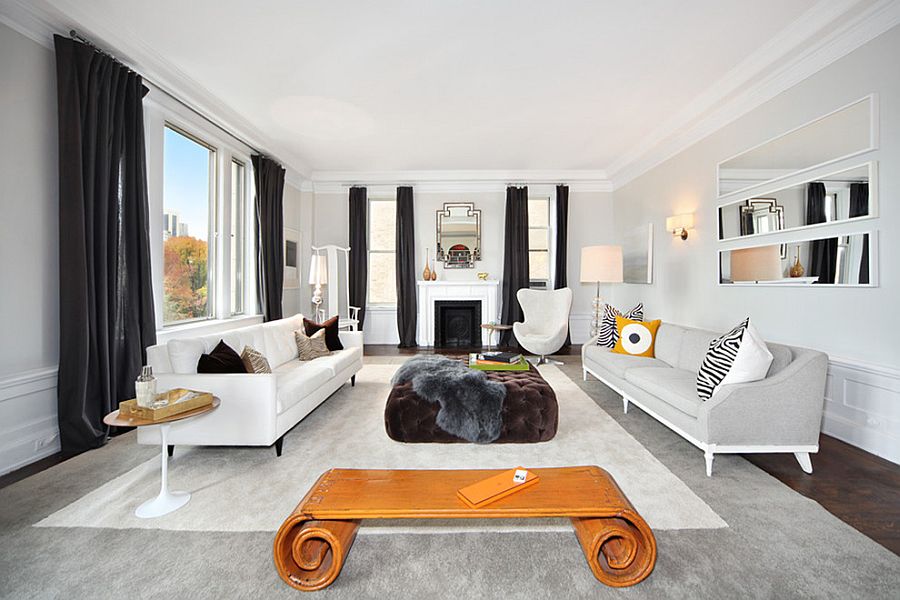
    Artistic and bold curtain designs may also dominate in 2026, besides the natural tones. The inclusion of geometric and abstract patterns will add character and depth to the curtains. Similarly, to allow homeowners to express individuality, personalized curtain prints may also work well. However, if you are interested in creating a curated and eclectic aesthetic, then use layered textures by mixing the materials. 
    1. Combining New and the Old 

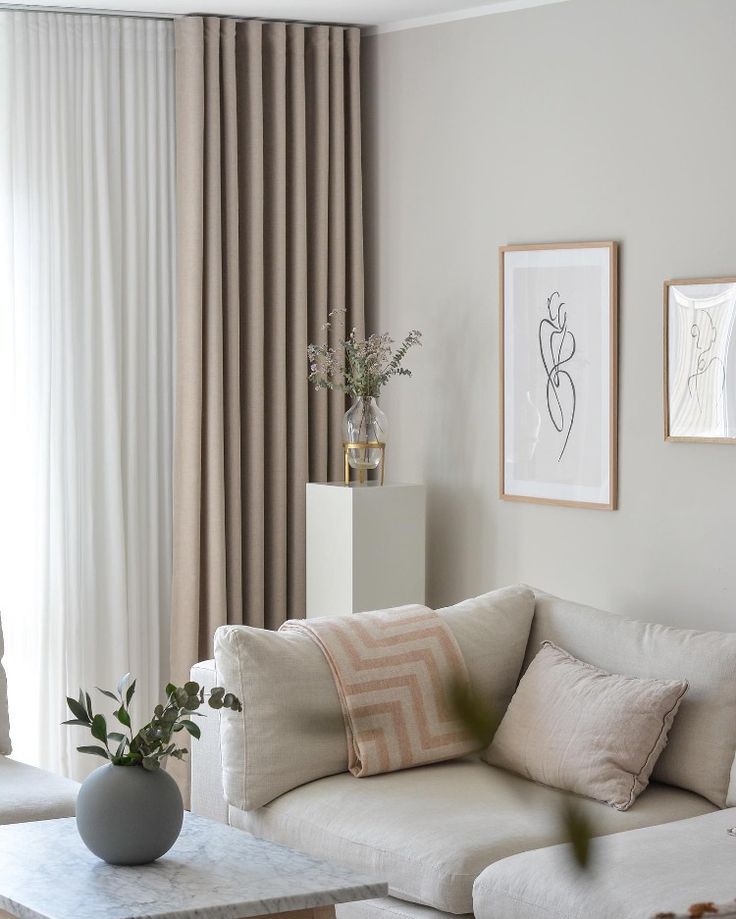
    In 2026, classic luxury will return with a twist of modern touch. For a sustainable and luxurious feel, velvet curtains will be combined with recycled materials. To combine enhanced light control with elegance, silk-like drapes are the trend to go with. For light filtration and adjustable privacy, use layered sheers to create depth. 

    Read More:

    Top 25 Best Curtain Ideas for Bedroom

    Top 25 Best Curtain Ideas for Living Room

    Top 20 Curtains for Girls Room

    What Color Curtains Go with Brown Furniture?

    Top 20 Ideas for Teenage Girl Bedroom

    13 Charming Curtain Ideas for Small Windows

    Conclusion:

    In 2026, curtains will not just be decorative, but multi-functional, smart, and sustainable. These different curtain styles include sustainable production and eco-friendly materials. For enhanced functionality, these may also feature smart technology. Furthermore, this trend may also feature a blend of maximalist and minimalist styles. 

    FAQs:

    1. How Can I Future-Proof My Curtain Choices?

    To make sure your curtain stays functional and stylish: 

    • Invest in durable and high-quality materials
    • For trend-driven accents, choose neutral base colors
    • Adapt to different settings by opting for versatile designs 
    1. Will Smart Curtains Be Affordable in 2026?

    Indeed! With the rise of smart technology, we anticipate a broader range of smart and budget-friendly options for curtains.
    1. How Can I Incorporate Sustainable Curtains Now?

    You can incorporate sustainable curtains today by: 

    • Selecting recycled or organic materials
    • Choosing thermal and energy-efficient curtains
    • Supporting brands that are environmental-conscious 
    1. Will Traditional Curtain Styles Disappear?

    No! Even though different curtain styles and new trends continue to come, the evolution of classic styles will take place. Thus, the revolution will happen by blending modern innovation with tradition. 

  • The Different Types of Modern Curtain Headings

    The Different Types of Modern Curtain Headings

    Once you have found out what fabric suits your curtains then the first thing to do is to choose the right heading. To ensure you get the desired interior look, choose the right style for heading just as significant as you select. There are different curtain headings with diverse characters influencing the fullness of curtain hanging styles. This blog highlights drapes that range from contemporary to relaxed with different modern curtain headings. 

    What Are Curtain Top Styles?

    The several ways the curtain top styles are attached and constructed for curtain track or rod. These headings have an important role to play in determining how the fabric folds and holds. These affect the overall curtain appearance ultimately. Diverse curtain top styles help create diverse visual effects, from casual, formal, modern, and traditional, making them essential interior design elements. 

    Choosing a Curtain Heading:

    To improve the functionality and aesthetics of the room, it is necessary to choose the right styles for curtain headings. You should decide to align personal taste, décor theme, and practical requirements in an order. Aspects like space style, desired level of light control, and closing and opening with ease have important roles to play. 

    Regardless of the different types of pleats, you choose contemporary options e.g., grommet tops or classy styles such as pinch pleats, every style of heading offers different functional and visual appeal. By evaluating such aspects with care, you can choose the style of curtain heading with confidence, seemingly integrating with the vision of your interior design. 

    Where to get assistance with curtain headings?

    The first step to choosing the best curtain headings for your room is to choose an expert in curtain making or interior designing. They will give you the best recommendation regarding what fabric to choose according to your allocated budget. 

    How to Improve Room Aesthetics with Different Curtain Top Styles?

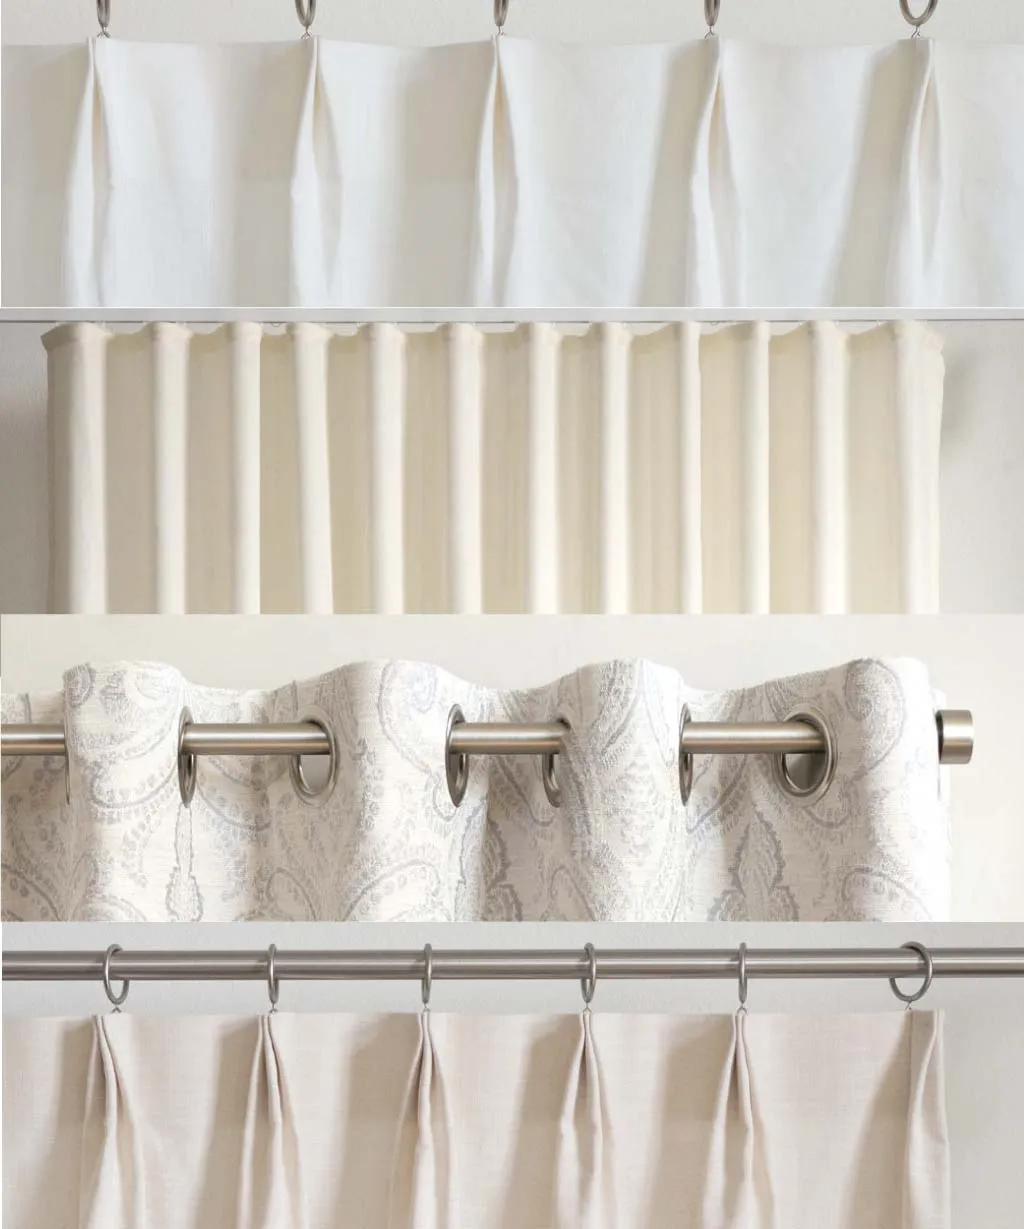
    Various styles of curtain heading boost the rooms’ visual appeal dramatically. To boost sophistication and elegance to classic or traditional interiors, pinch pleat headings work best. These offer a polished look by creating curtain hanging styles in a series of neat folds. Grommet headings or eyelet curtains, on the other hand, create a casual and more modern vibe. These include evenly spaced and large rings allowing the fabric to fall in uniform and soft folds.   

    Pencil Pleat Curtains:

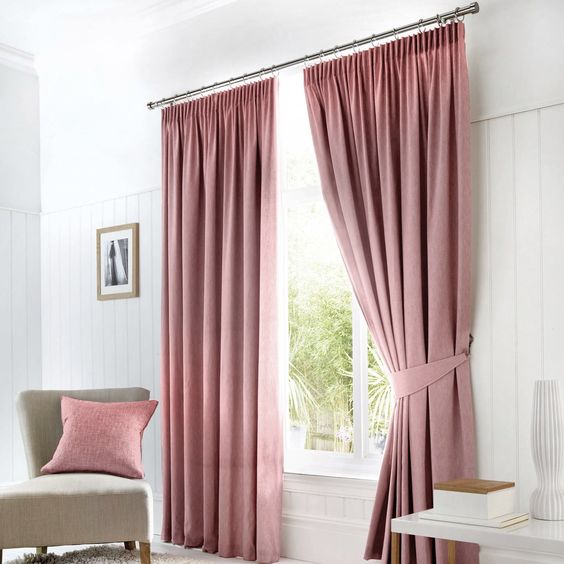
    One of the most recognizable curtain finishes is Pencil Pleat Curtains. As their name indicates they feature narrow, pencil-light pleats with tight gathers along the types of curtain headers. These are suitable for curtain top styles and materials. Pencil pleat curtains are hung typically with clips or rings typically using a pole or rod. 
    These are also the most customized curtain headings, allowing you to loosely or tightly pull according to your desire. Once you are comfortable with the appearance of the different types of pleats, simply knot the cord in header tape, and these are ready to be hung. It is suitable for both tracks and poles, featuring 75mm deep heading tape. To ensure these are hung beautifully, use three hook positions, making pencil pleat curtains for a luxurious appearance. 

    Double Pinch Pleat Curtain Heading:

    Double Pinch Pleat Curtain Heading

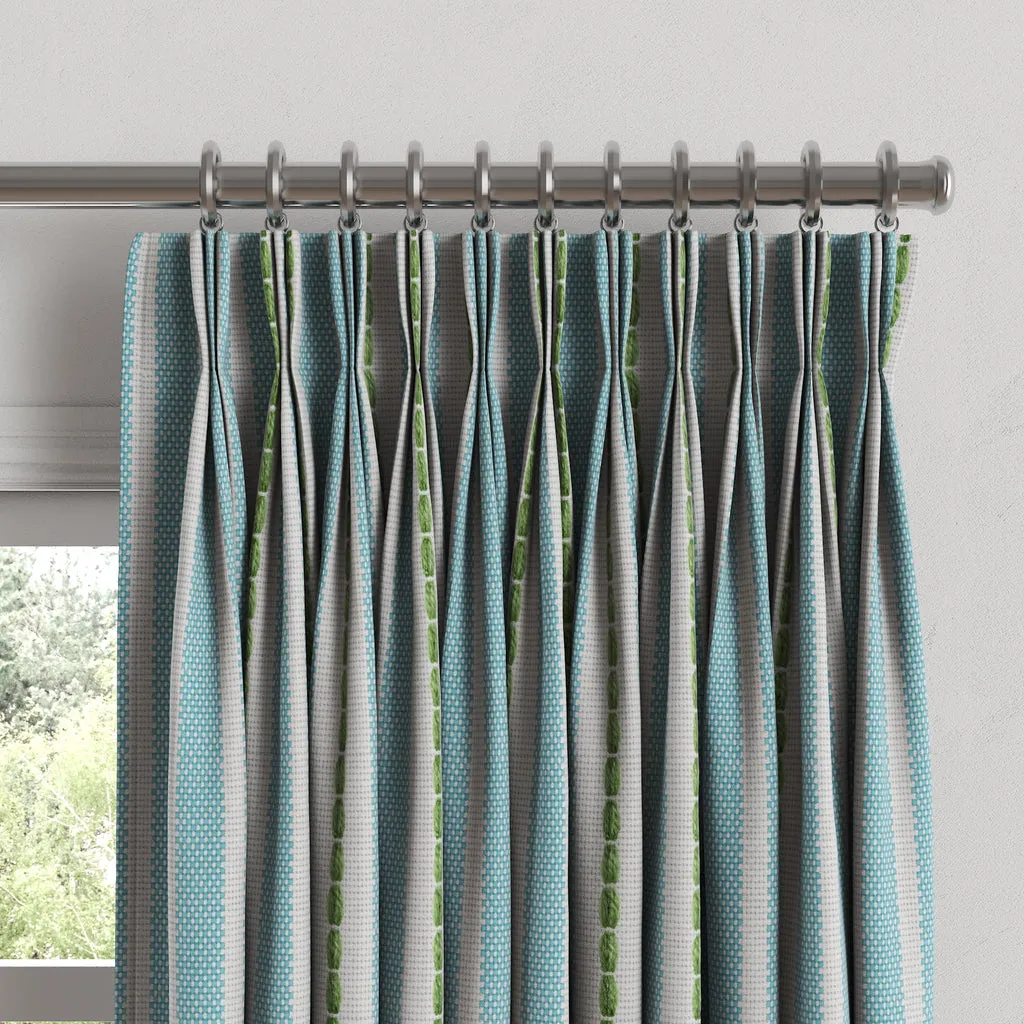
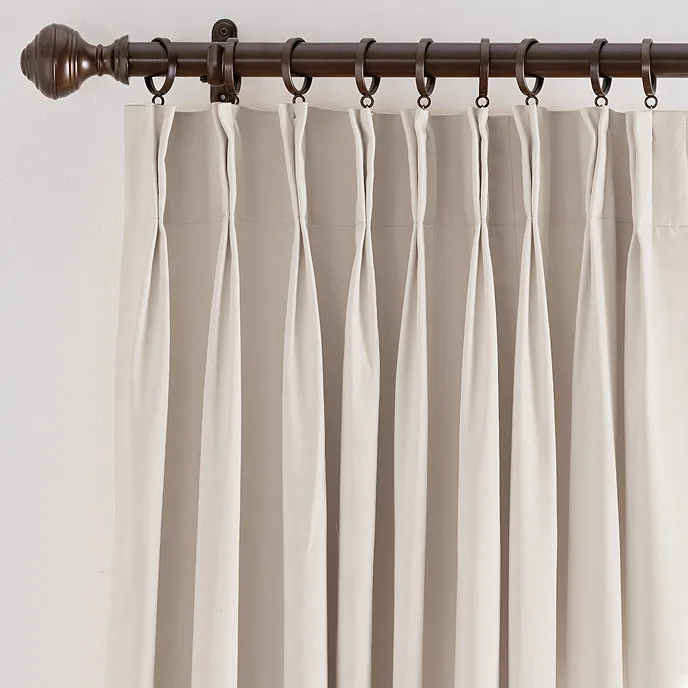
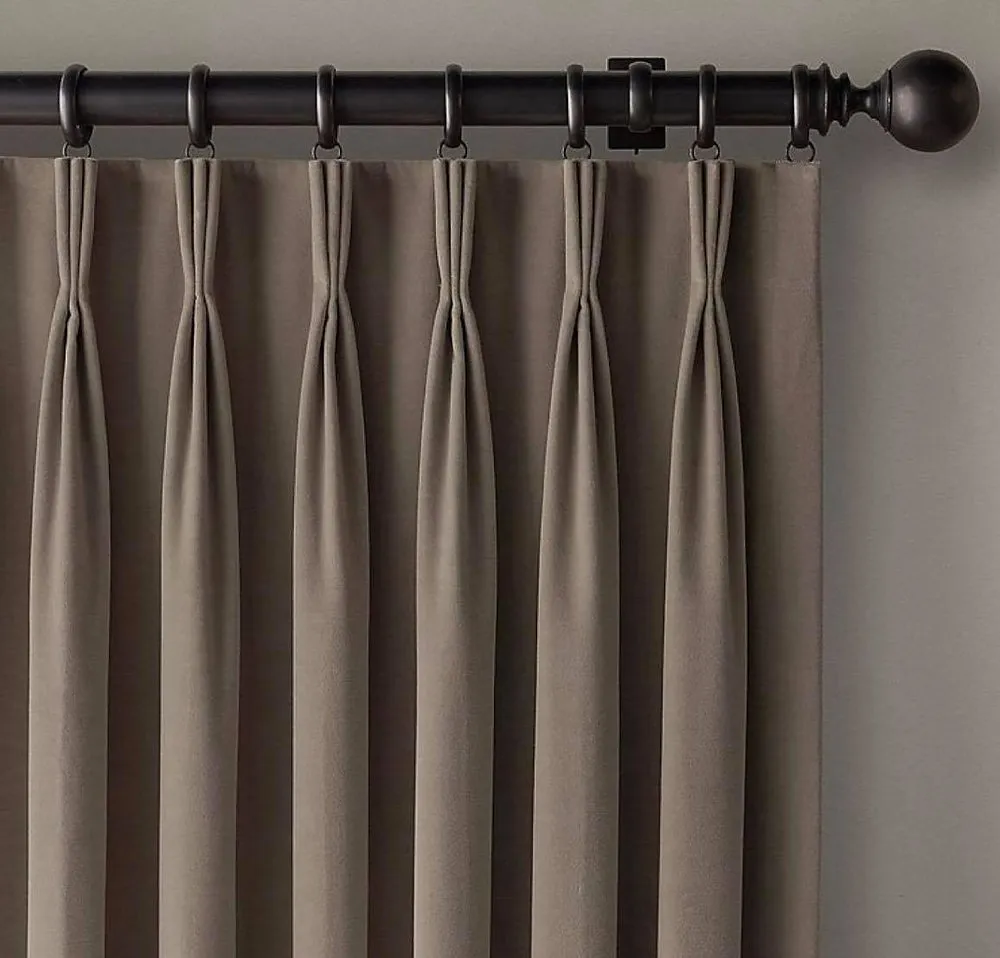
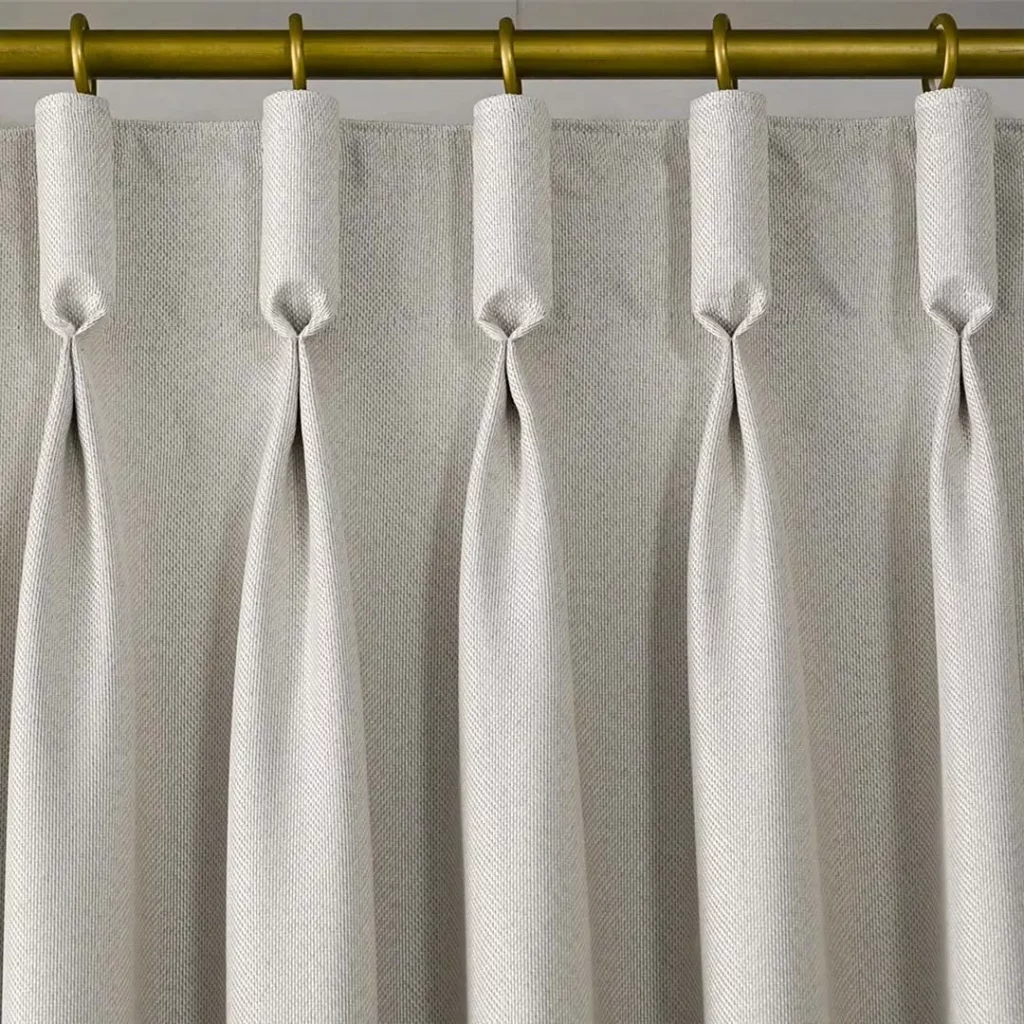
    Pinch pleat curtains are considered curtain styles with a more formal style. These include triple, single, and double pinch pleats also known as French heading. The curtain fabric’s top is drawn together into a tightly gathered fold, which is then hand-stitched to hold the pleat in place. Several curtain hanging styles include a track or pole with a highly decorative suit for traditional and home interiors. Making a triple pinch pleat requires a window width of 2.5 times. On the other hand, a double pinch pleat, curtain requires a width of 2.3 times the window width. When selecting the curtain fabric, choose a design according to the room’s grandeur. These include the likes of smart plains, large-scale florals, damasks, or toile de Jouy.

    Triple and Double Pinch Pleat:

    For creating a classic tailored look, pinch pleat curtain headings include sewn-in pleats. When placing the different types of pleats, you need curtain dressing additionally. This helps in installing it with the fabric in beautiful folds. When stacked back, the pleats form a concertina effect, meaning that they take the little room up. However, a good clearance from the wall is required taking up little room. This is a preference purely when choosing triple pinch pleats. As compared to double pinch pleat headings, triple pinch pleat headings make use of more fabric. Thus, it offers a fuller drape as compared to the other. 

    Gathered Curtain Heading

    For a relaxed and soft look, pretty curtain headings with your gathered headings and curtains are also called cottage pleats. It will flop over more, depending on the length of the fabric. This type of curtain top and heading uses 1-inch wide narrow tape sewn on the curtain fabric on the top. The tape runs through cords or strings, creating a gathered appearance. You can adjust the gathered appearance to control the curtain’s fullness. Such a heading offers a more relaxed and casual look and is relatively simple to achieve, compared to other styles of pleating. Gathered 1″ Tape curtains are suitable for casual living spaces, cottages, and kitchens, comprising lightweight fabrics. 

    Cottage Pleats:

    The particular type of pleating utilized in different types of curtain headers is known as cottage pleats. These give a more informal look as compared to traditional pinch pleats, as they are wider. To create cottage pleats, the fabric is folded into wide pleats. Cottage pleats are also known as gathered pleats giving both an informal and traditional appearance to your curtains. These look great with shorter curtain drops or smaller windows and look great with most fabrics.
    Eyelet Curtains:

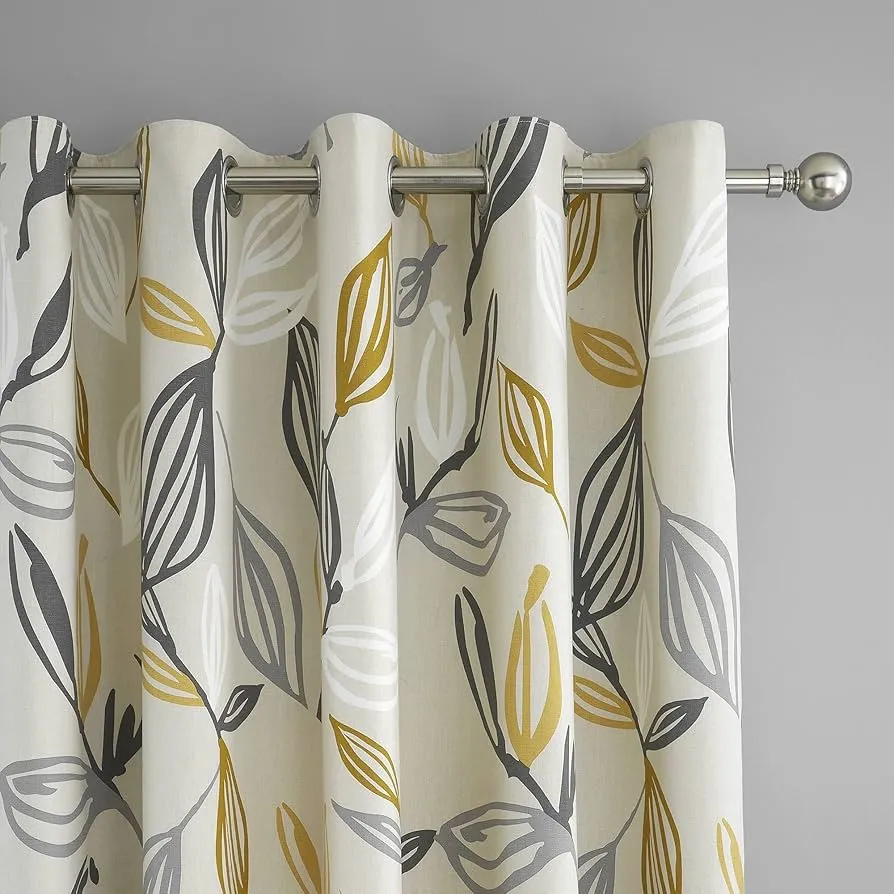
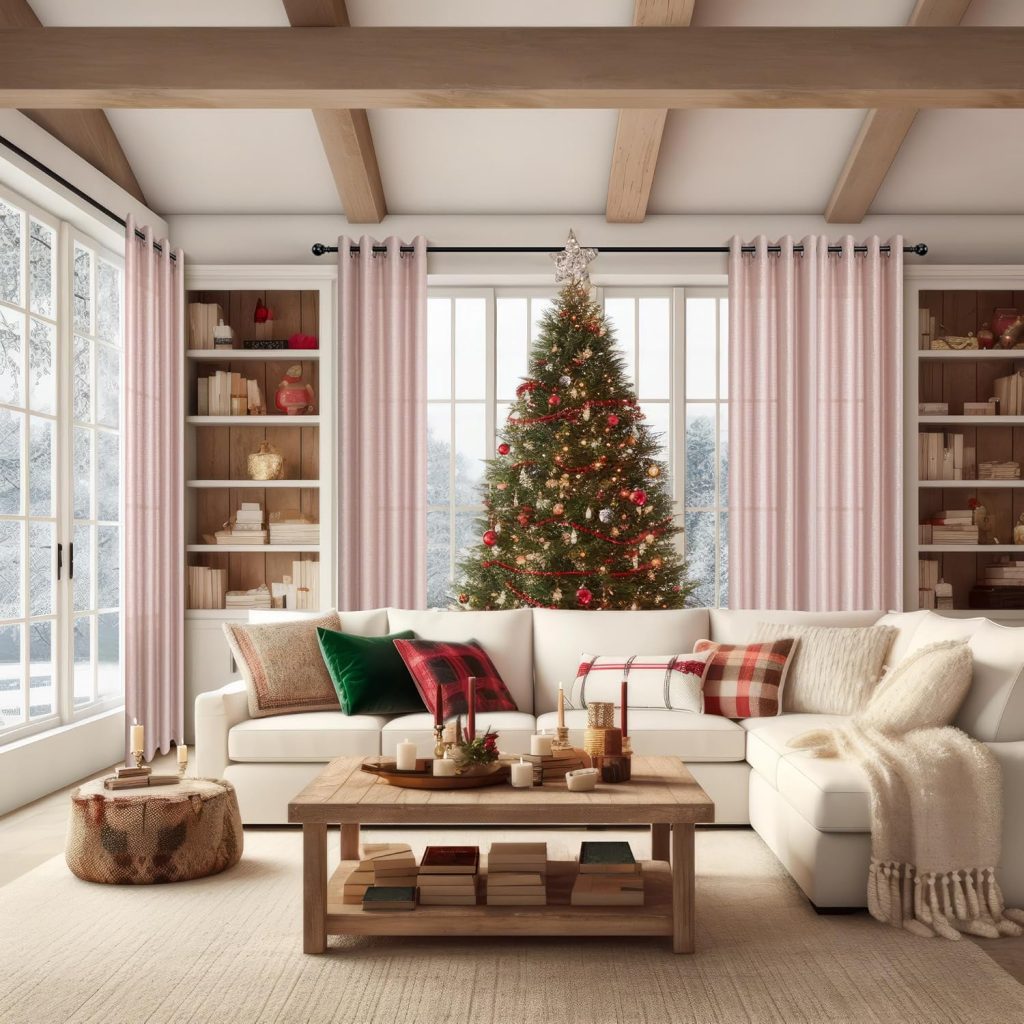
    For a more contemporary appearance, eyelet curtain headings create even and large folds. Eyelet headings are also known as modern curtain headings. Due to their clean lines and deep folds, the style is known for its contemporary approach. For a desired look, there are only curtain poles, that the eyelets work with. These are available in materials like gunmetal, nickel, or brass. It is very easy to install them and when hung, they are considered as one of the most beautiful pleats. 

    Wave Curtains:

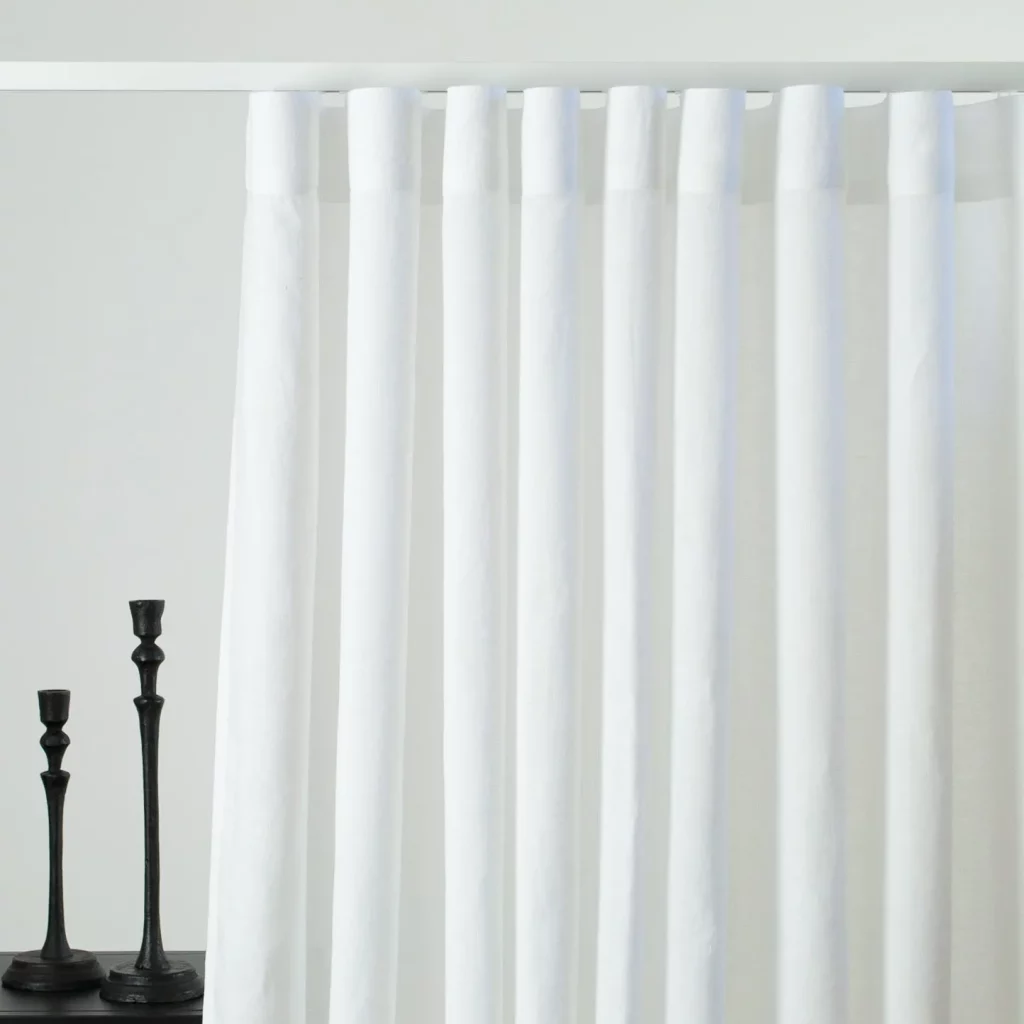
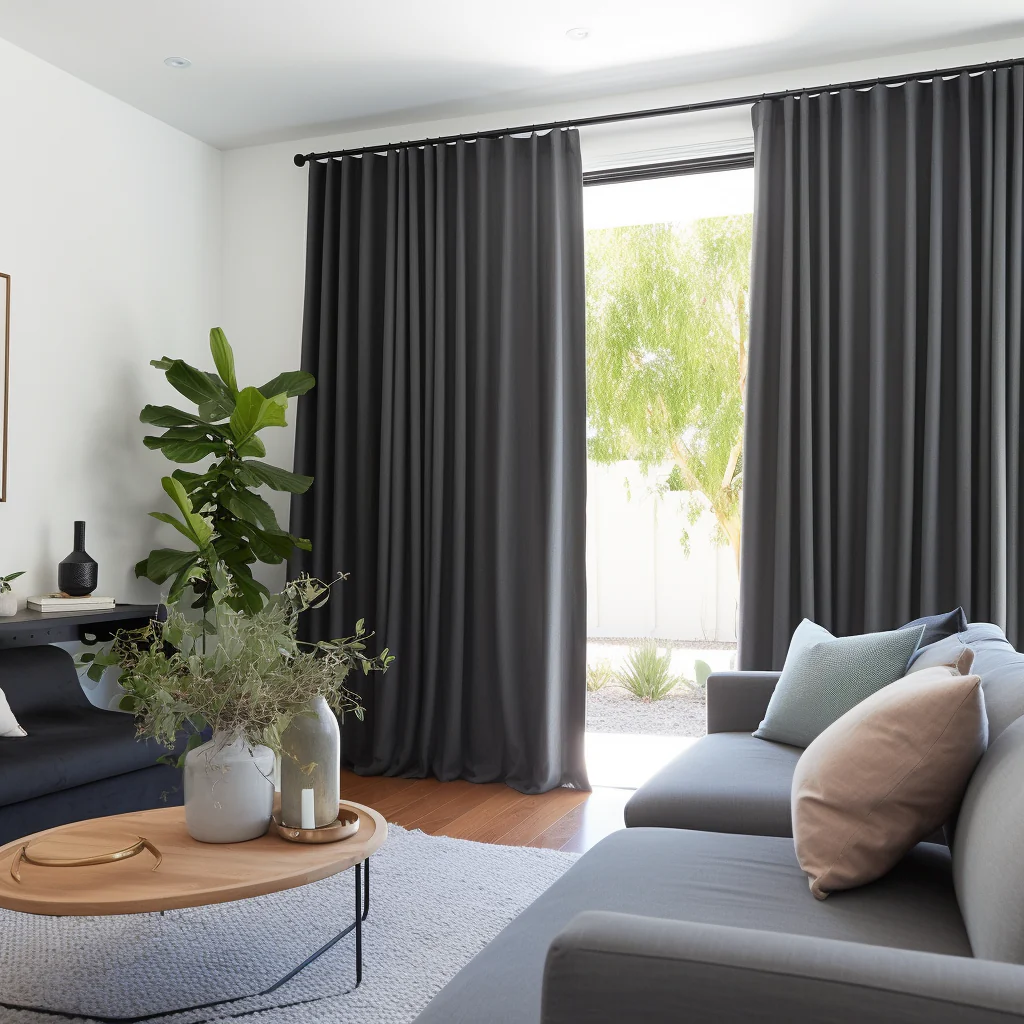
    For patio doors or large windows, wave curtains are a stylish, simple, and sophisticated solution. You can enjoy neat and gentle ways with their very own track included. Wave curtains act as an alternative to different types of curtain headers like goblet, pencil pleat, or pinch pleat. The system of wave curtain heading offers stylish, contemporary, and neat curtain presentation. The final appearance of wave curtains looks identical to eyelet curtains. However, the fabric hangs directly below a wave curtain tracking in a uniform and neat style. Wave curtains are especially famous throughout sliding or bi-fold doors and large glass expanses. By combining a specially designed wave heading, the ‘wave’ effect is created. These make wave glider-cord and curtains, supplied with wave track delivering simple and soft continuous wave effect. 
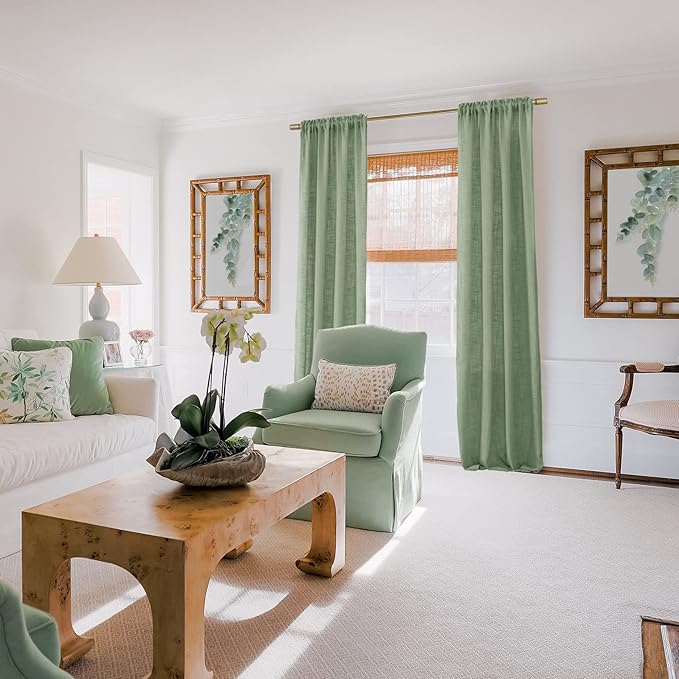
    Inverted Curtain Heading:

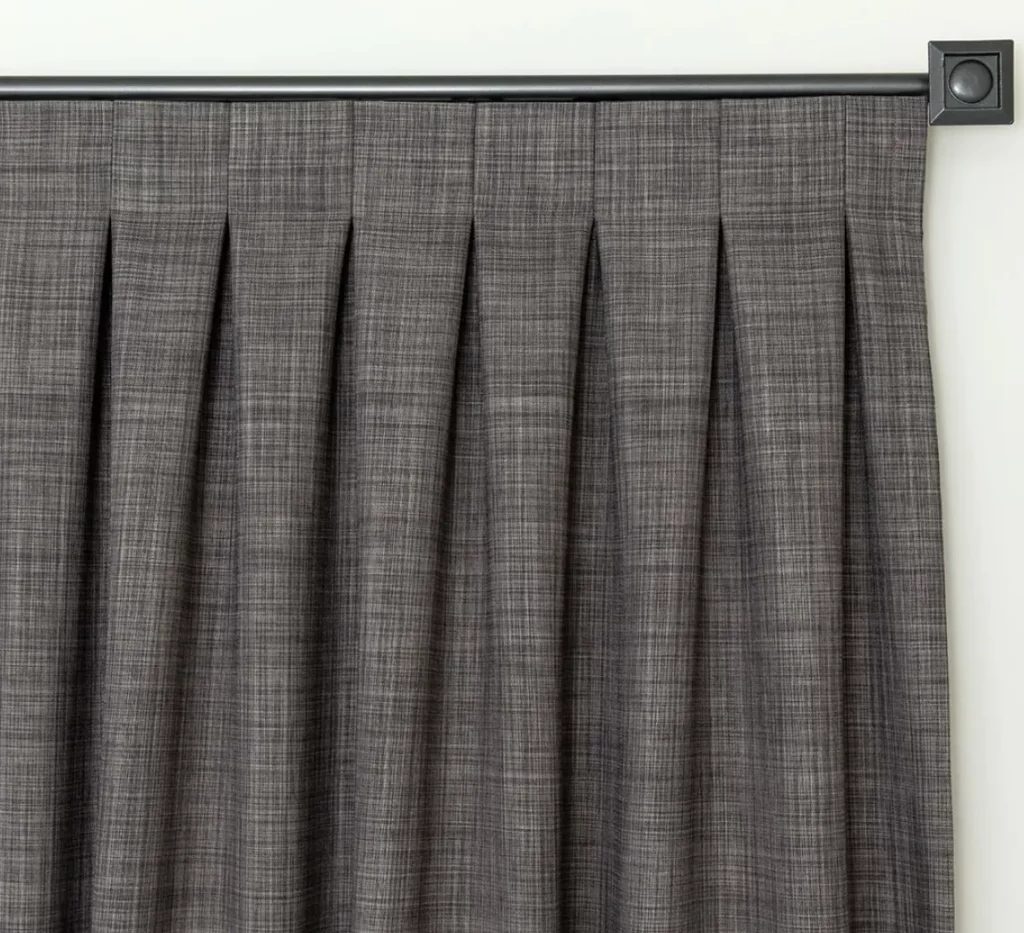
    One of the most popular unique heading styles seen recently is inverted pleats. These combine modern and traditional curtain heading styles. For those searching for a fuss-free, smart, and tailored appearance, these structured pleats create a flat drapery illusion. Inverted pleats curtains are also known as backward-facing pleats or box pleats. These are ideal for minimal wall space windows on either side.

    Goblet Curtain Heading:

    One of the most elegant heading for heavier fabrics and longer lengths are known as Goblet pleats. Created with the best opulent fabric, these create a formal yet luxurious appearance. These can create the greatest visual impact with oversized poles or tracks. Headings made by hand appear as they are created with a more professional finish. Even though the extra effort makes it very time-consuming, in the end, it is worth doing it. It is not easy to adjust the finished curtain with different types of curtain tops. To stack back at the window side, goblet curtain headings require more space. 

    Tab top:

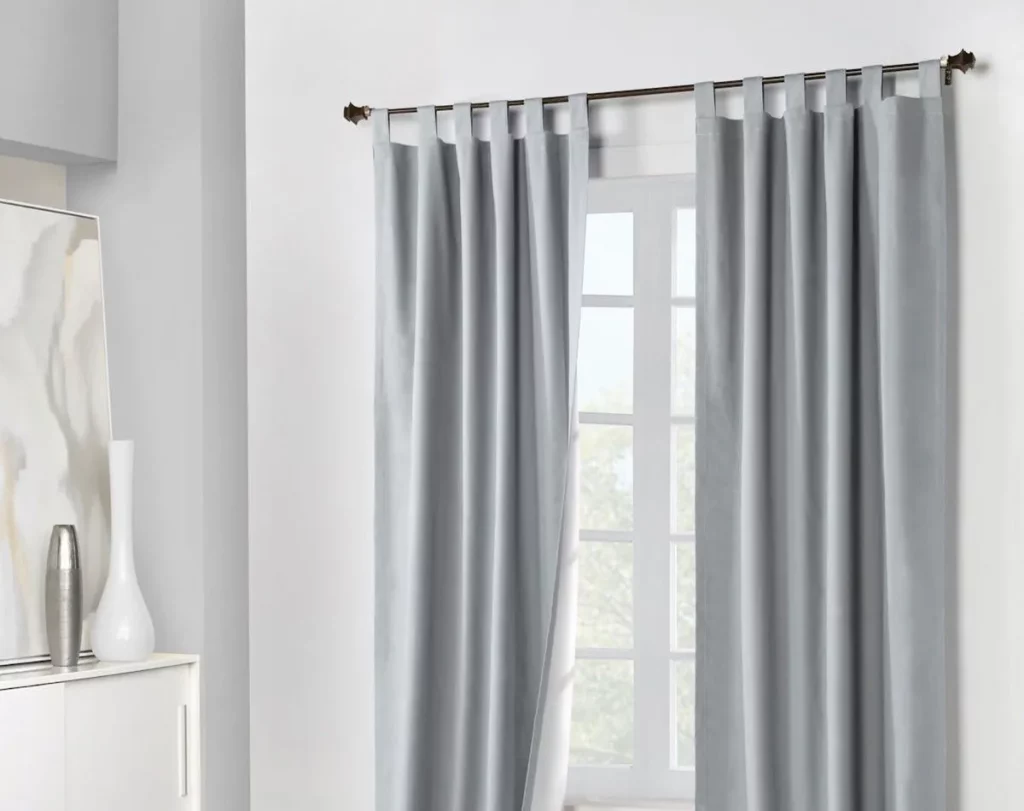
    Tab tops are relaxed, simple, and airy with too much fullness causing detracts and bunching. The size of the tab should be according to the intended pole’s diameter. As compared to other heading styles to close and open, this style is not very easy. This is because of the fabric’s friction on the pole and the space occupied by the tab. If desired, you can make tabs in contrasting fabrics. 

    Conclusion

    The above-mentioned several curtain heading styles will add flair and décor to a certain extent. This will let you decide which type of modern curtain heading works best for your home settings. But before deciding, it is necessary to consider the advantages and disadvantages of different types of curtain tops and headings. The style of the heading represents how the fabric is pleated or sewn on the curtain’s top. This will influence the feel and look of the room with hangs or fabric drapes. 

  • How to Layer Sheer & Blackout Curtains?

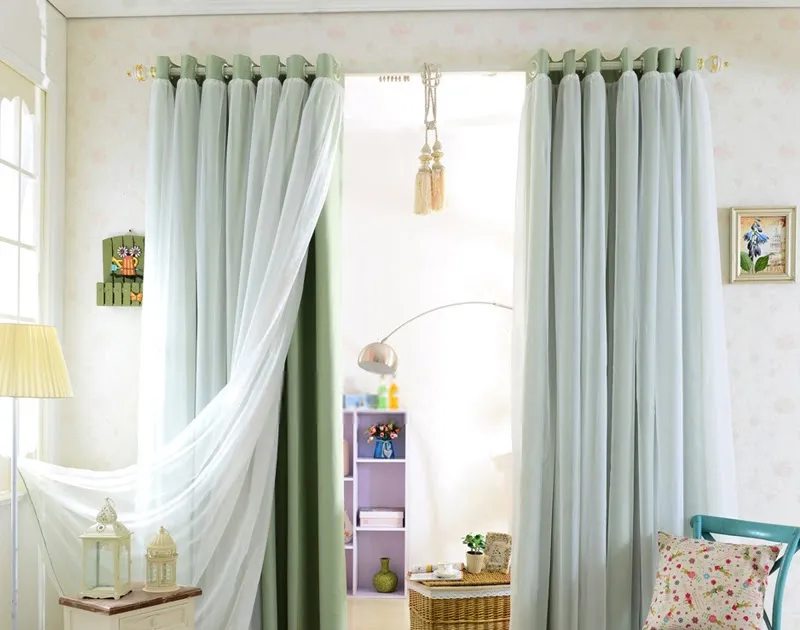
    Are you wondering about how to layer sheer and blackout curtains? Block-out or Blackout curtains are remarkable as they block both the noise and sunlight. However, when double curtains sheer and block-out combine these curtains let complete sunlight inside the room. On the other hand, not a single ray of light can pass through if these are closed. Thus, there is no intermediate option in between. Combining sheer and blackout curtains is one of the most recommended options to consider. In this blog, we will provide comprehensive guidance regarding how to layer sheer and blackout curtains.
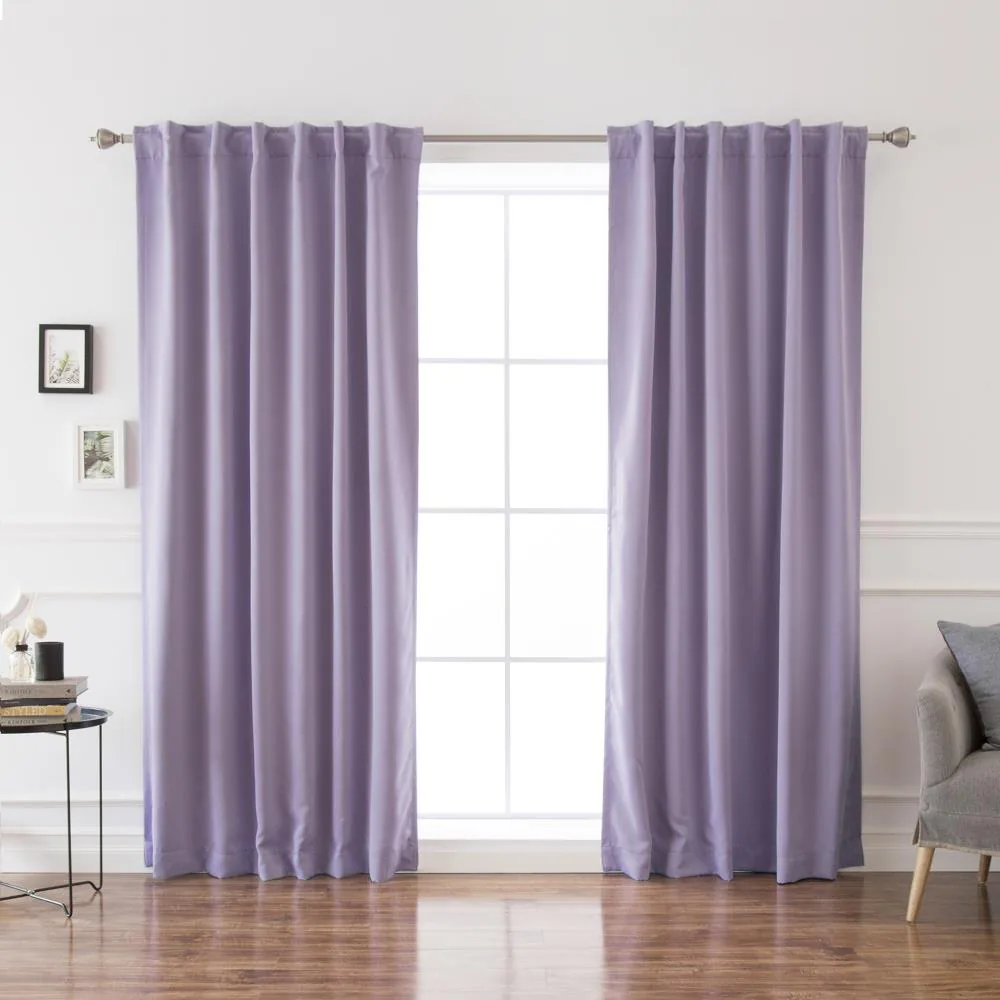
    Guide to Layering Sheer and Block-out Curtains Together

    If you want to know how to layer sheer and blackout curtains for privacy and light, consider combining blackout curtains (block-out curtains) with sheer curtains. Furthermore, while doing so, you can also achieve a sophisticated and luxurious appearance, thus elevating the space. To double up curtains, there are various processes and steps you can take to achieve the desired outcomes. But for this purpose, you also need to consider the factors such as aesthetics, space, color combinations, and type of fabrics. 
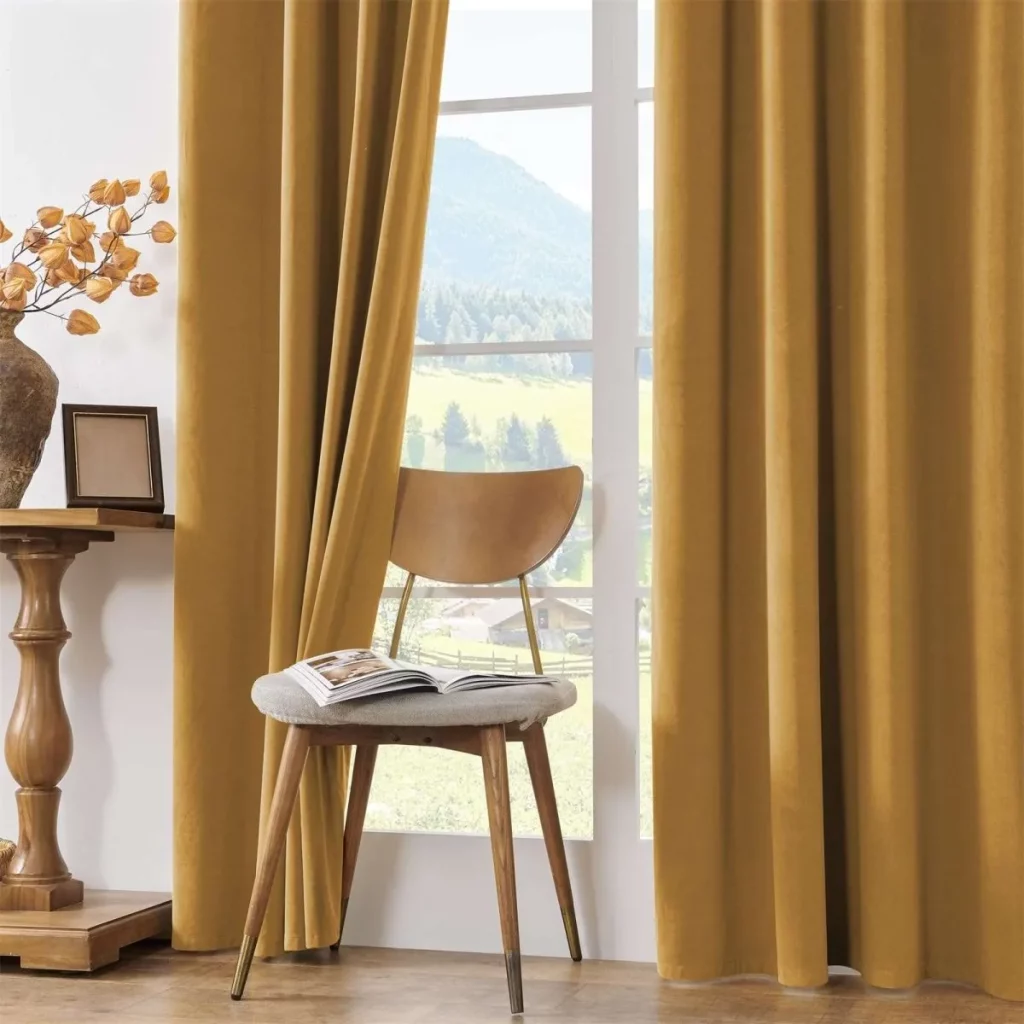
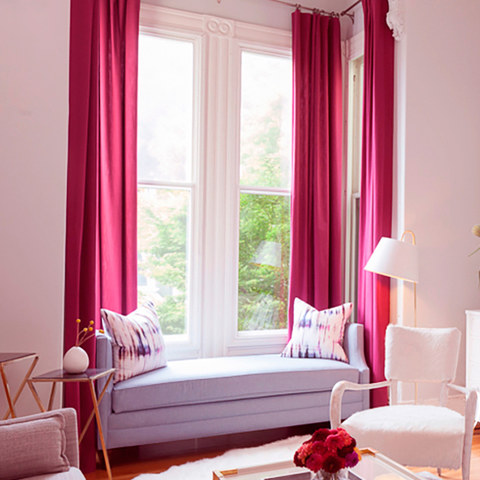
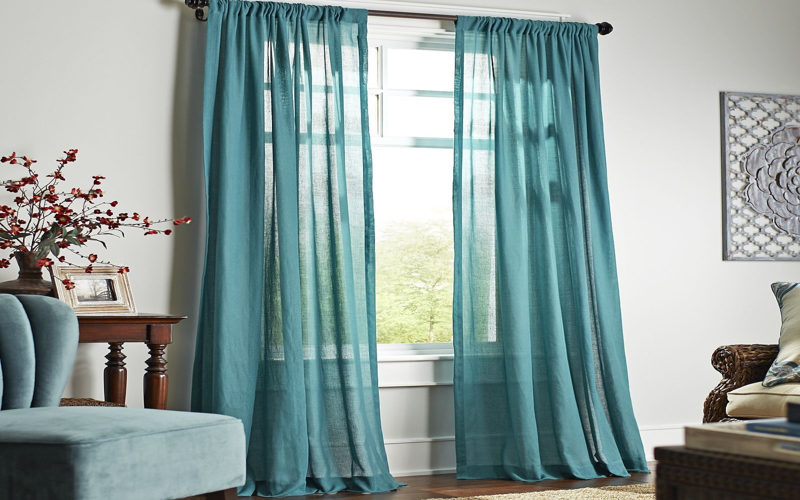
    What Style of Curtain to Choose?

    If you know how to layer sheer and blackout curtains together, you can enjoy the best of both worlds in terms of beauty and privacy. There are many designs and patterns available for sheer curtains. On the other hand, when these are paired with pattern block-out curtains, they act as plain fabric. 

    Options Galore: Layered Window Treatments

    Double-layered drapery is not only rich in terms of aesthetics, but it also focuses on insulation, higher privacy, and versatility. Before diving deep into specifics regarding how to layer sheer and blackout (block-out) curtains, here are the following things you need to focus on: 

    1. Valences for Layering Curtains: 

    The single and short panel drapes that cover a window’s top section are known as valances. Adding valances can give the room a more dressed-up appearance as a treatment for the top layer. These are designed to hide the hardware of the drapery when you think about how to layer sheer and blackout curtains together. The purpose of valances is more style rather than function. Contrary to belief, these are not useful choices for light blockage. But when you layer sheer and blackout curtains, these let you enjoy the function of curtains, and the style benefits from the valance.

    1. Layering Curtains with Blinds or Shades

    If you are looking to layer block-out and sheer curtains together, then another compelling idea is to layer curtains on top of Roman shades or blinds. Thus, you can enjoy the traditional curtain look when they are closed, without using shades at all. But when you think of hanging them too far down they would expose the shade, while drawing the curtains back. On a sunny or bright day, you may block the position of the sun by pulling your shade down enough. You can take advantage of pairing sheer and blackout curtains with movement in an upward and downward direction. The curtains do not enjoy such functionality, as the shades do. When combining opaque drapes with sheer Roman shades on the front, provides higher privacy and light control. 

    Putting Sheer Curtain in front of the Blockout Curtain:

    You can use double curtains sheer and block-out together in two ways. The first way to do so is to put sheer curtains in front of the Blockout Curtain. For durable curtains, this layering method is commonly used. When you put a sheer curtain in front of the block-out curtain, it paves the way for diffused and soft light throughout the day. Hence, it softens the window’s appearance and during the evening, block-out curtains provide total privacy when drawn close. The option of curtain layering is particularly common in coastal or contemporary homes. Sheer curtains feature achieving airy and bright ambiance. 

    Putting Block-out Curtain in front of the Sheer Curtain:

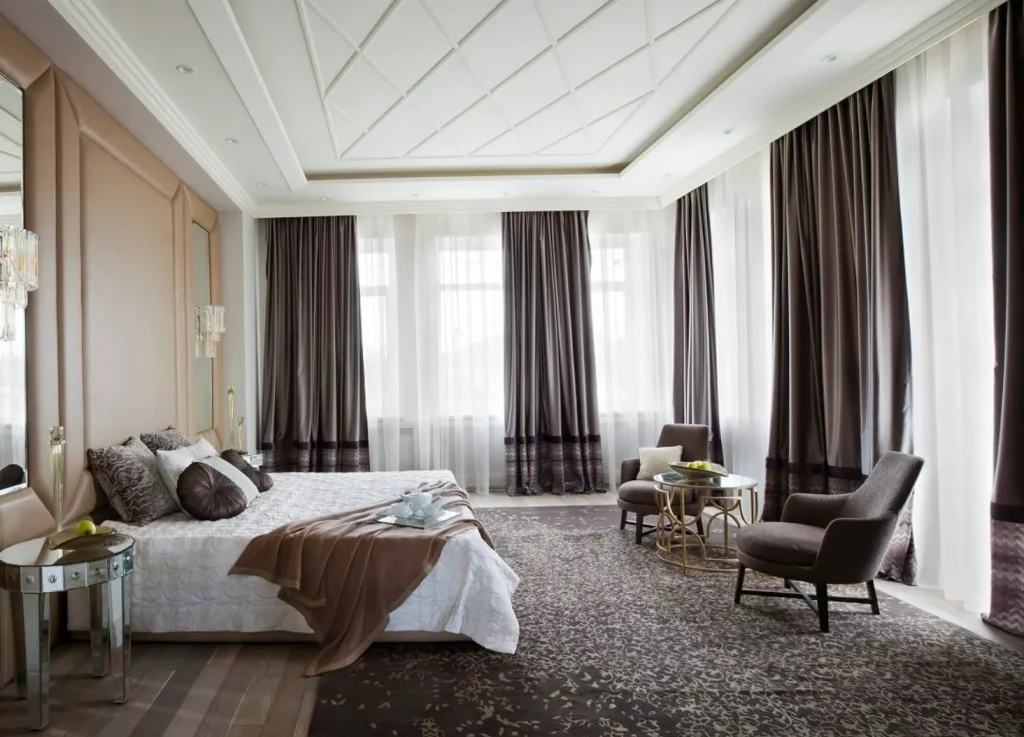
    The alternative to the previous option is putting block-out curtains in front of sheer curtains. This type of layering of curtains uses heavy drapery such as barcode or velvet to achieve a luxurious appearance. This option for layering curtains is seen in traditional style interiors (Victorian and French Provincial) as well as in Hollywood Glam.

    When you feature Block-out curtains for double curtains, you can see a choice of uncoated or coated fabrics. In coated fabrics, you can see the application of coating from behind. It helps in blocking out the light. On the other hand, uncoated fabrics have a separate line added to them. These create a Block-out Curtain, giving them a softer drape and look. The range of block-out fabrics includes extensive patterns and print selection in all colorways. Regardless of the choice you make, it is necessary to suit your lifestyle and aesthetic. The key to fabrics is the quality and every quality is known for its own levels of performance and characteristics.  

    Fabric Options for Sheer Curtains: 

    1. Linen Blend or Natural Linen: 

    Linen blend or simply natural linen is the epitome of modern luxury. There are a variety of interior styles and settings in which you can use these sheer curtains. Whether beach-themed or coastal interior these work well for farmhouse-style homes, minimalist or Scandinavian interiors. Natural Linen Blend curtains are also the best choice for luxury homes. Here these are used for creating more natural aesthetics or approachable ambiance. 

    1. Cotton Blend: 

    Cotton blend is considered the second natural fabric, ideally suited for contemporary homes and modern interiors. This fabric is composed mostly of polyester having high performance, considered as best choice for busy families. 

    1. Synthetic Fiber: 

    The third most used material for sheer curtains is synthetic fiber, particularly polyester. Fabrics like these can mimic the beauty and texture of natural fibers. However, they are generally more affordable but have low maintenance. 

    Factors to Consider for Layering Block-out and Sheer Curtains: 

    When layering sheers and block-out curtains together, consider that it is not about fulfilling the aesthetic requirements. But it fulfills different functional roles as well besides that. Some of the considerations and advantages for the same are mentioned below: 

    1. Privacy and Light Control

    For homeowners, privacy is considered one of the premier concerns that needs addressing. For the sake of securing their homes, people take several measures to ensure they remain unharmed. These include the installation of CCTV cameras or using trusted VPN services to improve their privacy online. Yet a simple but effective way to do so is to focus on treating your windows correctly. Thus, doubling up décor elements and improving home aesthetics. 

    It is a greater opportunity to layer curtains to control the light inflow. Besides that, it is also helpful in managing a room’s privacy. For example, if you choose a single opaque curtain set, there are two real options you can choose i.e., closed or open. However, adding sheer drapes set behind the curtains gives you more control of outflow to manage a room’s light. Combining sheer and block-out curtains allows for complete privacy and filtration of soft light. 

    1. More than Just a Functionality by Enhancing Aesthetics: 

    There are more than practical benefits to choosing layered curtains. These also help in improving your space’s aesthetics. The contrasting nature of block-out and sheer curtains adds texture and depth to any décor of the room. This duo is flexible for your mood and needs, whether you choose complete darkness or a gentle filtered light. This combination complements your living spaces beautifully with block-out and sheer curtains. 

    1. Thermal Implications

    Room temperature is also a factor to watch out for besides aesthetics while choosing layering choices. The block-out layer acts as significant insulation against temperature, light, and sound. If you want your room to remain cooler during summer and warmer during winter then you can use the double layer curtains to your advantage. Or if you want to dampen the inflow of light and noise in a media room or bedroom for instance. When you further layer it with another sheer set, the factor of insulation goes further high, binging your bills further down.

    1. Develop your Palette of Materials:

    There is a choice of world out there and the ultimate thing to do in this regard is to get locked in your decisions before you know about the available options. Similar to fashion, certain fabrics go through ranges and trends including modern fabrics throughout the world. The performance of the fabric is also advancing continuously. So, choose a reliable company that can advise you to use appropriate fabrics according to the needs of your lifestyle. 

    Conclusion

    The size has an instrumental role to play while choosing suitable block-out and sheer curtains. This combination works best to optimize functionality besides improving the aesthetic appeal. To transform the ambiance of the room, it is necessary to choose curtains with the appropriate color palette. Combining dark-toned block-out curtains with light-colored sheers can allow light control needs simultaneously. When you select the type of fabric, it directly impacts the maintenance requirements and durability of a curtain. For sheers, it is ideal to choose linen or breathable cotton, whereas polyester blackouts consist of unparalleled capabilities of light blockage. 

  • 25 Best Curtain Colors For White Walls

    25 Best Curtain Colors For White Walls

    Do you have difficulty choosing the right curtains for white walls? Figuring out the question regarding the correct combination of color palette. The biggest problem while choosing the right curtains that match the white walls is to ensure that your selection is right, People tend to get confused about what color curtains go with white walls since the decision is not easy to make. Everyone looks forward to decorating their home, but they mess up with their basics. But worry no more, since this blog will help you figure out the best color curtains for white walls. If you get the basics right for your home, your décor may appear lively with the inclusion of appropriate shades. 

    When you get the basics right regarding choosing curtains for white walls for your home, it makes your space inviting and warm. There are several options worth a try for your home besides choosing white curtains on white walls. Besides color, the presence of natural light in the room is also a crucial factor. In this blog, we will find the range of best color curtains for white walls that will elevate the mood of your room. It is equally important to know how these curtains on the window appear during the night or day. For a contemporary vibe colors like colors like emerald green, navy blue, and white curtains for the bedroom work best. On the other hand, traditional spaces use metallic shades like rose gold or gold. Keep the colors lighter and neutral for sunny south-facing rooms. This helps in keeping the room bright. 

    Choosing the Best Color curtains for white walls: 

    Choosing curtains for white walls is a very hectic job. This is because you have to go through a whole variety of colors for stylish or classic design space. Here are some of the range of colors, mentioned below: 

    1. Soft Gray:

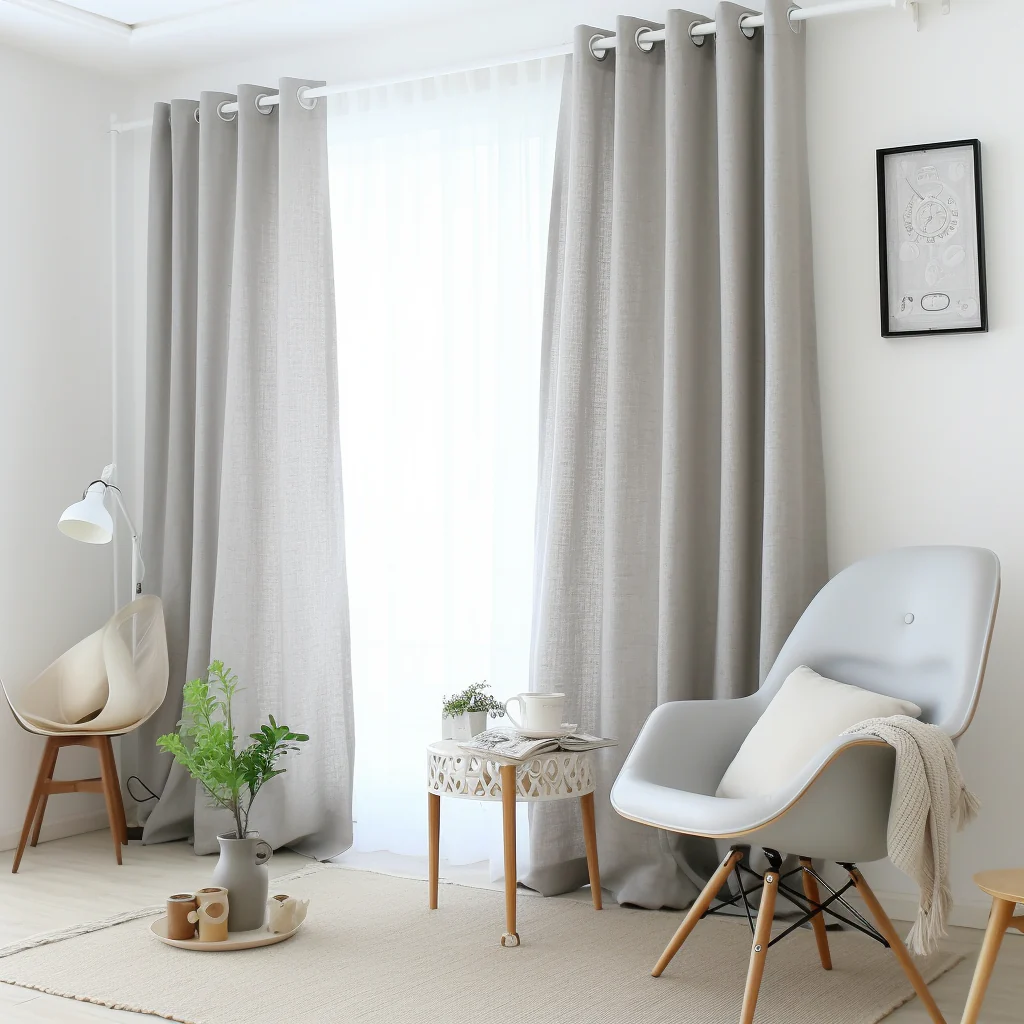
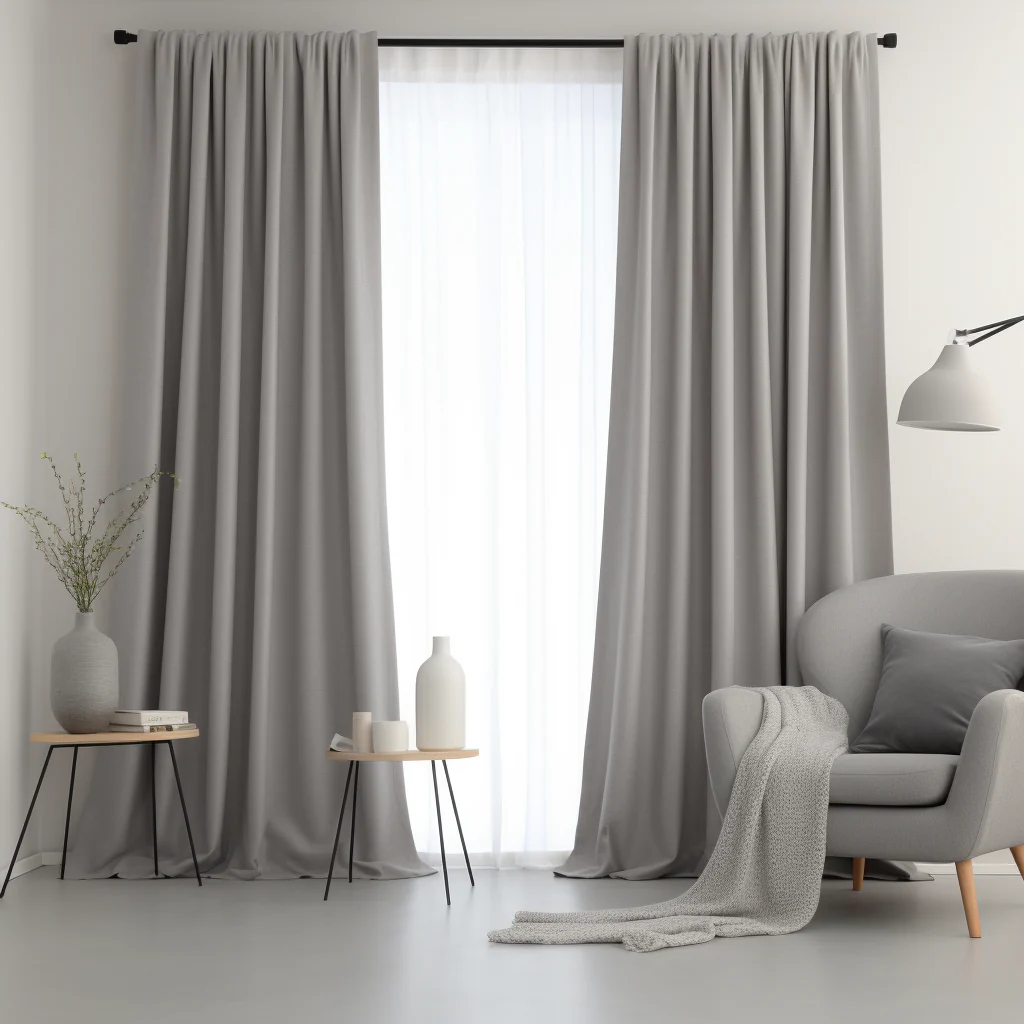
    If you are searching for the color of curtains for white walls, then soft gray is one of them. By pairing with white walls, soft gray curtains provide a neutral yet sophisticated appearance. From modern to traditional, gray is among the best color curtains for white walls. This is because it adds versatility and complements several types of design styles. The color does not overwhelm the space and adds a depth layer. Furthermore, not everyone wants change and thus try out options other than white curtains on white walls. As a curtain color, gray creates a calming effect. Hence, it is an obvious choice for living rooms or bedrooms, creating a serene environment. 

    1. Light Blue:

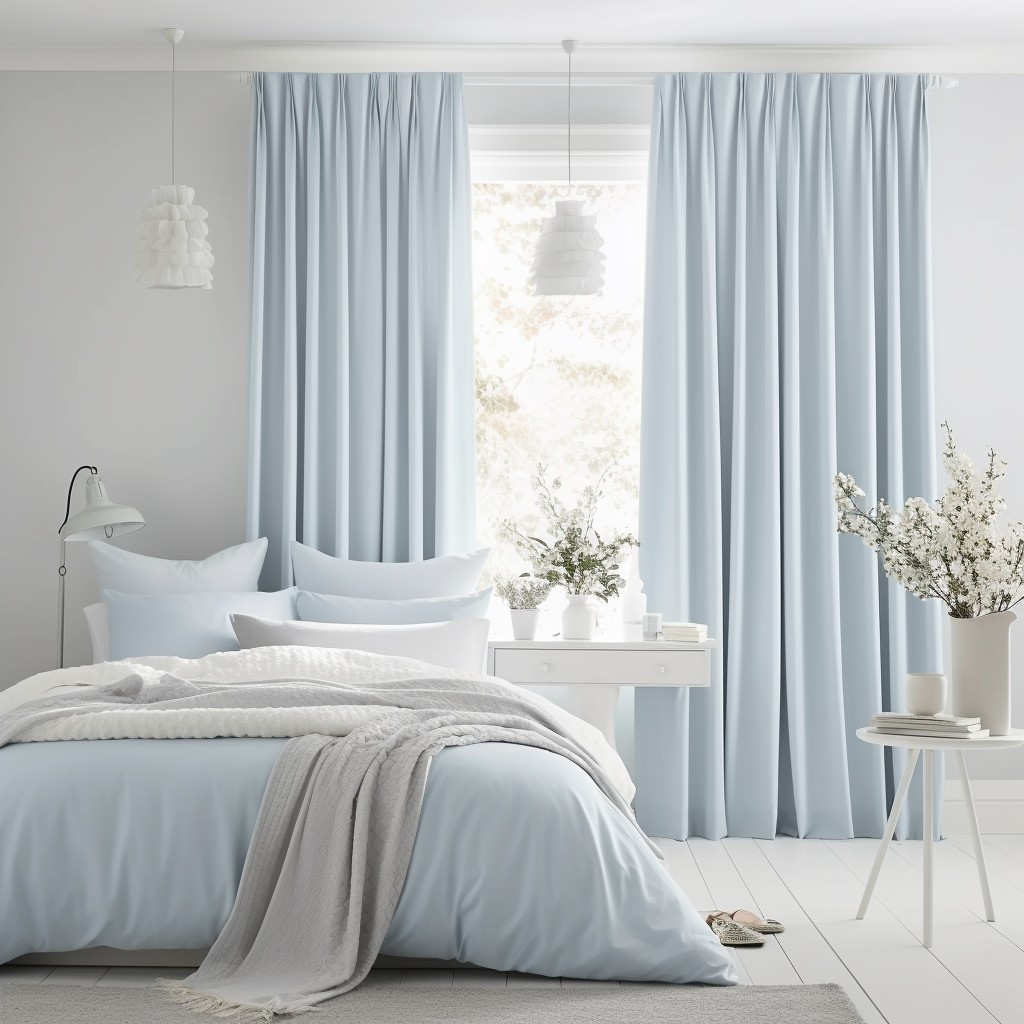
    By combining with white walls, powder or light blue color appears timeless, creating a tranquil and calming effect. Light Blue curtains for white wall is ideally suited for areas like offices, bedrooms, and living rooms. These curtains appear airy and light. Furthermore, the same shade of solid blackout curtains also appear elegant. 

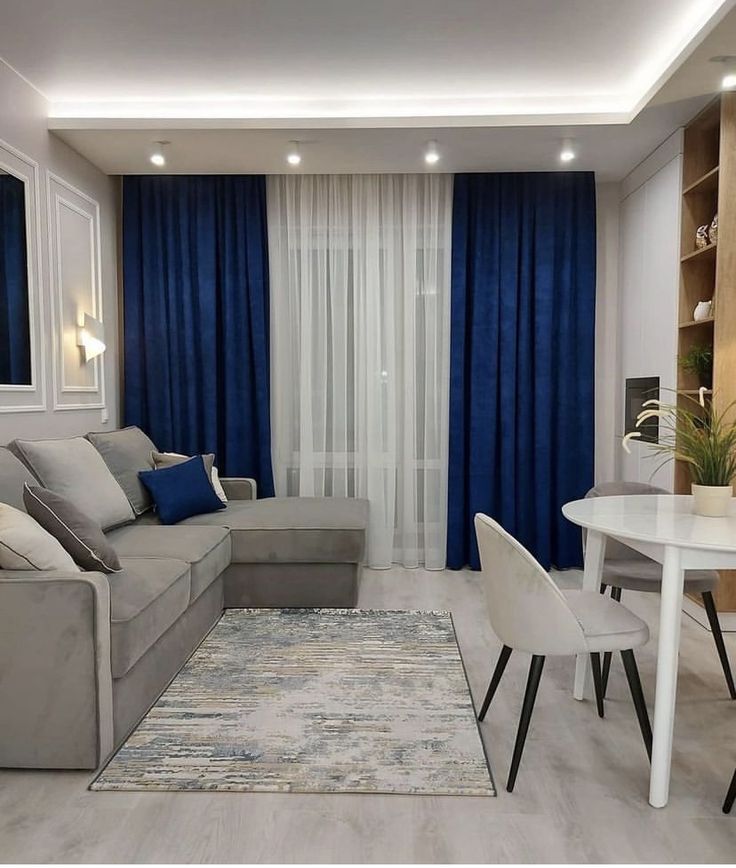
    1. Navy Blue:

    The combination of white walls and navy blue curtains appears very good. This is because, white is neutral and light, whereas navy blue is a dark color. Thus, combining the two contrasting colors gives an appealing outlook to your room. This ideal choice without worrying about what color curtains go with white walls.

    1. Light Gray:

    White walls when combined with light gray walls give a sophisticated and subtle appearance. It creates a quiet backdrop with a neutral gray tone. It will not compete with other art or furniture. The color is best suited for creating a minimalist and modern feel. With the white trim choose gray or light gray solid curtains.  These work better as compared to white curtains on white walls. 

    Also Read: What Color Curtains Go with Gray Walls?

    1. Deep Purple:

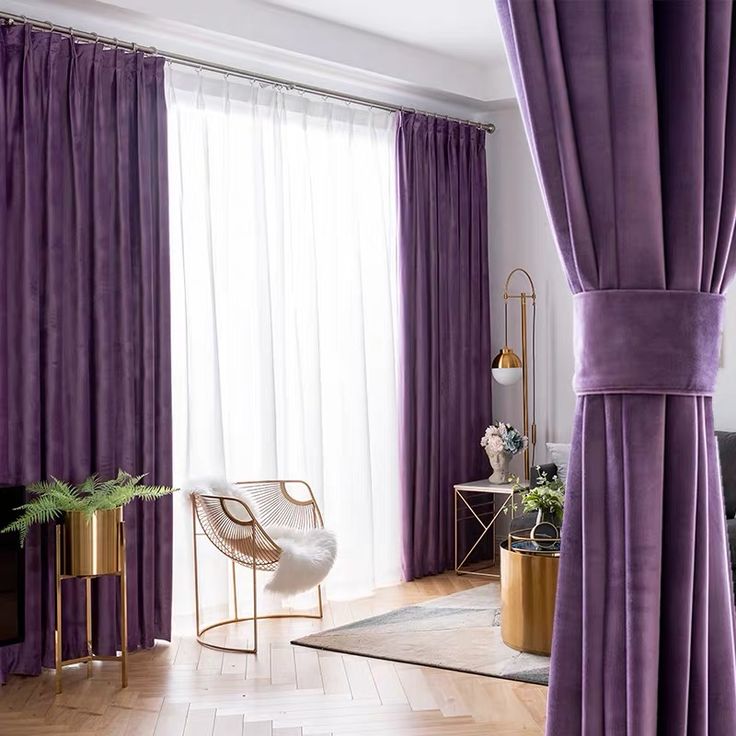
    Similar to Navy Blue, Deep Purple also contrasts very well with white walls. For better results, you can use different shades of purple. With the white walls, deep purple colors add a regal and rich statement. This color adds sophistication and a sense of opulence to the room as well as elegance and dramatic appeal. In the formal spaces, it works with master bedrooms or dining rooms, thus letting you create a strong impression.

    1. Emerald Green:
    Version 1.0.0

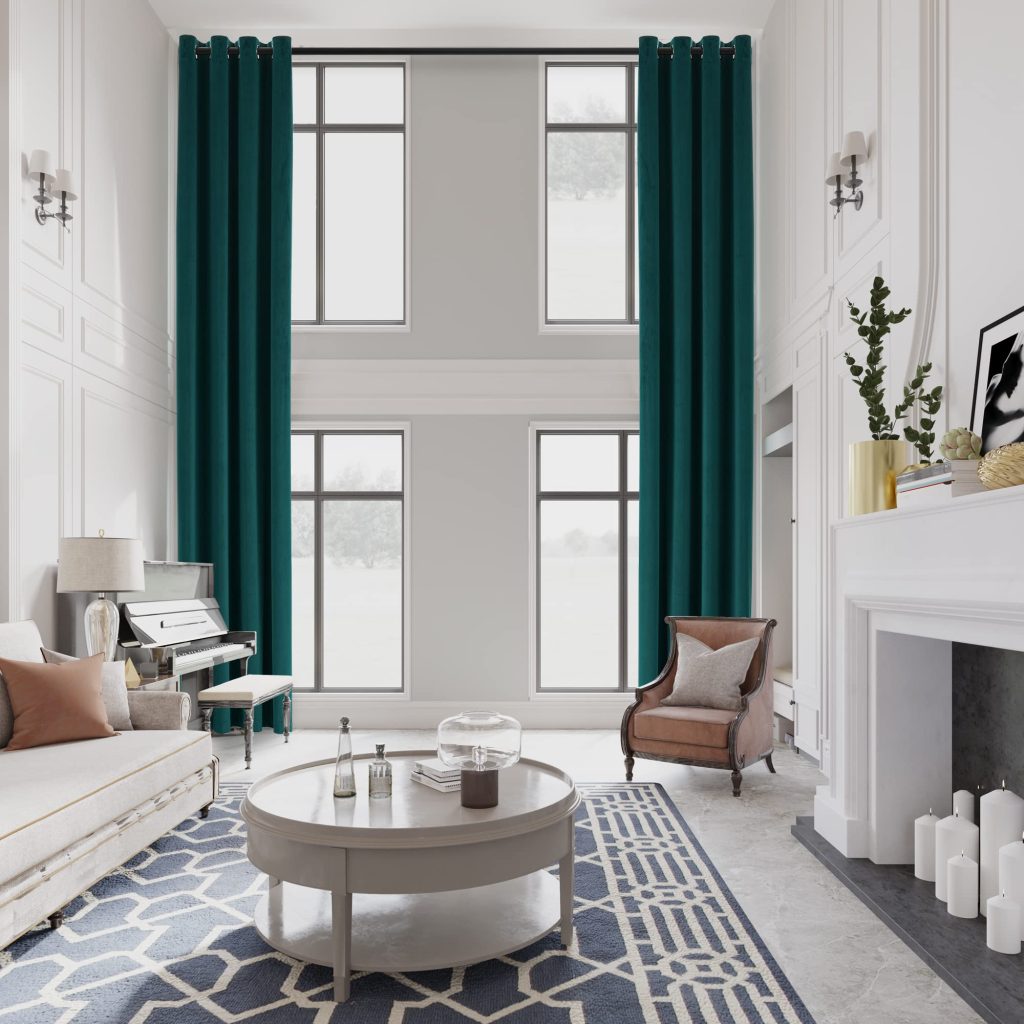
    With the white backdrop, Emerald green creates a gorgeous appeal. It adds freshness and vibrancy with a jewel tone. For elegant and lush appeal, use solid emerald curtains in bedrooms and living rooms. For sunny rooms, sheer emerald green creates a beautiful aura and appeal.

    1. Blush Pink:

    Blush Pink is a soft color that adds a wonderful contrast to the white walls. A white wall when combined with blush pink curtains creates an amazing outlook. To improve the overall design and look of the room, you can also use a lamp, chair, or lamp as accessories.

    1. Black:

    Black-colored curtains with white walls pave the way for a seriously chic look. You can find the color with any curtain outlet, creating a more fashionable and modern feel. For warmth and visual weight, making use of black in the interior works wonders.

    1. Beige:

    With white walls, beige colors curtains appear very attractive and balanced. When the white walls pair up with Beige curtains, they create a warm, timeless, and sophisticated aesthetic functional with any space. When these two colors complement each other, they create coziness and neutral appeal. Hence, it is ideal for transitional, minimalist, rustic, or modern interiors. Beige-colored curtains and white walls effortlessly combine a modern minimalistic approach, a Scandinavian-inspired sanctuary, or a cozy farmhouse vibe. Mixing tones and layering textures, keep the space appearance dynamic in nature. 

    1. Yellow:

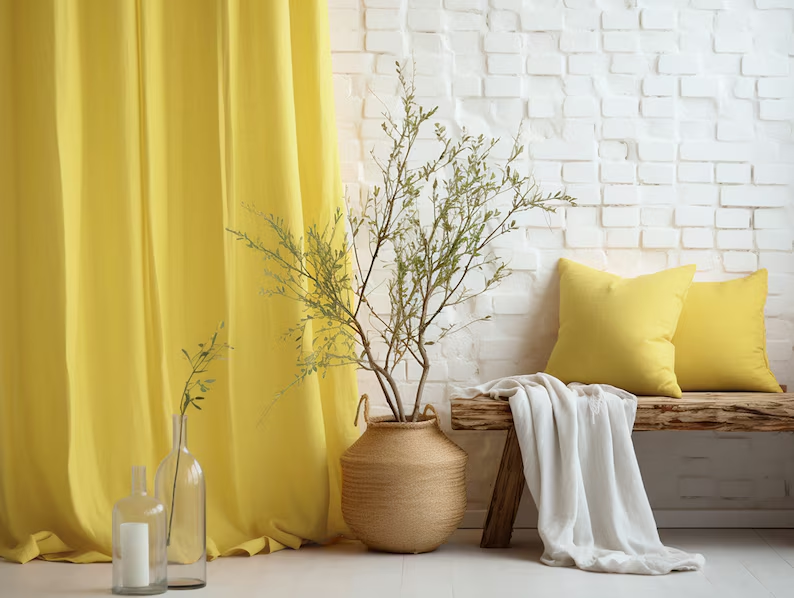
    In a white room, bright yellow curtains bring a cheerful energy. The color is welcoming in nature with its lively shade. For a sunny and soft look, pale yellow works ideally, whereas bold yellow is for a contemporary and graphic vibe. Yellow can be used in kids’ rooms, kitchens, and bedrooms. 

    1. Charcoal Gray:

    With white walls, charcoal gray curtains create a contemporary style enhancing the overall design and look. The combination creates a balanced and striking contrast exuding modern grace. This combination is valid for traditional, contemporary, minimalist, or industrial interiors.

    1. Rose Gold:

    If you want to add glamor to the white room, then rose gold is the right choice. It appears romantic and elegant with a warm pinkish tone. To add visual interest, pair them with white trim or try shimmery rose gold curtains that appear appealing in low natural light.

    1. Mint Green:

    As compared to normal green, Mint green curtains provide a softer appearance. By using additional accessories like lamps, chairs, small tables, and other things, the room gives a unique appearance. To create a rejuvenating and crisp aesthetic, it appears both timeless and modern. This cool and soft color gives any room a breath of fresh air. As a result, it gives a playful vibe evoking nature’s serenity. It is ideal for a whimsy touch and calmness ideally suited for the spaces. Mint green gives natural serenity with lush greenery and tranquility. Thus, it makes the rooms feel refreshed and peaceful. 

    1. Lavender Purple: 

    Lavender Purple is another ideal color for the white walls giving a feminine and soft feel. Lilac and lavender’s pastel shades appear romantic and dreamy with crisp white. 

    1. Mustard Yellow:

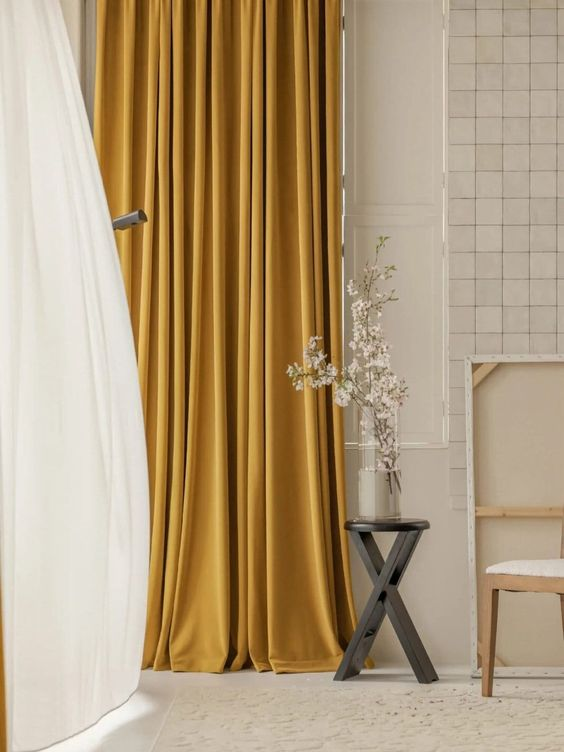
    As compared to normal yellow, Mustard yellow is a bit darker. When paired with white walls, Mustard yellow curtains improve the aesthetics of the room. They are designed to create a modern and bold contrast. Combining Mustard Yellow curtains with white walls creates a sense of neutrality and warmth. At the same time to keep the space airy and fresh, the presence of white walls is important. The combination of the two can create versatility in terms of minimalist, modern, eclectic, or bohemian interiors. Furthermore, it also helps in creating timeless appeal with the combination of sophisticated, cozy, and retro-modern hues. 

    1. Pink: 

    Similar to lavender, sheer curtains in blush pink color add femininity against the white walls. For any space, pink color adds energy and warmth to any space. For a welcoming and sweet look use pastel pink curtains. On the other hand, for making an electrifying statement use bold hot pink color. The color is ideally suited for eclectic living spaces, girls’ rooms, and bedrooms.

    1. Teal:

    For a good and vibrant appeal, teal-colored curtains with white walls are a perfect combo. These appear catching and very attractive to the eyes of the people. The combination of teal curtains with white walls looks sophisticated, bold, serene, and striking. This style is ideally suited for glam, coastal, bohemian, or modern interiors.

    1. Red:

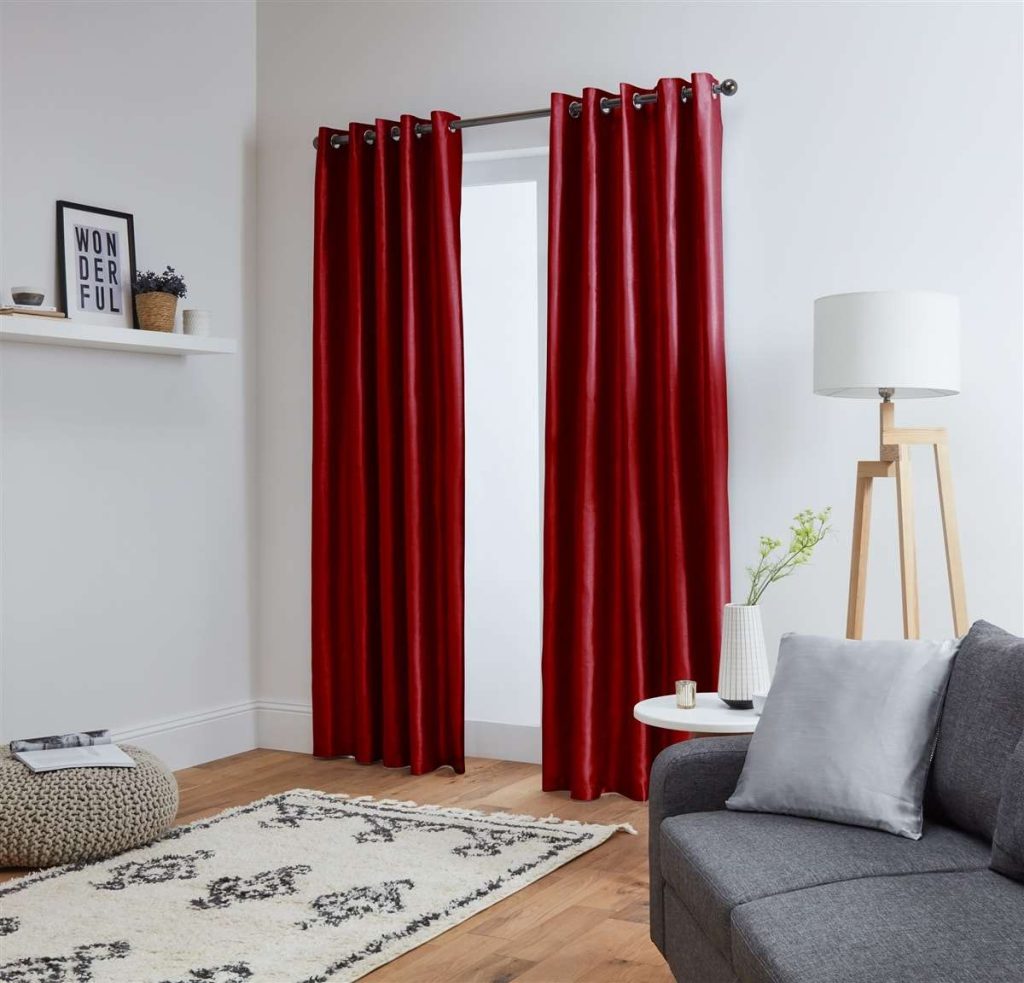
    For a dramatic statement on white walls, red color seems to be a perfect choice. The color is ideal to stir visual excitement and vibrancy. For contemporary spaces use bright reds like crimson words. On the other hand, in elegant and formal spaces softer reds create a burgundy feel. By pairing white walls and red curtains together, you can create a contrast between the bold and dynamic. This combination signifies sophistication, passion, and energy. Hence minimalist, modern, as well as traditional spaces pair this combination effectively.

    1. Coral:

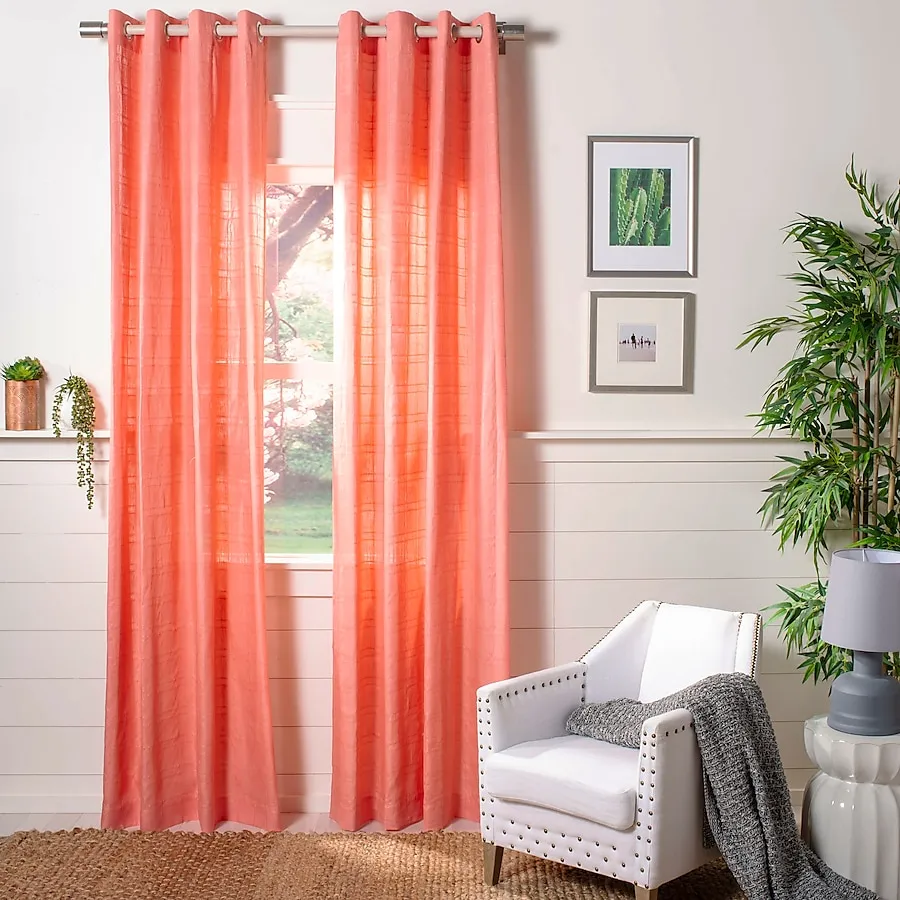
    With white walls, the coral color balances the look and appears vibrant. This combination gives a touch of modern or coastal charm, creating an inviting, fresh, and lively atmosphere. This style creates a diversity of styles from tropical-inspired to bohemian and Scandinavian interiors.

    1. Orange:

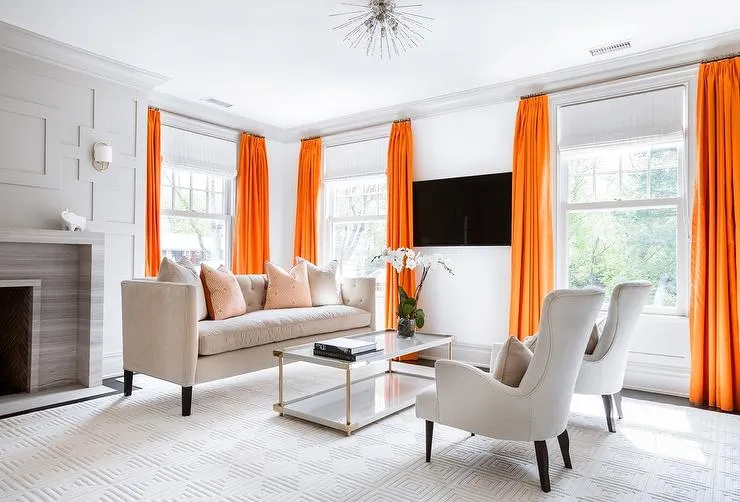
    Another combination that works wonders is orange curtains with white walls. Orange-colored curtains on white fall give an upbeat and cheerful feel. For visual and cozy warmth choose peach and burnt orange shade curtains. On the other hand, tangerine and bright orange pop on the white walls. Breezy sheer orange provides a summery look to the room. When implemented in children’s rooms, kitchens, dens, and offices, orange injects personality and color.

    1. Gold:

    To add a luxury appearance to the white walls, use shimmering gold. To glam up any space with a subtle approach, metallic gold curtains lead the way. For an elegant outlook combine white walls with sheer gold curtains. 

    1. Taupe:

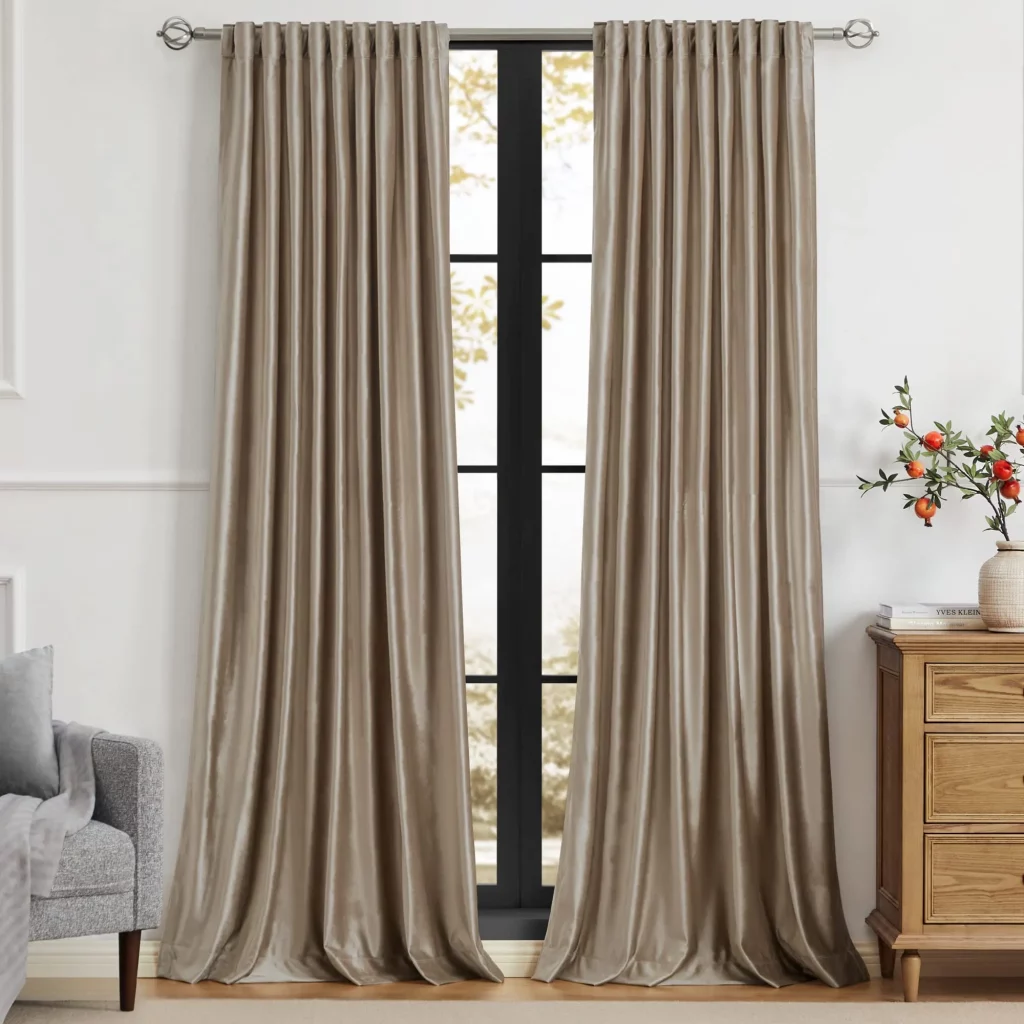
    With white walls, taupe-colored curtains give an earthy feel. It is ideal for a subtle and sophisticated appearance. This gray-brown and muted hue is ideal for creating an elegant and refined atmosphere. For contemporary and modern interiors, taupe is a popular choice. It gives an understated luxury and a sense of sophistication. It has a stylish and sleek outlook, making it suitable. 

    1. Terracotta:

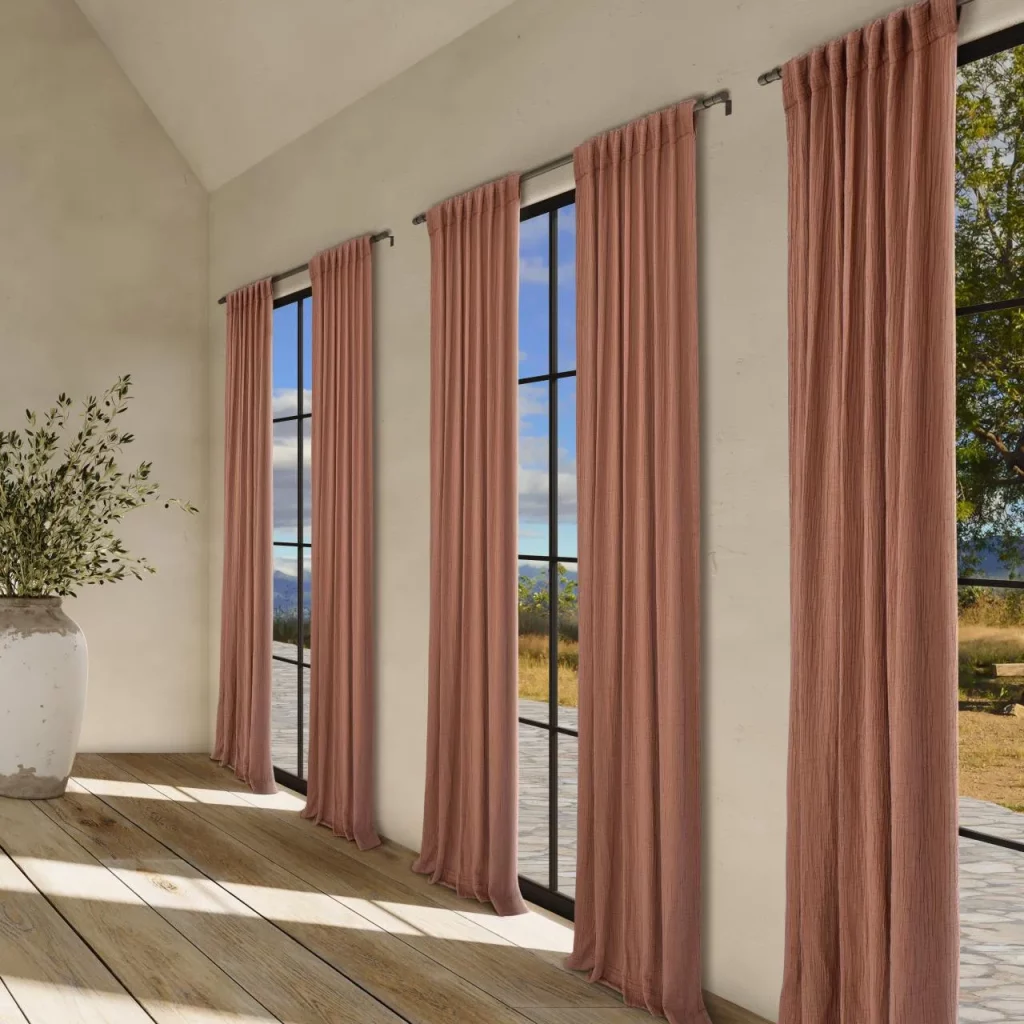
    Terracotta curtains with white walls create an earthy and warm effect. This reddish-brown and rich color is natural clay inspired. Hence, it is an ideal choice for creating an organic and grounded feel. Also, the color is ideal for carrying out eclectic interiors or bohemian vibes. It pairs in an awesome way with natural materials, earthy tones, and textured fabrics. Thus, the space seems to give a boho-chic vibe by including natural materials.

    1. Royal Blue:

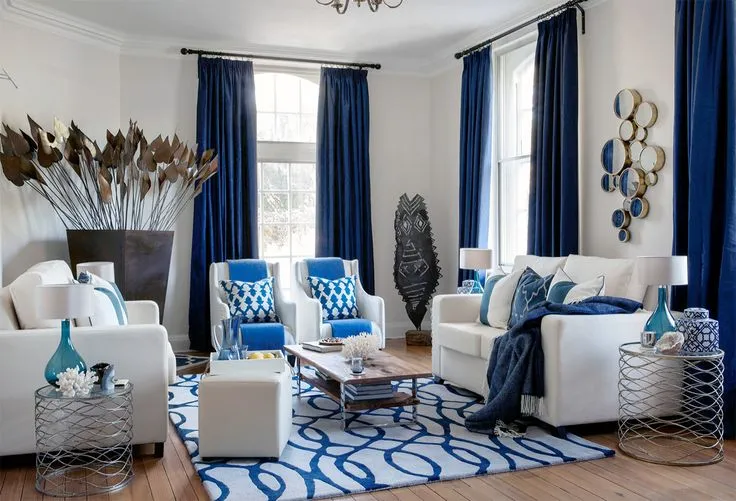
    For an instant glamorous appearance, royal blue is an ideal choice. With an elegant and luxurious outlook, the deep blue sparkle works well. For the master bedroom and dining rooms use royal blue in color. For living rooms, the royal blue color creates a peaceful retreat. You can play well with the textures like satin or velvet.

    1. Sage Green:

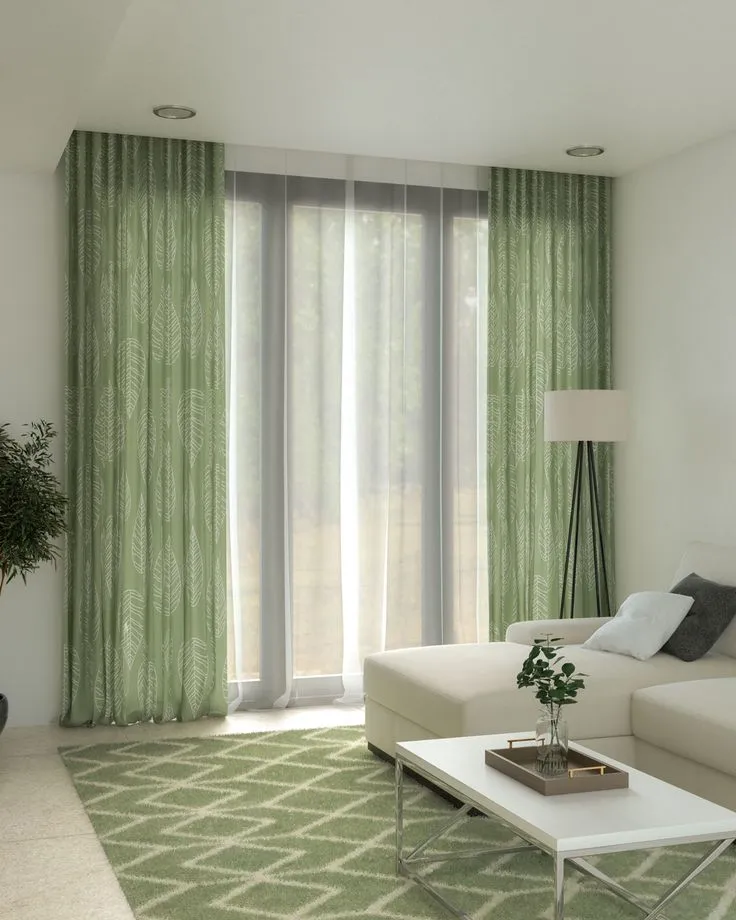
    With white walls, earthy sage green curtains complement nicely. For zen and relaxing is the refreshing green with gray undertones. Use offices, living rooms, and dining rooms with the use of sheer sage curtains. Sage green curtains promote a simplistic lifestyle without getting too bold with a spa-like bedroom feel.

    Conclusion

    Curtains play a crucial role in every room of the house. These are used for changing the design and overall appearance of the space. The above-mentioned colors are ideal for brightening up the space and giving it an appealing appearance. 

  • How to Remove Mould from Your Curtains and Blinds

    How to Remove Mould from Your Curtains and Blinds

    Are you concerned about how to get mould out of curtains? Moulds and mildew grow creepingly and sneakingly during rainy summers and warm weather. So, in no time it starts to grow if we are not aware of it. Mould growth is not only frustrating but notoriously bad for your well-being. Particularly they start growing on curtains and blinds of homes. As a pesky fungus, they can spread spores and damage the fabrics. Hence, if you are wondering how to get mould out of curtains, then this blog is for you. Here we will provide you with significant information regarding dealing with moulds effectively. The sooner you discover them the sooner you should remove them. Avoid making it a long-term problem, otherwise it will start taking a toll on you. 

    Reason Why Mould and Mildew Appear on Curtains

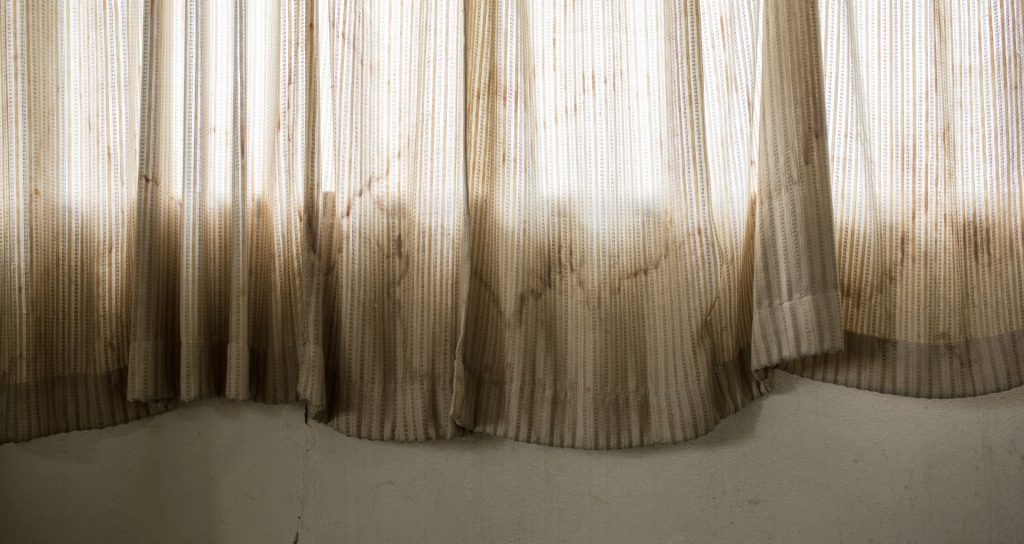
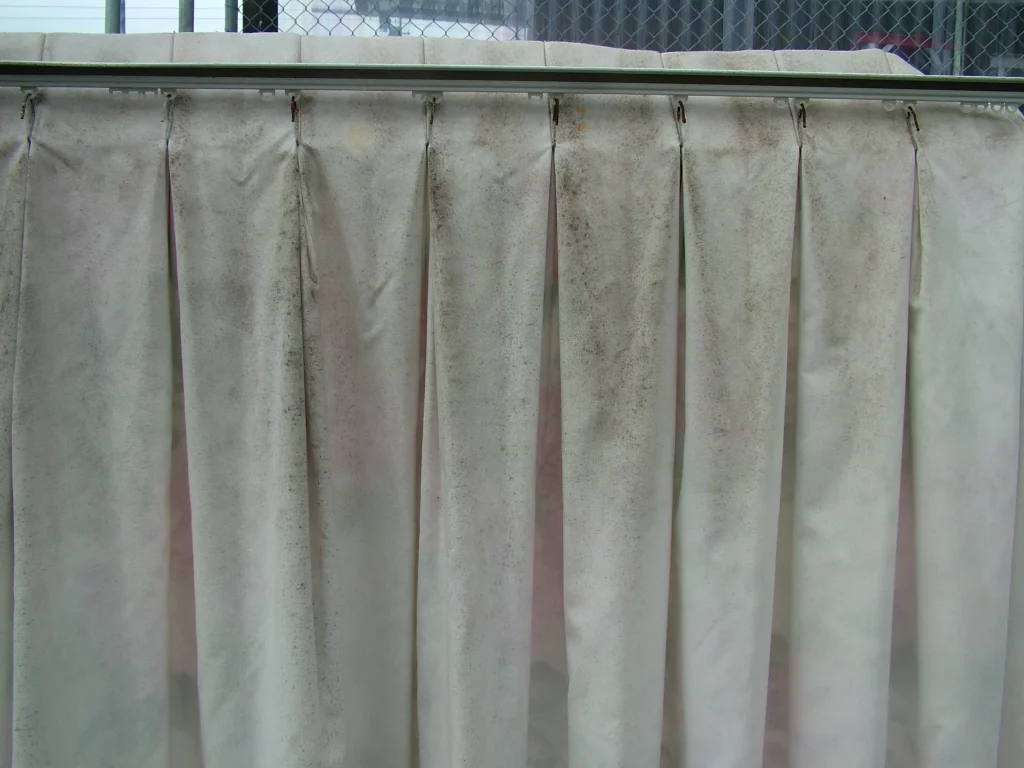
    Whether mildew or mould, their growth on curtains is usually due to extra air moisture. These are commonly located in areas with leakage problems, high humidity, or poor ventilation. Curtains have cellulose fabric that is a perfect breeding ground for the mould on curtains. This usually happens when the curtains are in contact with dampness, attracting condensation, especially during colder weather. You will first see green, grey, or black spots that may appear on the curtains. Besides that another sign of mildew and moulds on curtains consists of an earthy and musty smell.

    How To Get Mould Out Of Curtains To Avoid Hidden Dangers

    You cannot ignore the presence of potential moulds in your home. If you want to know how to get mould out of curtains, you have to identify by smelling them. This is what fungi experts and microbiologist give their expert advice about. It may potentially harm your health if you do not take it seriously enough. As the website Better Health indicates people with mould sensitivity, suffering from asthma, and weakened immune systems are prone to its symptoms. These include breathing difficulties, skin irritation, stuffy nose, sore eyes, and wheezing. In case you are also stuck in a mouldy area of your home, wear suitable protective clothing, and ensure the room is well-ventilated. So, if you are worried about how to remove mould from blinds, consult an expert first. For safe removal of the moulds, many experts suggest P1 or P2 face masks, rubber gloves, eye protection, and a shower cap.

    How To Get Mould Out From Curtains and Blinds Fabric

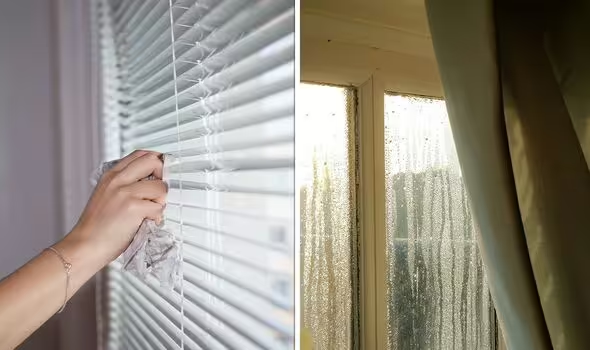
    So, are you worried about how to remove mould from blinds? Regularly checking your blinds and curtains is a very good practice. It allows you to keep a check on the signs like mildew, dampness, or moulds. Due to this, the windows get affected, since they collect condensation often. Grime, mildew, and moulds often accumulate in such areas. So it is important to know how to clean mould, It may also affect your health besides being bad for window treatments. This is the reason why it is necessary to clean and check windows. 

    Nevertheless, if you know about the step-by-step process, then it is very easy for you to remove them from your windows. If you are unable to learn then put it in the washing machine, otherwise do it on your own. Generally, thermal-backed curtains can handle gentle wash, yet they do not like surging heat. However, before using the machine and hoping for the best, always check the fabric first. 

    Tips and Tricks Regarding How to Clean Mould: 

    1. Manually remove as much mould as possible:

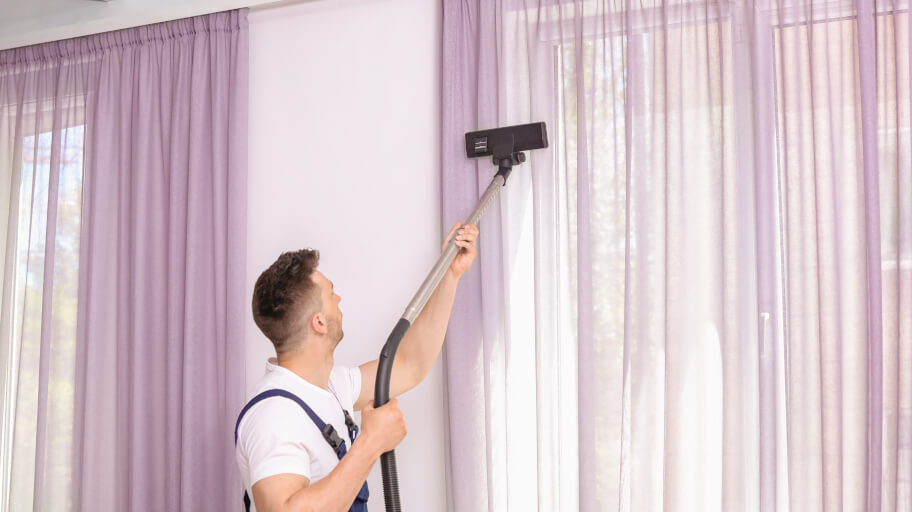
    The first of the best ways to get rid of mould is a hard bristle brush or a vacuum attachment. These help in brushing or lifting off excessive growth. Do you want to know how to clean mould? During the cleaning process, this prevents the spreading of moulds. If you want to restrict mould growth to other areas of the home, then it is a good idea to do this. To ensure your health does not get affected, is better to wear a mask. 

    1. Ensure Completely Drying out of Curtains

    Before hanging the curtains up again ensure that these are completely dry. Choose areas with good airflow and until they are completely dry, do not take them off. Put the sturdy fabric curtains in the dryer first. For a quick tremble, feel free to pop them in the machine. 

    1. Anti-bacterial wipes

    Antibacterial wipes are another best way to get rid of mould on curtains and blinds. To kill moulds on hard surfaces, people also recommend using clove oil. Shannon Lush, the cleaning expert suggests using a quarter teaspoon of clove oil per liter of water in a spray bottle. However, you should avoid using cloves on the fabrics.

    1. Gently Scrub the Areas Affected 

    Scrub the spots where moulds are present by using a sponge or a soft-bristle brush gently in a circular way. However, avoid scrubbing too hard, otherwise the fabric may get damaged. Prioritize the areas in which you can visibly see more mould growth. The dirt and mould particles get removed due to circular motion This way you can penetrate much deeper while cleaning. Focus particularly on edges and corners and make sure to cover all the visible spots where moulds are presently located. 

    1. Avoid Pushing Air Humidity Lower than 30%

    According to the experts, you should ensure air humidity is between 30 to 60%. This will allow your home to remain a comfortable spot. This will restrict the growth of moulds, otherwise, it may lead to consequences. By lowering the humidity level, you will face a variety of problems within your home. These include adverse impacts on furniture, timbers, and artwork, leading to an uncomfortable dryness in your home.

    1. Spray Affected Areas

    If you see areas that are affected with moulds then use a commercial stain removal, white vinegar spray, or rubbing alcohol. By briefly letting it soak, the vinegar acids can help break the stubborn stains down and kill the moulds. Alternatively, a bleach solution is also an effective way yet dangerous to use and may remove color from your curtains. 

    1. Air Dry

    ‍Air-drying the curtains after washing in direct sunlight also helps eliminate any odors and inhibits the further growth of mould. 

    Conclusion

    The appearance of your home is a very important issue and mould growth on curtains can completely ruin it. It is not only hazardous to your home design but also poses significant health threats. However, the above-mentioned steps in this blog can help you overcome the issue and eliminate its occurrence. 

  • How Roller Blinds Work: A Simple Guide to Operation

    How Roller Blinds Work: A Simple Guide to Operation

    Do you know how roller blinds work? Window treatments are crucial in improving any space’s overall look and functionality. Window roller blinds, also known as roller shades, are most popular because of their easy use and versatile approach. This blog aims to explore the mechanics of how blinds work, including several aspects related to their functionality and components. 

    What Are Roller Blinds:

    As mentioned above, out of all the window blinds, window roller blinds are acknowledged as among the most popular ones. For centuries, roller blinds have been a humble yet essential item for several households. The question that every person who is unfamiliar with its function wants to know how roller blinds work. Roller blinds are the coverings for windows composed of easily bendable fabric. This is how to take a roller blind down and up according to the situation. A roller blind mechanism features a spring-loaded system or chain pulley system. This is essential since it allows the action to be performed. The common function of how blinds work is to provide insulation, control light invasion, and protect privacy. However, the thing that gains our attention is the way it works, according to the roller blind mechanism. 

    Roller Blinds and Window Types

    There are several types of windows in which you can find roller blinds installed. A roller blind mechanism features an L-shaped, standard, bay, or half-bay window frame. As compared to standard windows, Bay windows can be very tricky. Therefore, if you want to know how roller blinds work, the first thing you should look forward to is the measuring guide for your room size. 

    Key Components of Roller Blinds

    To find out how roller blinds work, you have to focus on the core components mentioned below. Before buying roller blinds, first consider discovering how the roller blind mechanism works. Some of these components are as follows: 

    1. Fabric: 

    The first thing you need to know about how roller blinds work is the fabric. These range from synthetic blends to polyester, cotton, or linen.

    1. Roller Tube: 

    A roller tube is also known as a roller blind mechanism or simply a roller. As a cylindrical tube, it wraps the fabric around it while rolling the blinds. 

    1. Bottom Bar: 

    The bottom bar of window roller blinds is a horizontal bar situated at the blind’s bottom helping to keep it taut when extended and weighing it down. 

    1. Operating Mechanism: 

    The operating roller blind mechanism lowers and raises the roller blind. It is a motorized automated operation, dealing with a spring-loaded system, a chain pulley, or a cord loop.

    1. Brackets: 

    Brackets in window roller blinds are components of the hardware attaching the roller blind to the wall or the window frame.

    1. End Caps: 

    End caps cover the end of the roller tube, designed to protect the internal mechanism and provide a finished look.

    Installation of Roller Blinds:

    To ensure that blinds work properly, installing roller blinds is the key thing. It focuses on getting all measurements right. The ceiling or window frame screws the mounting brackets that will hold window roller blinds firmly. 

    How Do Roller Blinds Roll Up?

    When you pull the cordless wand, control chain, or cord. A spring-loaded mechanism gets activated internally in the roller tube. As a result, this is how blinds work beginning to rotate steadily on its axis. The roller fabric of window roller blinds attached to the tube winds around evenly and rolls in an upward direction. To keep the fabric material around the tube, the role of friction is the key. When retracted completely, the neatly stored fabric gets wrapped around inside the tube. 

    Unrolling Roller Blinds

    Releasing the control chord/chain, will halt the rotation of the roller tube and disengage the spring mechanism. The roller blind tube will stop rotating and turning. If you are wondering how to take a roller blind down, then gravity is your best friend. As a result of this blind fabric unrolls in a controlled manner from the tube. As a screen over the window, the is at full-length extension. Partial blind lowering is because of optional stopping points.

    Benefits of Using Roller Shades

    Roller shades are a functional and versatile option for window shades and blinds. Some of the advantages regarding how blinds work are as follows: 

    1. Light Control: 

    There are many types of light control options ranging from sheer fabrics to blackout ruler shades for entire darkness. 

    1. Energy Efficiency: 

    These shades assist in cutting down energy costs and lessen heat loss or gain by insulating windows and blocking light.

    1. UV Protection: 

    UV protection can protect interior furnishings and block harmful UV rays with specific fabrics. 

    1. Versatility: 

    The versatility of several kinds of windows include patio, sliding, and French doors. These are available to match any interior design in several colors, fabrics, and patterns.

    1. Ease of Use: 

    Several options, such as motorized, corded, and cordless roller shades, offer ease of use. Whether constructed with simple or low-maintenance materials, these shades are functionally operational and seamlessly fit. 

    Types of Roller Shades 

    1. The Traditional Roller Shades 

    Roller shades/blinds have a history that began in Europe in the 18th Century. At first, they were functional and simple, window coverings, operated by a simple pully system. They were composed of paper or cloth. With the Industrial Revolution’s advent in the 19th century, the evolution of roller blinds took place in mechanism and material. For easier operation, these incorporated spring-loaded rollers. Due to their affordably and practicality, these became popular throughout the world. By the 20th century, there were a variety of materials that resulted in more durable materials. These included solar-blocking and vinyl layers. The mode of operation for traditional roller blinds is very effective and simple. They comprise a rolling mechanism and fabric sheet attached, mounted at the top. 

    1. Smart Glide Roller Blinds 

    To cover the windows with roller blinds, smart glide Roller blinds are another option. These are both user-friendly and more advanced window coverings. Compared to traditional roller blinds that depend upon chains or cords, Smart glide blinds operate via a cordless system. Thus, people use it in their homes as they provide safety to pets, children, and other members of the family. 

    1. Smart Release Roller Blinds

    Just like the Smart Glide, the Smart Release roller blind also possesses similar features. However, the key difference between the two is that smart release also includes the cord. By gently tugging you can activate blinds in the chain’s opposite direction. Once done the blind gently rolls down on its own automatically. By slightly tugging on the chain’s opposite end, you can stop the smart release. You can still afford the option of added control of the cord while utilizing modern mechanics with convenience. The roller blind has also gone through an evolution in appearance making it look modern and beyond nifty. 

    1. Block-out Roller Blinds 

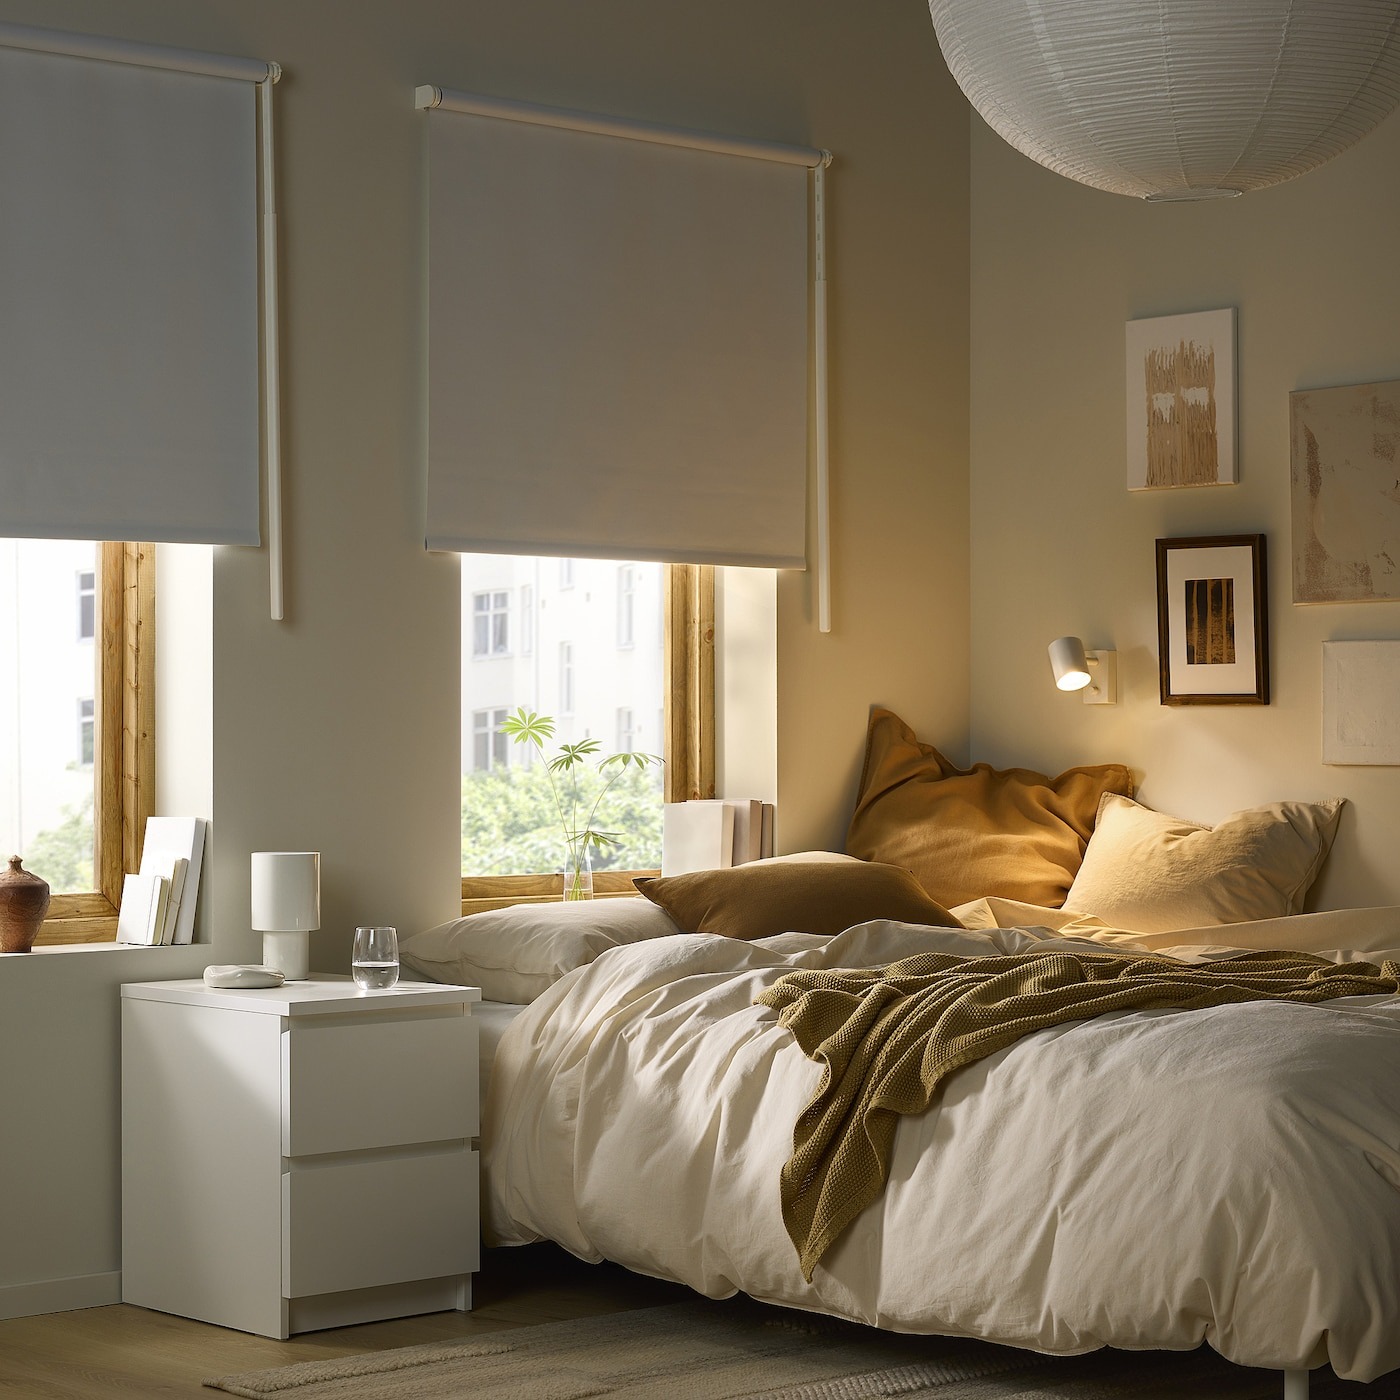
    The design of block-out roller blinds blocks the entire external light of the room, turning the space into entire darkness. They are composed of opaque and dense fabric that blocks light from penetrating. Hence, it is perfect for usage in spaces like home theatres and bedrooms along with many other rooms and spaces. Furthermore, these also contribute to energy efficiency and offer privacy through insulation. This way they allow rooms to become cooler in summer and warmer during winter. Whether motorized or manual, the roller blinds operate on a simple mechanism of rolling. When these are not in use, they maintain an uncluttered and clean look. 

    Sunscreen Roller Blinds 

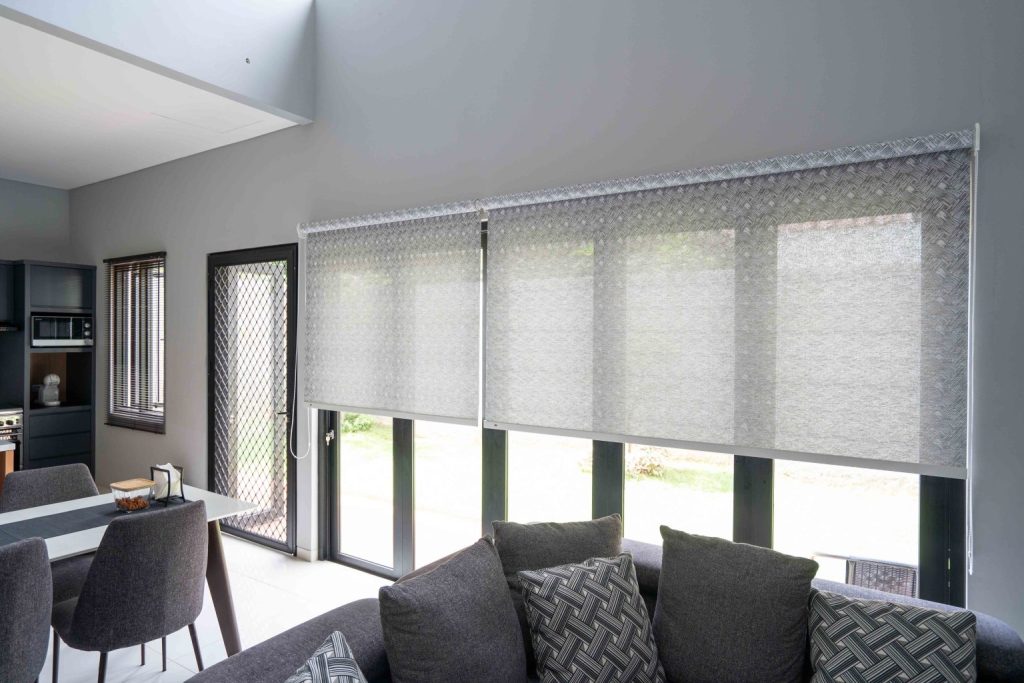
    The design of a sunscreen roller blind is to provide a balance between sunlight protection and visibility. These are composed of a semi-transparent fabric diffusing and filtering natural light. Such blinds block harmful UV rays and reduce glare. Hence, interior furnishings are protected from fading and sun damage. While they provide daytime privacy, they also allow for an outside view. For areas where you need natural light, it is ideal to use sunscreen blinds. These are best since they do not direct harsh sunlight. These areas include home offices, living rooms, and the kitchen.

    The sunscreen blind uses a fabric composed typically of open weave. These offer energy efficiency and heat reduction, keeping the temperature of the rooms cooler. You can find them in several colors and with several weave densities. Regardless of the types of interior styles, these can diversely complement. You can pair them with other window treatments since they are easy to clean and durable. This way these blinds can get added design and functionality. 

    Day Night Roller Blinds 

    Are you looking for a two-in-one connection? Day Night Roller blinds provide optimal convenience by combining sunscreen and block-out roller blinds. However, they perform independently when installed in one bracket. Hence, whether office space or a living room, the Day Night Roller blind is ideal for rooms and allows you full control over lighting. 

    Roller Blinds vs. Other Blinds Light Management 

    As previously indicated, the fabric behind your chosen fabric impacts the blackout functionality of roller blinds. If you want to completely leave the light out, then it is ideal to choose roller blinds. As compared to wooden Venetians, these perform the same function in a far better way. For instance, ensure that the description also indicates that the fabric you choose includes the term blackout. 

    Are Roller Blinds right for me?

    One of the most convenient and easy ways to add color to your room and block light is to use roller blinds. It is very easy to operate and install them and the process of closing and opening is very easy with the help of a simple chain mechanism. However, while using roller blinds in your pets or children’s room ensure you carry a child safety device that is included within. 

    Conclusion

    Upon understanding the functions and benefits of roller shades, you may be looking forward to upgrading your interior. These shades include several features that you may not find in other kinds of window treatments. By combining sheer and linen textures or using total blackout and light filtration materials, you can add perfection to your homes. 

  • At What Height Should a Shower Curtain be Installed?

    At What Height Should a Shower Curtain be Installed?

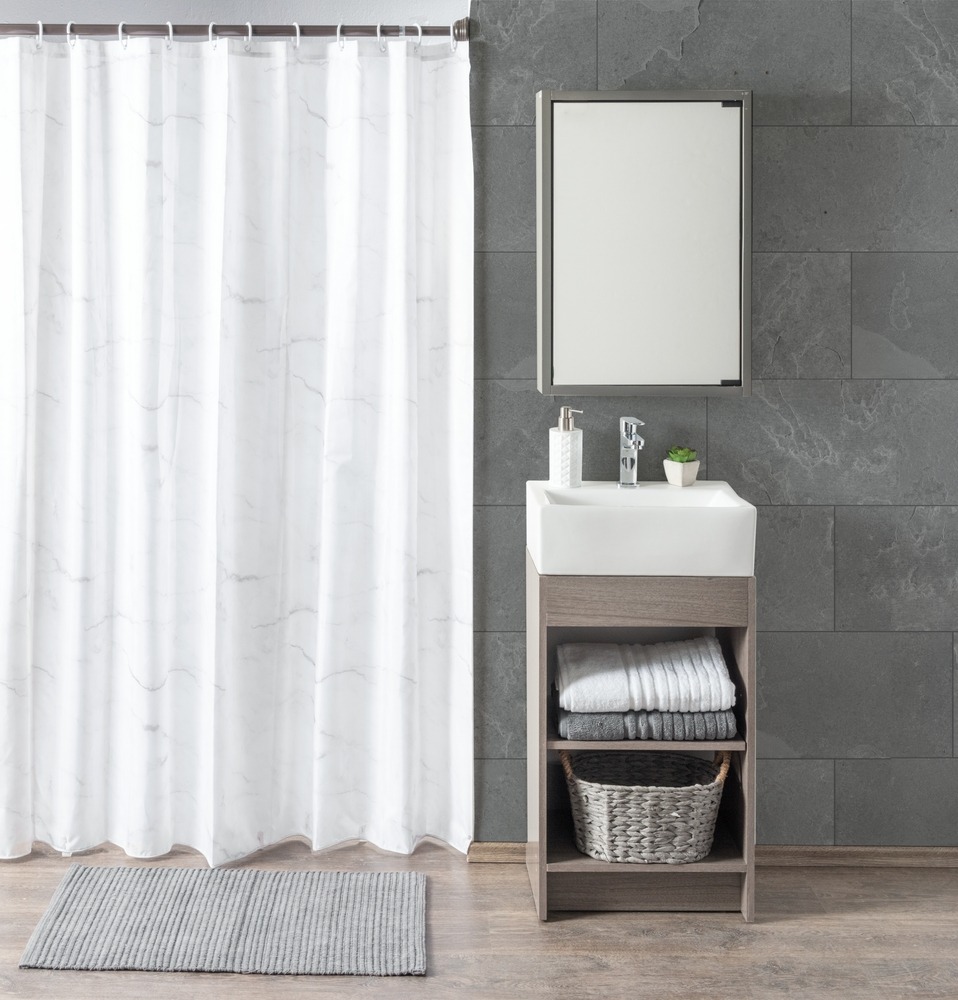
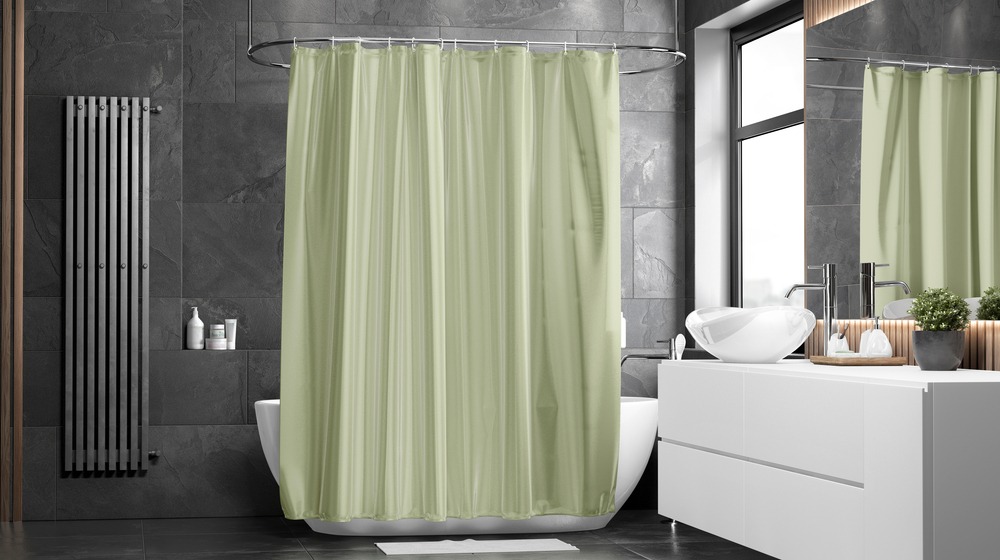
    You need to install a shower curtain according to its length. Compare it with shower height and install its rod between 75 to 77 inches from the floor. A standard shower curtain size is typically 72 inches long. When you install curtains between 75 and 77 inches, you don’t get your bathroom floor wet nor make your bathroom look gross as the curtains bottom won’t touch the floor.

    But it’s important to place the rod correctly to avoid accidents, especially if you have children or pets at home. For that purpose you must first measure the standard shower curtain size and your bathroom walls properly. The latter process becomes easier when you have the measurements beforehand. With that said, let’s get into the step-by-step process of standard shower curtain size installation in your bathroom.

    Step 1: Hang the Rod 6-10 Inches Below

    Standard shower curtain size

    Standard shower curtain size is usually 70 to 72 inches long. Before drilling or securing the curtain rod, make sure to double-check your measurements. The shower curtain rod height should be 6 to 10 inches below the ceiling to ensure good airflow. 

    Poor quality can lead to moisture and mold growth over time. Keeping good airflow helps prevent mold and mildew. If your bathroom has ventilation directly above the shower, you can hang the curtain rod higher.

    Step 2: Create a 1-Inch Gap Between Rod and Curtain Top

    Gap Between Rod and Curtain Top

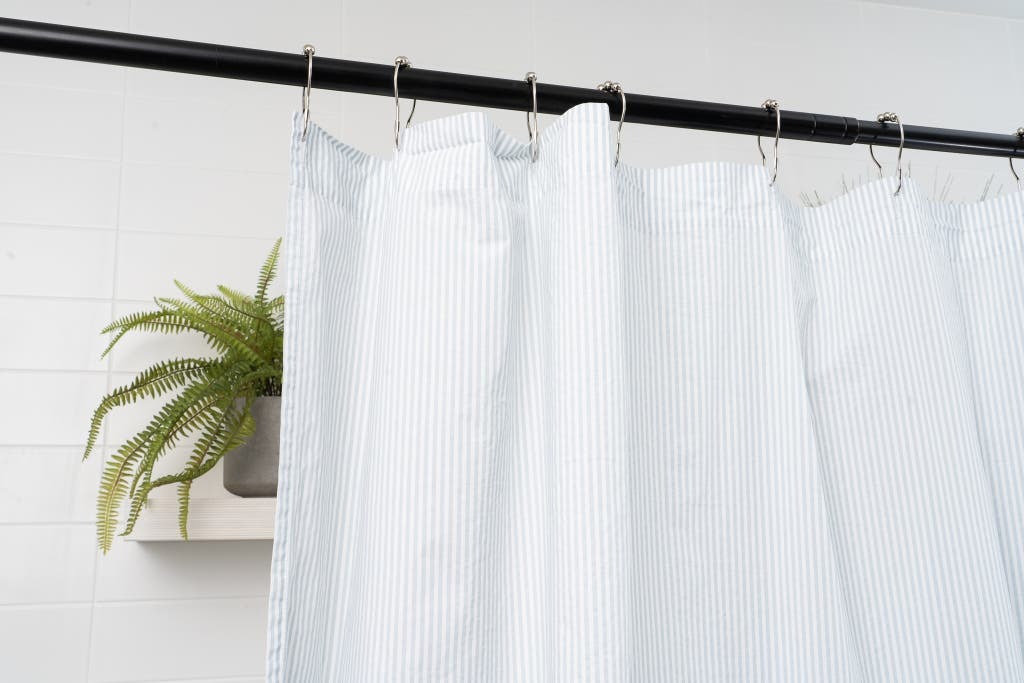
    Hooks or rings create a small space between the rod and the top of the curtain. This space can be about 1 to 2 inches, depending on the design. Make sure to include this space in your measurements. For example, if your curtain is 72 inches long and the ring adds 1 inch, use this formula for rod placement: 

    Shower Curtain Rod Height = Curtain Length + Ring Space + Desired Overlap 

    Avoid using crooked rods, as they can impact both the look and function of your curtains. You can hem the curtain or use fabric extensions to get the right length. If you’re tall, hang the rod high enough to avoid bumps. Add 2 to 3 inches to the standard rod height. If your curtain is 72 inches long, place the rod about 75 to 77 inches above the floor.

    Step 3: Stop Water Leakage by an Overlap of 1-Inch

    To prevent water leaks, the liner should overlap the tub lip by at least 1 inch for showers and 3 inches for tubs. This overlap helps keep water inside the bathing area. Leave a gap of 0.5 to 1 inch between the curtain’s bottom and the floor. This gap prevents the curtain from dragging and helps avoid dust or moisture buildup. 

    PEVA Liners are also affordable and mildew-resistant, ideal for preventing water leakage. If your curtain is 72 inches long, has a hook drop of 1 inch, a tube height of 14 inches, and an overlap of 3 inches, you can calculate the ideal rod height using this formula:

    Rod Height = Curtain Length + Hook Drop + Tub/Shower Height – Desired Overlap = Height

    Rod Height = 72 + 1 + 14 – 3 = 84 inches

    How to Make Sure Your Bathroom Looks Appealing With New Curtains?

    After measuring shower curtain length and installing them, these post-installing tips can help you elevate your bathroom’s aesthetic appeal.

    Hang the Rod Closer to the Ceiling

    This elongates the room and creates a spacious and luxurious feel. Use extended-length curtains for this effect. If the front of your tub or shower area is unattractive, hang the curtain lower to hide it. And to show off stylish tubs or detailed tile work, hang the curtain higher so these features can be seen. If the front of your tub or shower is unsightly, hang the rod lower to conceal these areas. Make sure the curtain still clears the floor to avoid dust accumulation.

    Use a Longer Liner to Reduce Splashes and Spills

    In homes with children, it’s important to have this overlap and containment, so that the kids remain safe when they take baths. The height of the tub’s edge or shower curb is important for keeping water inside. Measure the height from the floor outside the tub to the top of the tub. After that, measure from the tub floor to the top edge on the inside. These measurements help make sure the liner covers the tub edge properly to keep water contained. The curb often measures about 3 to 4 inches high. Make sure the liner extends at least 1 inch over the edge for showers and 3 inches for tubs.

    Final Words

    Now that you know the standard shower curtain size when installing shower curtains and also how to install them, here’s a quick recap. Save these takeaways so that the next time you install a shower curtain in your bathroom, you do it perfectly.

    • The average shower curtain size is 72-inch curtain typically calls for a rod height of 75 to 77 inches from the floor.
    • Hanging the curtain rod higher on the wall can make the small bathrooms with low ceilings seem larger. 
    • Double glide roller hooks hang both the curtain and liner separately, ensuring easy maintenance.
    • For wider showers, use two curtains or custom-sized options to get proper coverage.

    Frequently Asked Questions


    What is the proper shower curtain height?

     The average curtain size is 72 inches wide and tall. Adjust the shower curtain height so it doesn’t touch the floor. This helps keep mold away. Make sure it is at least 72 inches above the floor.

    Should you hang a shower curtain higher?

    When you hang a shower curtain, make sure the bottom is 1 to 3 inches above the floor. This helps water drain and keeps the curtain clean.

    Where is the proper placement of a shower curtain rod?

    To hang your shower curtain, make the bottom hem about five inches below the top of your bathtub. Adjust the shower curtain length to this height, and mark the wall above the top of the curtain with a pencil. Repeat this measurement on the other side.

    How to install shower curtains properly while maintaining bathroom cleanliness?

    You need to do beforehand measurements of bathroom walls and your curtains. Hem your curtains or use fabric extensions to compensate for what’s missing. For cleanliness and aesthetics make sure the curtains don’t touch the floor or allow water splashes.

  • Inside vs Outside Mount Roman Shades: What, When & Why

    Inside vs Outside Mount Roman Shades: What, When & Why

    When shopping for custom Roman shades, everyone has to think whether they should mount them inside or outside the window frame. Inside mounted shades are perfect for those who want a clean and a custom fit look. Outside mounted shades offer more flexibility for shallow windows with unique shapes, and situations where you need extra coverage. This choice affects the look and functionality of your space. That’s why we will guide you in this blog and help you decide whether inside or outside mounting is the best choice for your space.

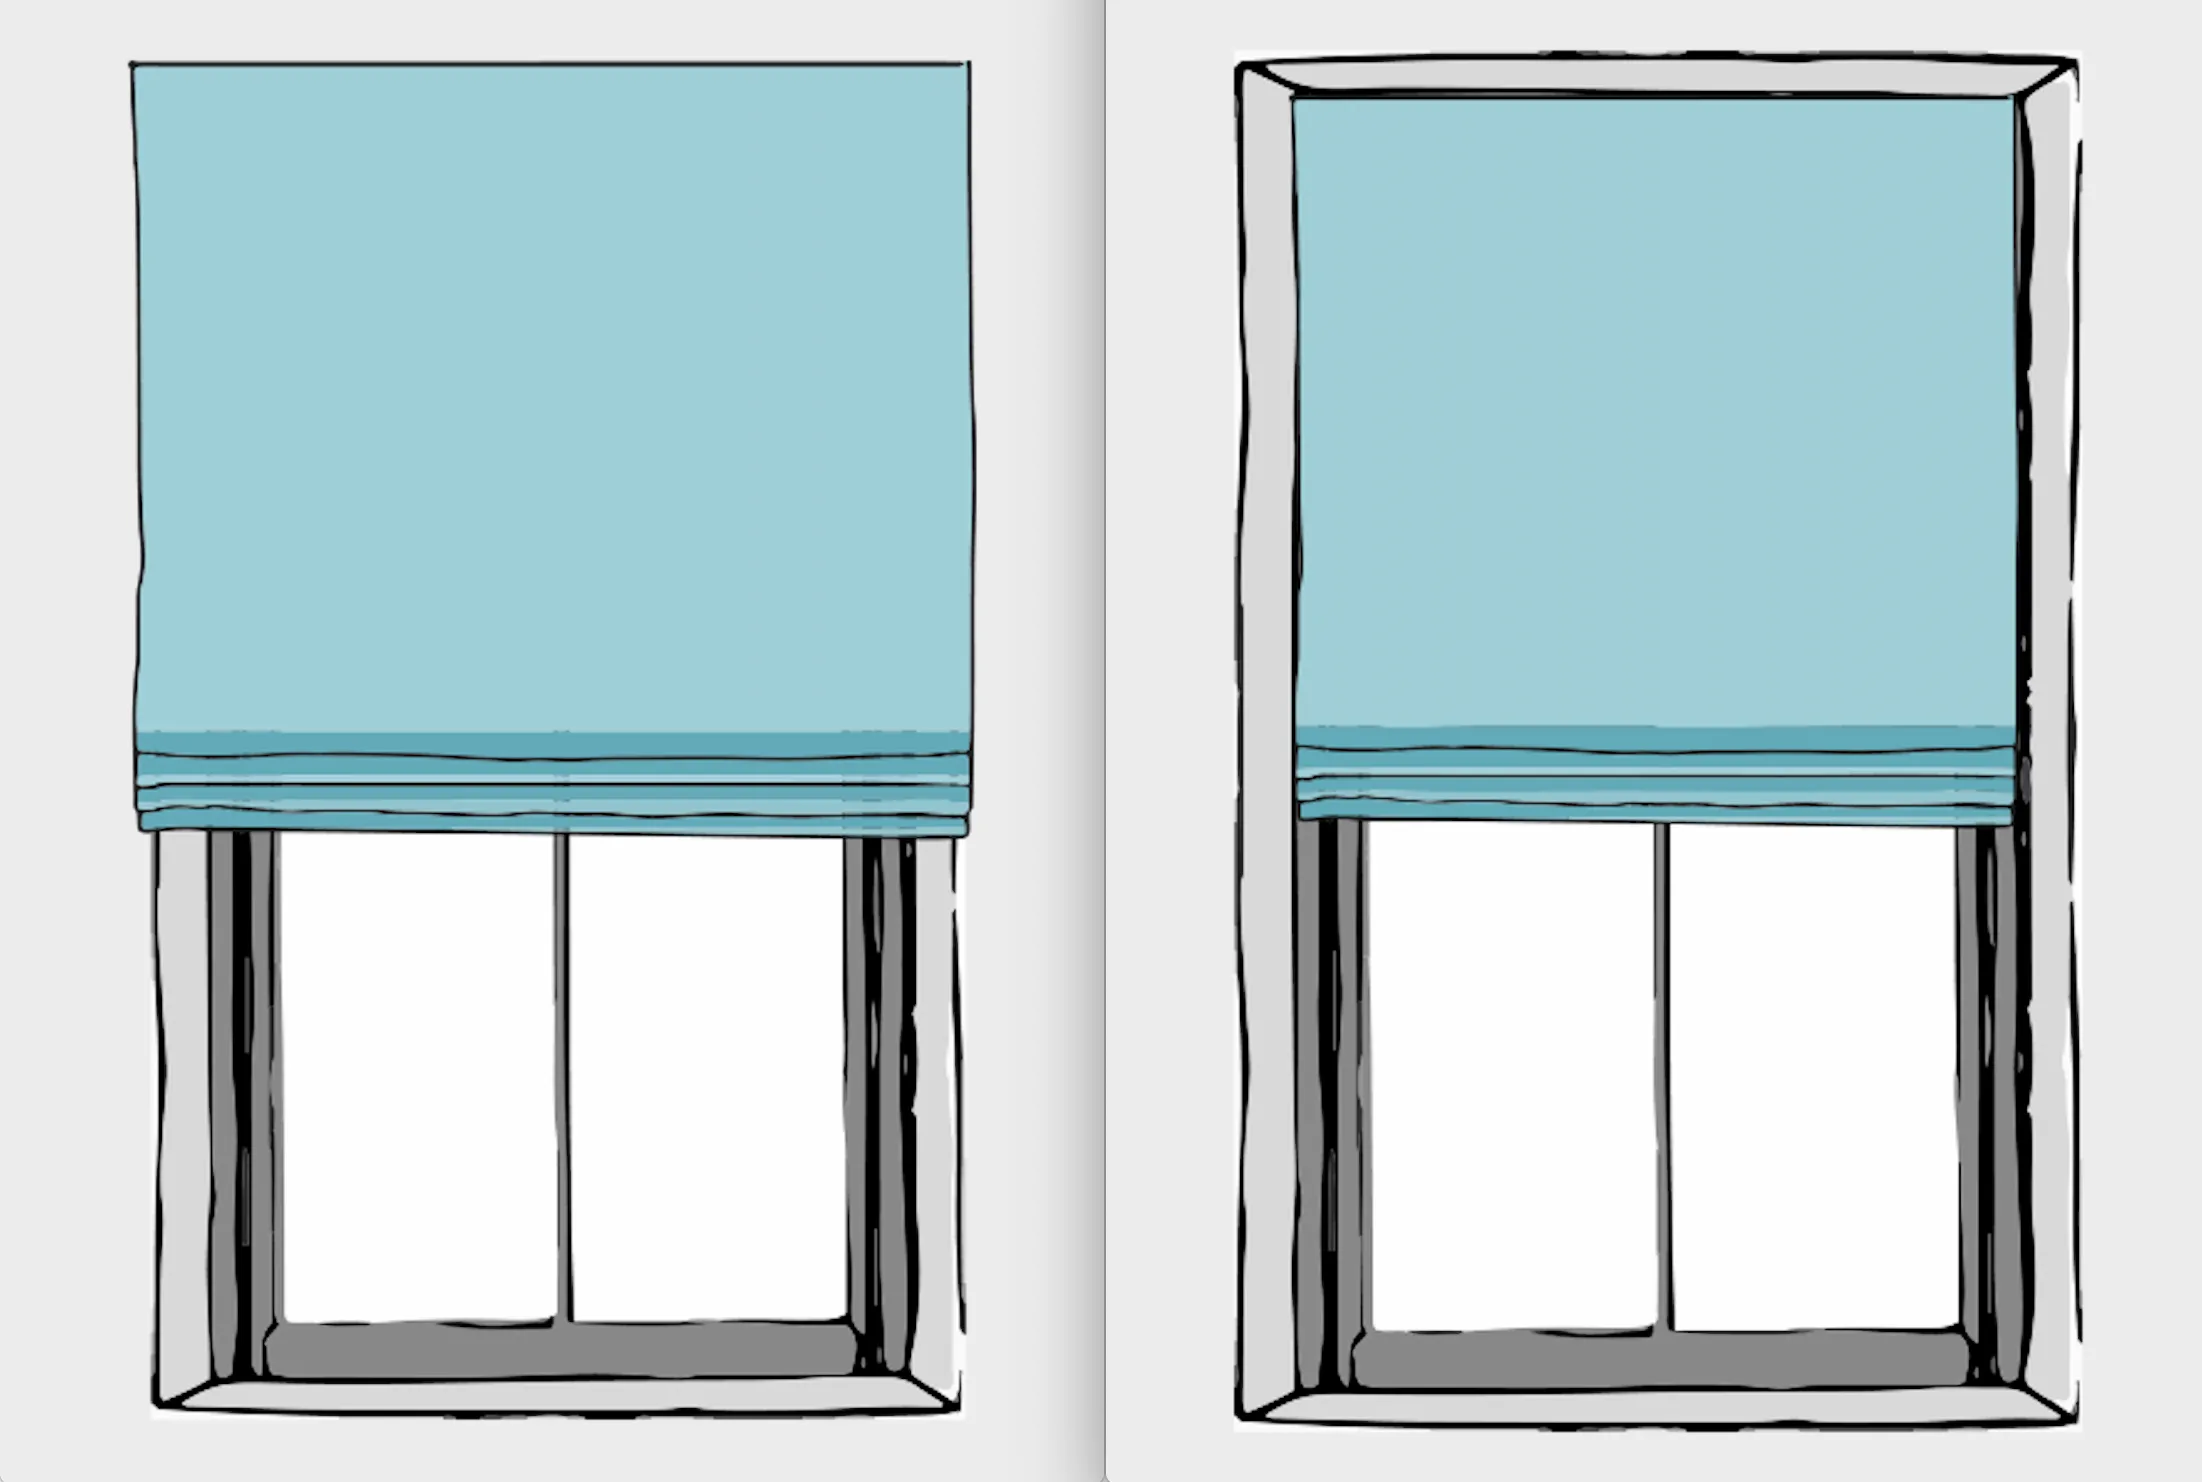
    Outside Mount Roman Shades

    Outside Mount Roman Shades

    Outside roman shades are installed on the wall or the ceiling that is above the window. This allows you to hang curtains with more flexibility.

    Inside Mount Roman Shades 

    Inside Mount Roman Shades 

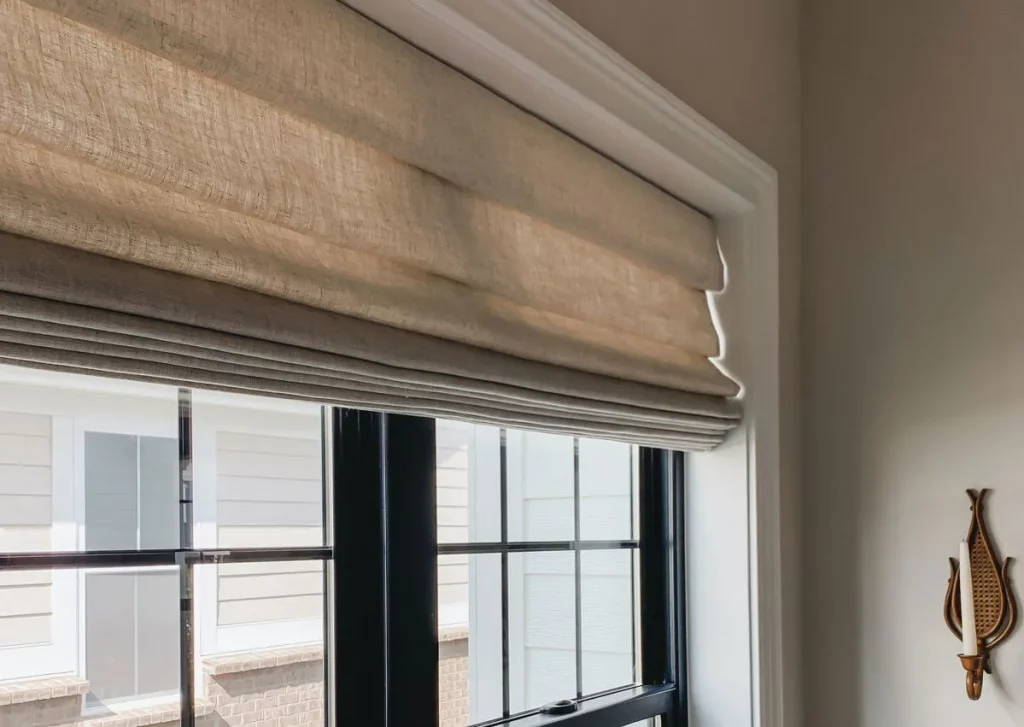
    These shades are installed inside the window frame. The top of the shade attaches to the ceiling of the frame. They fit neatly within the window’s recess.

    Why Choose Outside Mount Roman Shades?

    Below are the reasons you should choose outside mount roman shades along with examples.

    Ideal for Shallow Window Frames

    Not all windows have deep enough frames to accommodate inside mount shades. For windows with shallow or narrow frames, outside mount shades are an excellent alternative, as they can be mounted directly onto the wall or ceiling.

    Extra Coverage and Less Light Inflow

    If you need more control over light in a room, outside mounted shades offer additional coverage. When extended slightly beyond the window frame, they block more light, making them a great option for rooms like bedrooms, nurseries, or patios, where you want to minimize outside light.

    Maximized Window Exposure

    With outside mount shades, you have the option to mount the shade above the window frame, allowing the shade to stack above the window when fully raised. This allows you to enjoy the full height of the window, letting in more natural light and providing a clear view of the outdoors. This makes them ideal for east-facing windows where you can take advantage of the morning sunlight.

    Easier to Measure

    Inside mount shades require precise measurements for a perfect fit, which can be tricky if you’re not comfortable with measuring tools. Outside mount shades are more forgiving—slightly overshooting or undershooting the measurements is less likely to be noticeable, making the process easier.

    Visual Illusion of Larger Windows 

    For small windows, outside mount shades can help create the illusion of a larger space. By extending the shades a few inches beyond the window frame, you can make the window appear wider. Similarly, mounting the shades higher above the window creates a sense of increased ceiling height.

    Perfect for Imperfect Window Frames 

    If your window frames are uneven, cracked, or have other imperfections, inside mounted shades can highlight those flaws. Outside mount shades are a great way to cover up these imperfections, providing a more polished look.

    Ideal for Unconventional Window Shapes 

    If your windows are unique in shape such as circle, arched, triangular or something like that, choose outside Roman shades. You can mount them above the frame of the window and use them whenever you want.

    Spacer Blocks for Added Flexibility

    Outside mounted shades offer the option to use spacer blocks or extension brackets to move the shades further away from the wall. This can be helpful if your window has protruding hardware, like cranks, that might interfere with the operation of the shades.

    Covering Doors

    If you need to cover a door with a shade, such as a glass door, inside mounts might not work well, as they require a deeper frame. Outside mounts provide an easier way to cover doors, especially metal doors, without the need to drill into the door frame.

    Layering with Solar Shades

    Solar shades are excellent for blocking harmful UV rays but don’t offer much privacy at night. By mounting your roman shades outside the window frame, you can layer them with solar shades inside, offering the best of both worlds—protection from the sun and privacy when needed.

    Best For:

    • Homes with unattractive window trim you want to hide.
    • Small windows that you want to make look bigger.
    • Low ceilings that you want to make appear higher.
    • Rooms where total light blockage is necessary.

    Disadvantages of Outside Mount Roman Shades

    Below are some of the pitfalls of installing roman shades outside.

    Room Space Limitations

    Outside mount shades protrude beyond the window frame, which could be an issue if your room is small or cramped. If space is limited, this extra projection could feel intrusive.

    Hiding Decorative Window Trims

    If you have intricate or decorative window trims that you want to show off, outside mount shades may obscure these features. In this case, inside mount shades would be a better option since they won’t cover up the trim.

    Visile Hardware

    Everything is visible from the rod to the dents the wall got when you tried to fix the shades yourself. Even if you hire some professional service to do the work, the hardware of the rod is still visible, which disturbs the appearance of windows if you want  a more minimalist look.

    Why Choose Inside Mount Roman Shades?

    Below are the reasons you should choose inside mount roman shades along with examples.

    Minimalist Look

    Inside Roman shades give your window a minimalist design. It’s because they stay within the window frame. They provide a sleek and modern look that complements other minimalistic decoration or furniture.

    Highlighting Window Trim

    Inside mount shades allow your window trim and moldings to take center stage. Since the shades fit inside the frame, they won’t obscure any intricate or ornate trim work, allowing the window’s architecture to shine.

    Hidden Hardware

    Inside mount shades have the advantage of hiding the hardware, creating a clean, unobtrusive look. Outside Roman shades don’t offer the polished look and minimalistic appearance that the inside mount offers.

    Layering with Curtains

    If you plan to layer your Roman shades with curtains, inside mounts are the best option. This allows the curtains to hang alongside the shades, adding texture and dimension to the room’s décor.

    Practical for Kitchens and Bathrooms

    Inside mount shades are a practical choice for kitchens and bathrooms. They stay out of the way of water splashes, and in kitchens, they are less likely to catch fire from cooking. You can use them in narrow hallways or smaller rooms where outside mounted shades might be too bulky.

    Better Insulation

    Because inside mount shades are positioned closer to the window, they provide better insulation. They help keep rooms cooler in summer by blocking heat from the sun, making them ideal for west-facing windows that receive intense afternoon sun.

    Best For:

    • Homes with beautiful trim you want to showcase.
    • Rooms with large windows where blocking some glass isn’t an issue.
    • High ceilings where you don’t mind raising the shade a bit.

    Disadvantages of Inside Mount Roman Shades

    Below are some of the pitfalls of installing roman shades outside.

    Small Window Frames

    If your window frame is too shallow (less than 3-4 inches deep), inside mount shades may not be possible. In such cases, outside mount shades are a better alternative.

    Irregularly Shaped Windows

    Inside mount shades work best on windows with straight edges. If you have arched, round, or triangular windows, inside mounts will not fit properly.

    Small Windows

    Inside mount shades can overwhelm small windows, making them look even smaller. The shades will not have enough space to stack properly, which may result in a clunky appearance.

    Obstructions Like Cranks or Handles

    Windows with protruding cranks, handles, or hardware may not work well with inside mount shades, as these elements can interfere with the smooth operation of the shades.

    Limited Light Control

    Since the shades stack inside the frame, they can block some light from entering the room. If you need more natural light, outside mount shades might be a better option.

    3 Factors to Consider When Choosing Between Inside and Outside Mount

    These are the most common and important things to consider when you choose between inside and outside mount roman curtains.

    1. Window Frame Depth: Inside mount Roman Shades require a window frame depth of at least 1 ¼ inches to be properly secured. If your window frame is shallower than that, you’ll need to go with an outside mount, as there are no depth requirements for outside mounting.
    1. Control Type: The control type (e.g., cordless or motorized) affects the installation needs. Some control systems may be too large for a window box, so an outside mount might be necessary.
    1. Aesthetic Preference: Inside mount Roman Shades show off your window’s trim, which works well if you have detailed trim you want to highlight. Outside mount Roman Shades cover the trim, which can create a cleaner look if your trim isn’t as appealing or if you want to make the window appear larger and the ceiling higher.

    Conclusion

    The choice between both depends on your room’s design.  Get inside mount shades for smaller rooms or if you want a sleek and minimalistic look. But if you want more light control or for some reason you have a small window frame, get outside mount shades. The bottomline is that your decision between both depends on your room’s architecture, the amount of light you need to block, and the look you’re going for. You can also contact Aura Curtains and we’ll help you pick the best ones for your one by inspecting your home’s design.

  • Adjusting Blinds to Fit your Needs

    Did you know the way you adjust your blinds could save you money on energy bills? Heat gain and loss causes homes to waste 30% of energy, which harms your wallet and the environment. So while shutters and blinds make your home look nice, they also help save energy, even if many people don’t know this. Double glazing and good doors can keep your home warm, but shutters and blinds are easier and cheaper to use. 

    Let’s learn about how you can use your blinds for the perfect privacy, light control and energy efficiency.  But before we do that, it’s important to know why people face trouble firsthand when it comes to adjusting blinds. Below are some issues they face typically along with their easy solutions.

    Problem 1: You Don’t Know How To Use Cordless Blinds

    Cordless Blinds

    Solution: Cordless blinds are easy to use. To open them, twist the rod until the slats are flat. Then, pull the bottom to lift or lower the blinds. If they’re hard to move, make sure the slats are straight. Cordless blinds move up and down when you pull or push the bottom. If you need help, you can find videos or instructions online. Be gentle when using the blinds to avoid breaking them.

    Problem 2: New Apartment Blinds Become Hard To Use

    Apartment Blinds

    Solution: Most modern blinds do not have cords. To lower them, hold the bottom and pull it down. To raise them, push up. If they don’t move, check for a button on the bottom. Be careful when using it.

    Problem 3: Custom Shades Ordered With Incorrect Measurements

    Solution: Carefully measure your windows when undergoing custom orders. Don’t settle at peace just because you see a non-refundable label on blinds. Early precision can save your time and get your right sized fit curtains.

    Problem 4: It Becomes Difficult To Adjust Blinds in Tight Space 

    Solution: For wider blinds near obstacles like TVs, adjust the slats to a flat position, then lift or pull down the bottom rail evenly. A step stool may help if the blinds are mounted high.

    Problem 5: Blinds Get Stuck And Can’t Move

    Blinds Get Stuck

    Solution: If your cordless blinds won’t move, make sure they are all straight. Try to push or pull the bottom part. If that doesn’t work, check if they are broken. You might need to get new ones.

    Now that you know the problems people face when adjusting blinds and the solutions, let’s talk about how to adjust blinds for privacy, light control and energy efficiency.

    Blinds Orientation for Privacy

    How you tilt window blinds whether up or down changes how much light gets in and how private your room is. When adjusting blinds for privacy, use the way that works best for your window and what you need.

    Blinds Up Or Down For Privacy

    • Tilt Slats Up: The convex or curved side faces outward, making it harder for people at ground level to see inside. This works well for lower Floors or street-level windows to block views from passersby. It also blocks daytime privacy while still allowing some natural light to filter through.
    • Tilt Slats Down: The flat side faces outward, providing a cleaner look and tighter closure. However, this may allow visibility inside depending on lighting angles. It’s best for upper floors where observers may look from taller buildings. It’s also best for nighttime privacy due to the tighter slat overlap, which reduces gaps.

    Additional Tips for Adjusting Blinds

     Adjusting Blinds
    • Dual Roller Blinds: Use sheer layers for daytime privacy and blackout layers at night for complete coverage.
    • Top-Down/Bottom-Up Shades: Adjust the bottom up for privacy while keeping the top open to allow sunlight.
    • Vertical Blinds: Fully overlap the slats to block visibility regardless of direction.
    • Honeycomb Shades: Opt for opaque shades with side channels for complete light and privacy control.

    To control light and privacy with blinds, tilt the slats up to keep people from seeing in, or tilt them down for more darkness. How you tilt them depends on what you need and where the window is.

    Blind Orientation for Light Control

    Blinds can manage the amount and quality of light in your home. You can change how bright it is and make it less shiny by moving the slats. This helps make the room feel nice. This flexibility helps save energy and keeps your home comfortable all year.

    Blinds Up Or Down For Privacy

    • Slats Turned Up: When angled upward, blinds reflect sunlight toward the ceiling, creating soft, diffused light without harsh glares. This works well for living rooms and bedrooms for a calm, evenly lit environment. It also fits well workspaces to reduce glare on screens while maintaining visibility.
    • Slats Turned Down: Turning slats downward allows more direct sunlight to enter, brightening the space. Use this in kitchens and bathrooms where clear visibility is needed for tasks. It’s also best for winter months to let in natural light and warm up rooms naturally.
    • Fully Closed Blinds: For maximum light blocking, fully close the blinds in either direction. This is ideal for daytime naps, movie watching, or darkening rooms entirely.
    • Aesthetic Appeal: Tilting the window slats up a little makes the room look nice and helps keep it private while letting in light. It also hides the parts of the window you don’t want to see.

    You can change how bright a room is by moving your blinds. Tilt the slats up for soft light or down for brighter light. Changing your blinds with the seasons also helps keep your room comfortable and saves energy.

    Blind Orientation for Energy Efficiency 

    Blinds keep  your home comfortable and save money on bills. In summer, they keep the sun out to make the house cooler. In winter, they help keep the warmth inside. You don’t have to rely on other resources to maintain the temperature in both types of weather.

    Adjusting Blinds in Summers

    During warmer months, the focus is on blocking sunlight to prevent heat buildup.

    • Slats Upward: This reflects sunlight toward the ceiling, keeping floors and furniture cooler while reducing UV damage that causes fading.
    • Fully Closed Blinds: Close blinds completely during peak heat hours, especially for west-facing windows. Materials like reflective aluminum or cellular shades enhance the cooling effect.
    • Use Sheer Blinds: Dual-layer blinds with a sheer option filter light while minimizing heat gain, keeping rooms cool but bright.

    Combining blinds with reflective films or layered curtains further reduces summer heat.

    Adjusting Blinds in Winter

    In colder months, blinds help retain warmth by blocking drafts and allowing sunlight to heat your space naturally.

    • Slats Downward: Angle slats downward during sunny hours to let sunlight in. This reduces heating needs and warms up the room naturally.
    • Fully Closed Blinds: Close blinds at night or on cloudy days to trap heat and block cold air. Materials like wood blinds or thermal-lined fabrics provide excellent insulation.
    • Top-Down/Bottom-Up Shades: Lower the top to let sunlight in while keeping the bottom closed for privacy and warmth.

    For kitchens and bathrooms, use blinds that handle moisture and keep the room warm. You can also put draft stoppers on windows to help keep heat inside.

    Put simply, in summer, point the blinds up, and in winter, point them down. Using special shades can help keep your home cozy all year.

    What Other Benefits Adjusting Blinds Can Give You?

    Shutters and blinds help keep homes warm by stopping heat from escaping and blocking cold air. Choose materials like wood or vinyl to improve energy efficiency. Wood is a good insulator, while vinyl works well in areas that may get wet. Open your shutters to let sunshine in and make your home warm. Close them to keep the house cool in summer. Using shutters with curtains helps keep your home cozy. Shutters and blinds can save you money on energy and make your home more comfy. They also help the Earth by reducing pollution.

    Conclusion

    Moving your blinds helps keep your home private, control sunlight, and save energy. And adjusting blinds is easy. Plus, it makes your home nice and cozy and can lower your bills. At Aura Curtains, we have great blinds and curtains to make your windows look good. Visit our collection to find something you like.

    FAQs

    How to shorten blinds?

    It’s very easy to shorten window blinds. Just grab a sharp scissor and glue. After you’ve marked the bottom slats that need to be cut, take out the rail plugs and remove the bottom rail. Then use the scissor to cut the slat. Reinsert the bottom rail that you removed earlier. For a cleaner look, trim the cord length further. Finally, use the glue to pocket them back and tie the knots. That’s how to cut blinds that are too long.

    Which way should blinds face for privacy?

    Tilt the blinds up so the outside part is curved and you get total privacy. This stops people from seeing in but still lets in some light. At night, tilt the blinds down to make it harder for anyone to see inside.

    How to fix blinds that are too small?

    You can fill the space above your blinds by adding a bigger valance, a cornice, or some curtains. If you like some DIY stuff projects, try putting up wooden boards and paint them to match the blinds.