Month: December 2024

  • At What Height Should a Shower Curtain be Installed?

    At What Height Should a Shower Curtain be Installed?

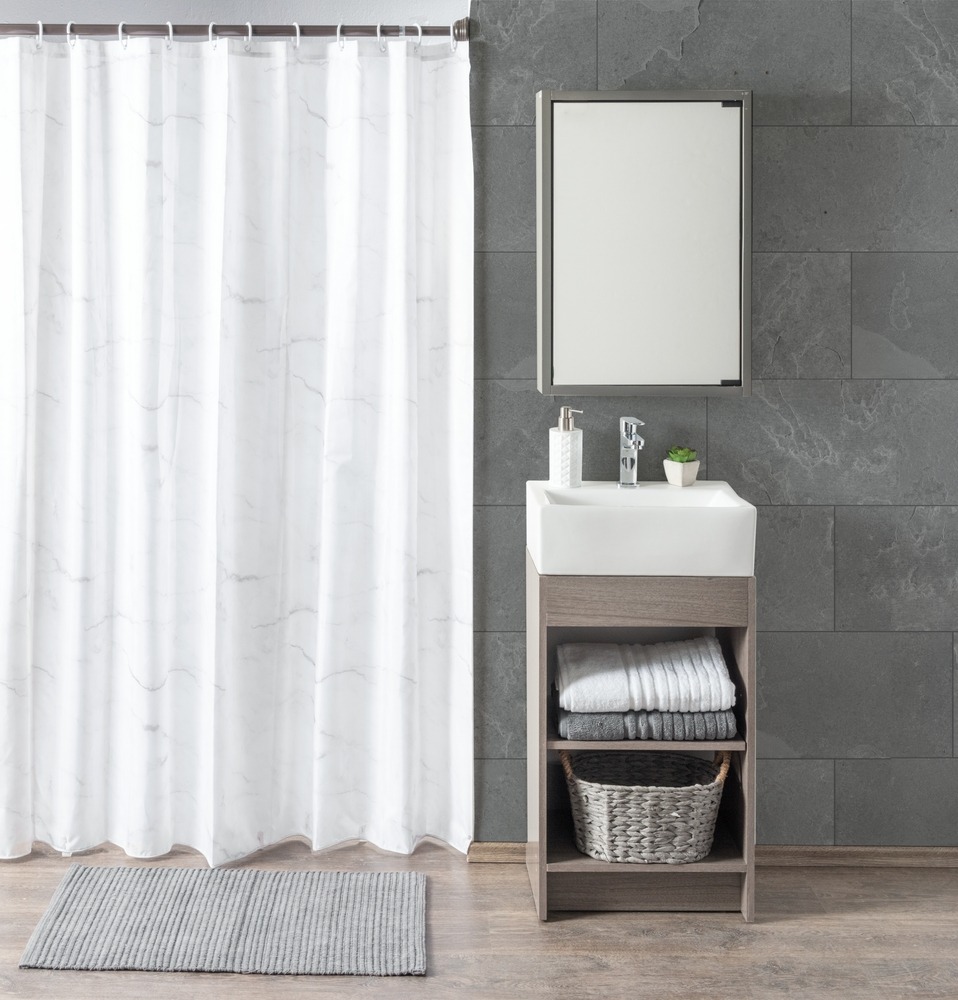
    You need to install a shower curtain according to its length. Compare it with shower height and install its rod between 75 to 77 inches from the floor. A standard shower curtain size is typically 72 inches long. When you install curtains between 75 and 77 inches, you don’t get your bathroom floor wet nor make your bathroom look gross as the curtains bottom won’t touch the floor.

    But it’s important to place the rod correctly to avoid accidents, especially if you have children or pets at home. For that purpose you must first measure the standard shower curtain size and your bathroom walls properly. The latter process becomes easier when you have the measurements beforehand. With that said, let’s get into the step-by-step process of standard shower curtain size installation in your bathroom.

    Step 1: Hang the Rod 6-10 Inches Below
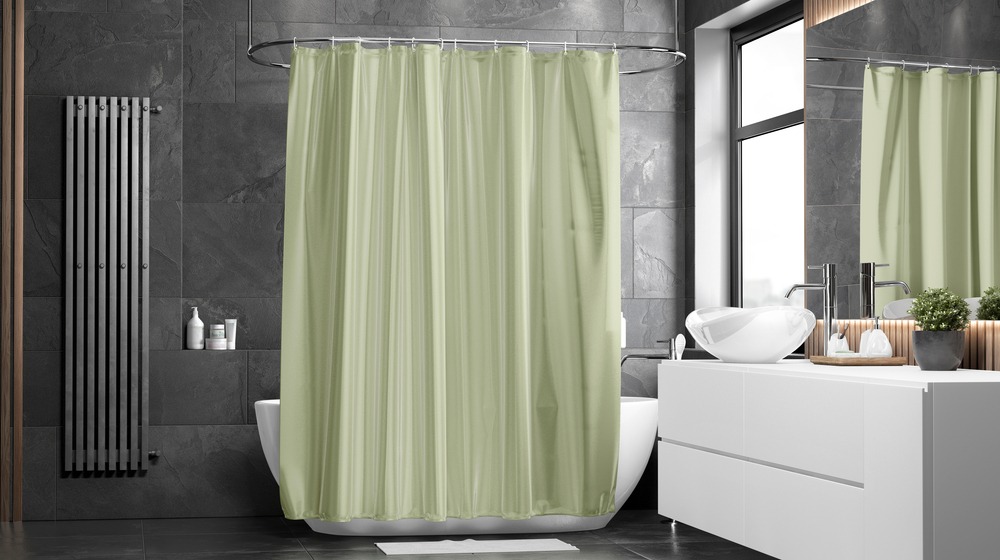
    Standard shower curtain size

    Standard shower curtain size is usually 70 to 72 inches long. Before drilling or securing the curtain rod, make sure to double-check your measurements. The shower curtain rod height should be 6 to 10 inches below the ceiling to ensure good airflow. 

    Poor quality can lead to moisture and mold growth over time. Keeping good airflow helps prevent mold and mildew. If your bathroom has ventilation directly above the shower, you can hang the curtain rod higher.

    Step 2: Create a 1-Inch Gap Between Rod and Curtain Top
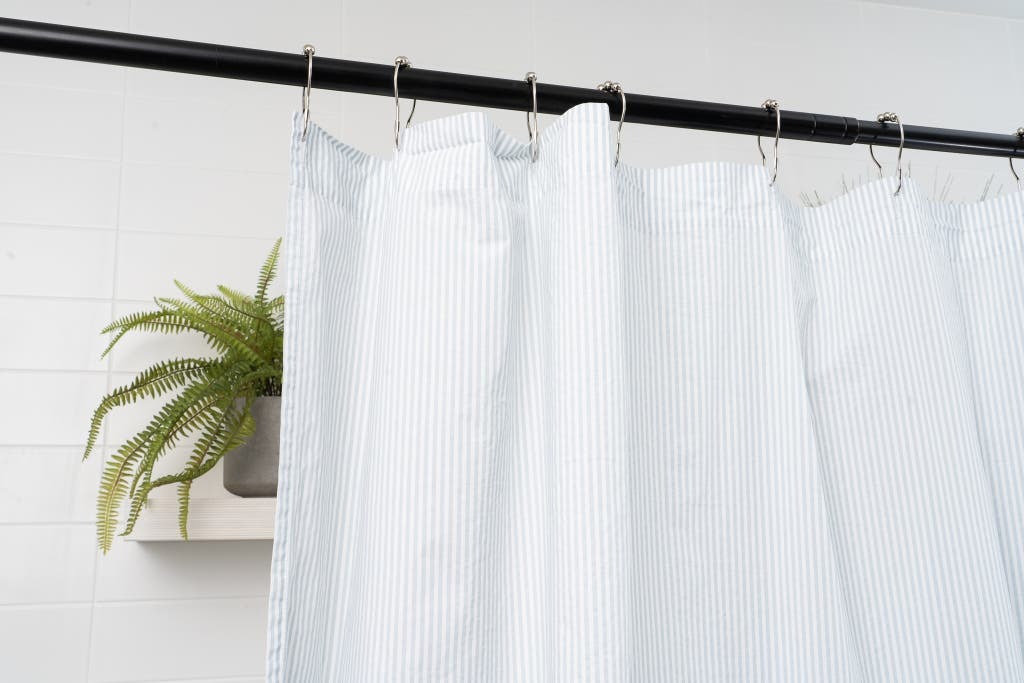
    Gap Between Rod and Curtain Top

    Hooks or rings create a small space between the rod and the top of the curtain. This space can be about 1 to 2 inches, depending on the design. Make sure to include this space in your measurements. For example, if your curtain is 72 inches long and the ring adds 1 inch, use this formula for rod placement: 

    Shower Curtain Rod Height = Curtain Length + Ring Space + Desired Overlap 

    Avoid using crooked rods, as they can impact both the look and function of your curtains. You can hem the curtain or use fabric extensions to get the right length. If you’re tall, hang the rod high enough to avoid bumps. Add 2 to 3 inches to the standard rod height. If your curtain is 72 inches long, place the rod about 75 to 77 inches above the floor.

    Step 3: Stop Water Leakage by an Overlap of 1-Inch

    To prevent water leaks, the liner should overlap the tub lip by at least 1 inch for showers and 3 inches for tubs. This overlap helps keep water inside the bathing area. Leave a gap of 0.5 to 1 inch between the curtain’s bottom and the floor. This gap prevents the curtain from dragging and helps avoid dust or moisture buildup. 

    PEVA Liners are also affordable and mildew-resistant, ideal for preventing water leakage. If your curtain is 72 inches long, has a hook drop of 1 inch, a tube height of 14 inches, and an overlap of 3 inches, you can calculate the ideal rod height using this formula:

    Rod Height = Curtain Length + Hook Drop + Tub/Shower Height – Desired Overlap = Height

    Rod Height = 72 + 1 + 14 – 3 = 84 inches

    How to Make Sure Your Bathroom Looks Appealing With New Curtains?

    After measuring shower curtain length and installing them, these post-installing tips can help you elevate your bathroom’s aesthetic appeal.

    Hang the Rod Closer to the Ceiling

    This elongates the room and creates a spacious and luxurious feel. Use extended-length curtains for this effect. If the front of your tub or shower area is unattractive, hang the curtain lower to hide it. And to show off stylish tubs or detailed tile work, hang the curtain higher so these features can be seen. If the front of your tub or shower is unsightly, hang the rod lower to conceal these areas. Make sure the curtain still clears the floor to avoid dust accumulation.

    Use a Longer Liner to Reduce Splashes and Spills

    In homes with children, it’s important to have this overlap and containment, so that the kids remain safe when they take baths. The height of the tub’s edge or shower curb is important for keeping water inside. Measure the height from the floor outside the tub to the top of the tub. After that, measure from the tub floor to the top edge on the inside. These measurements help make sure the liner covers the tub edge properly to keep water contained. The curb often measures about 3 to 4 inches high. Make sure the liner extends at least 1 inch over the edge for showers and 3 inches for tubs.

    Final Words

    Now that you know the standard shower curtain size when installing shower curtains and also how to install them, here’s a quick recap. Save these takeaways so that the next time you install a shower curtain in your bathroom, you do it perfectly.

    • The average shower curtain size is 72-inch curtain typically calls for a rod height of 75 to 77 inches from the floor.
    • Hanging the curtain rod higher on the wall can make the small bathrooms with low ceilings seem larger. 
    • Double glide roller hooks hang both the curtain and liner separately, ensuring easy maintenance.
    • For wider showers, use two curtains or custom-sized options to get proper coverage.

    Frequently Asked Questions


    What is the proper shower curtain height?

     The average curtain size is 72 inches wide and tall. Adjust the shower curtain height so it doesn’t touch the floor. This helps keep mold away. Make sure it is at least 72 inches above the floor.

    Should you hang a shower curtain higher?

    When you hang a shower curtain, make sure the bottom is 1 to 3 inches above the floor. This helps water drain and keeps the curtain clean.

    Where is the proper placement of a shower curtain rod?

    To hang your shower curtain, make the bottom hem about five inches below the top of your bathtub. Adjust the shower curtain length to this height, and mark the wall above the top of the curtain with a pencil. Repeat this measurement on the other side.

    How to install shower curtains properly while maintaining bathroom cleanliness?

    You need to do beforehand measurements of bathroom walls and your curtains. Hem your curtains or use fabric extensions to compensate for what’s missing. For cleanliness and aesthetics make sure the curtains don’t touch the floor or allow water splashes.
  • Inside vs Outside Mount Roman Shades: What, When & Why

    Inside vs Outside Mount Roman Shades: What, When & Why

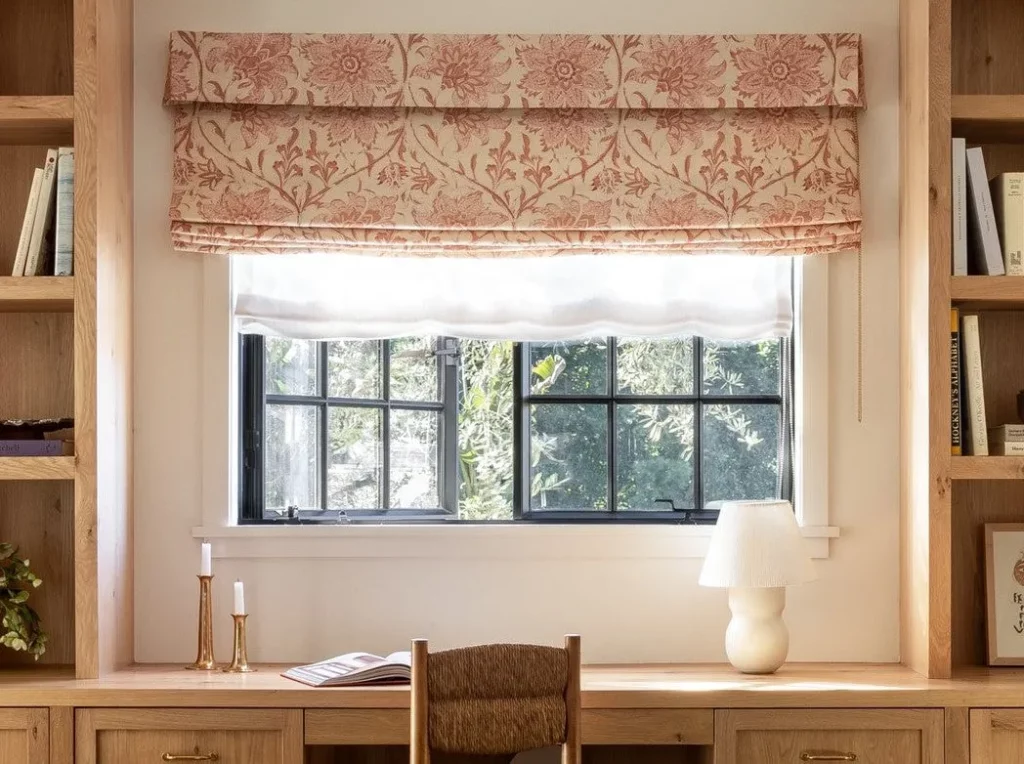
    When shopping for custom Roman shades, everyone has to think whether they should mount them inside or outside the window frame. Inside mounted shades are perfect for those who want a clean and a custom fit look. Outside mounted shades offer more flexibility for shallow windows with unique shapes, and situations where you need extra coverage. This choice affects the look and functionality of your space. That’s why we will guide you in this blog and help you decide whether inside or outside mounting is the best choice for your space.

    Outside Mount Roman Shades

    Outside Mount Roman Shades

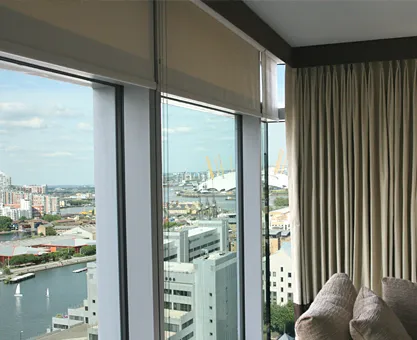
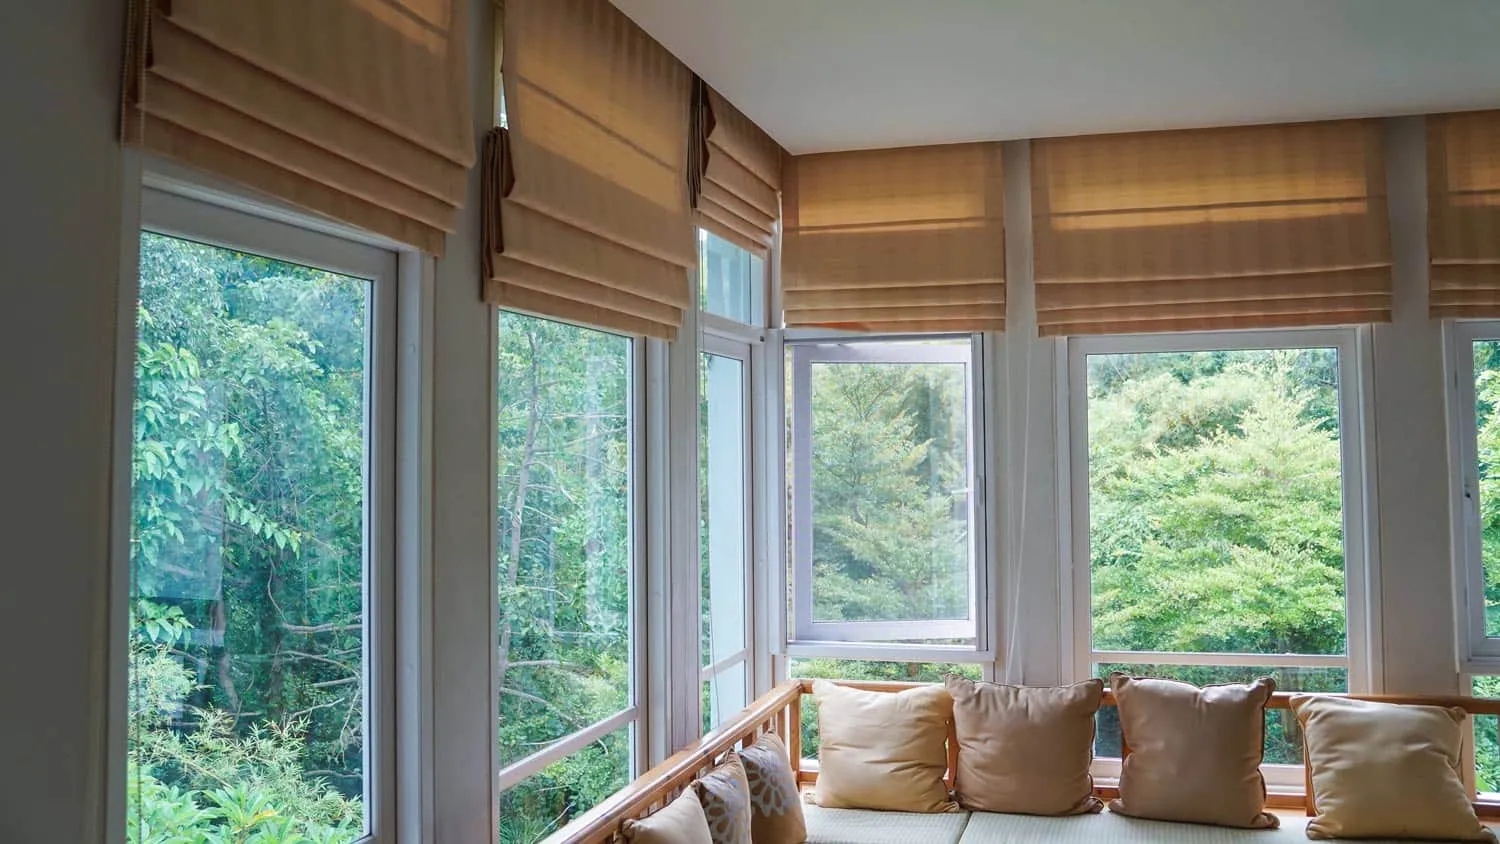
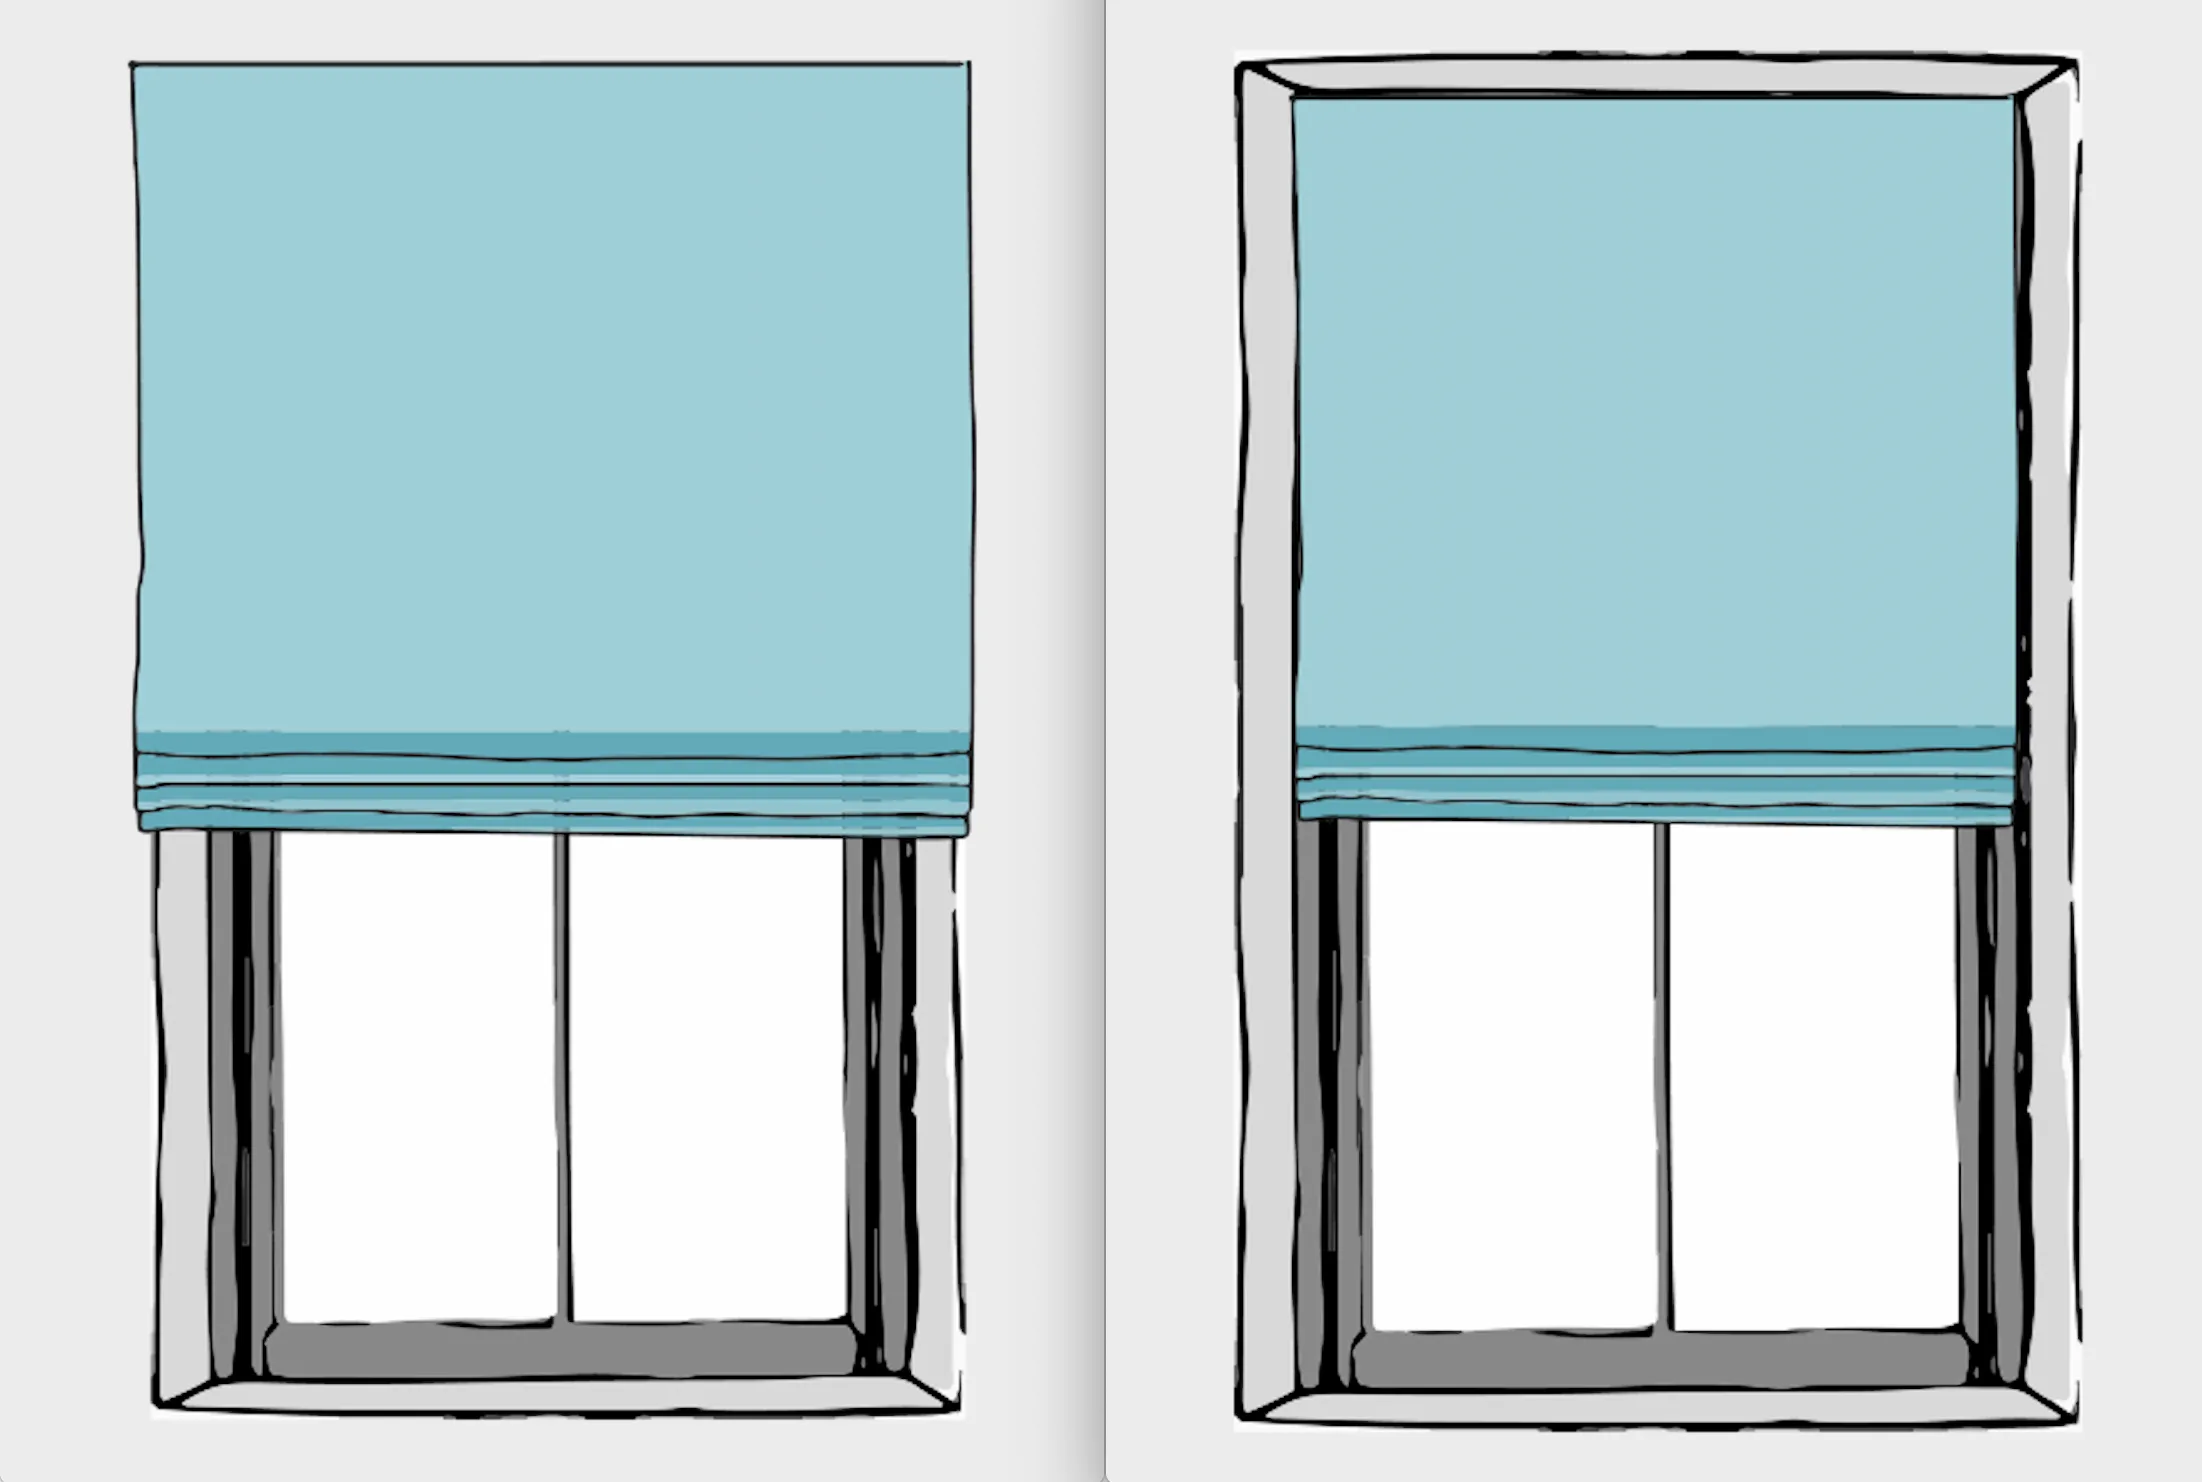
    Outside roman shades are installed on the wall or the ceiling that is above the window. This allows you to hang curtains with more flexibility.

    Inside Mount Roman Shades 

    Inside Mount Roman Shades 

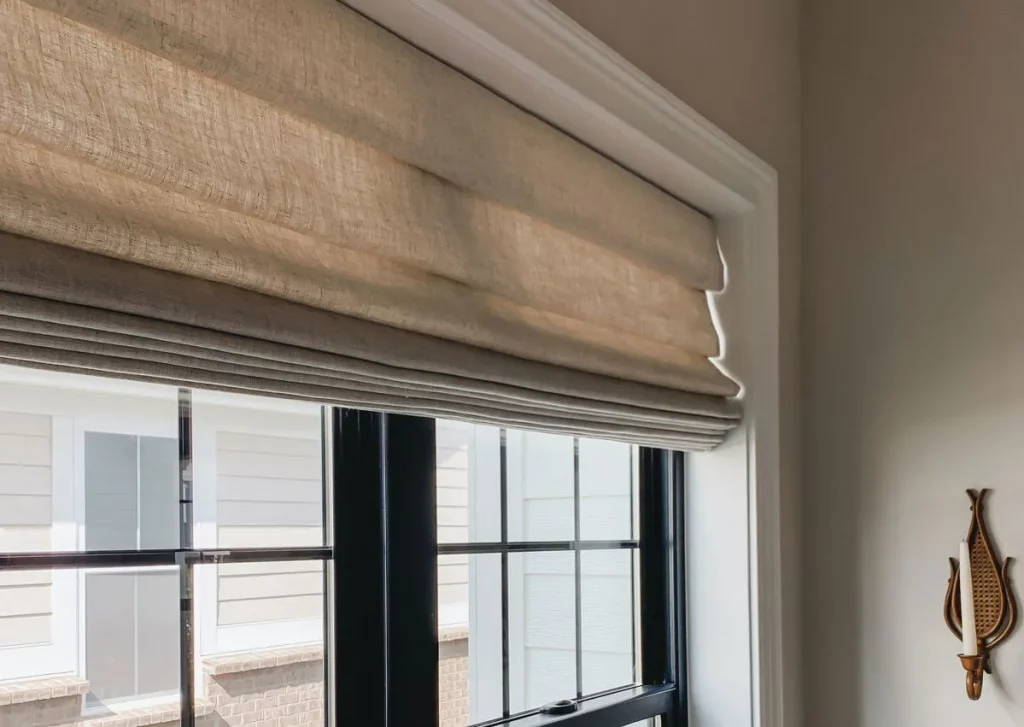
    These shades are installed inside the window frame. The top of the shade attaches to the ceiling of the frame. They fit neatly within the window’s recess.

    Why Choose Outside Mount Roman Shades?

    Below are the reasons you should choose outside mount roman shades along with examples.

    Ideal for Shallow Window Frames

    Not all windows have deep enough frames to accommodate inside mount shades. For windows with shallow or narrow frames, outside mount shades are an excellent alternative, as they can be mounted directly onto the wall or ceiling.

    Extra Coverage and Less Light Inflow

    If you need more control over light in a room, outside mounted shades offer additional coverage. When extended slightly beyond the window frame, they block more light, making them a great option for rooms like bedrooms, nurseries, or patios, where you want to minimize outside light.

    Maximized Window Exposure

    With outside mount shades, you have the option to mount the shade above the window frame, allowing the shade to stack above the window when fully raised. This allows you to enjoy the full height of the window, letting in more natural light and providing a clear view of the outdoors. This makes them ideal for east-facing windows where you can take advantage of the morning sunlight.

    Easier to Measure

    Inside mount shades require precise measurements for a perfect fit, which can be tricky if you’re not comfortable with measuring tools. Outside mount shades are more forgiving—slightly overshooting or undershooting the measurements is less likely to be noticeable, making the process easier.

    Visual Illusion of Larger Windows 

    For small windows, outside mount shades can help create the illusion of a larger space. By extending the shades a few inches beyond the window frame, you can make the window appear wider. Similarly, mounting the shades higher above the window creates a sense of increased ceiling height.

    Perfect for Imperfect Window Frames 

    If your window frames are uneven, cracked, or have other imperfections, inside mounted shades can highlight those flaws. Outside mount shades are a great way to cover up these imperfections, providing a more polished look.

    Ideal for Unconventional Window Shapes 

    If your windows are unique in shape such as circle, arched, triangular or something like that, choose outside Roman shades. You can mount them above the frame of the window and use them whenever you want.

    Spacer Blocks for Added Flexibility

    Outside mounted shades offer the option to use spacer blocks or extension brackets to move the shades further away from the wall. This can be helpful if your window has protruding hardware, like cranks, that might interfere with the operation of the shades.

    Covering Doors

    If you need to cover a door with a shade, such as a glass door, inside mounts might not work well, as they require a deeper frame. Outside mounts provide an easier way to cover doors, especially metal doors, without the need to drill into the door frame.

    Layering with Solar Shades

    Solar shades are excellent for blocking harmful UV rays but don’t offer much privacy at night. By mounting your roman shades outside the window frame, you can layer them with solar shades inside, offering the best of both worlds—protection from the sun and privacy when needed.

    Best For:

    • Homes with unattractive window trim you want to hide.
    • Small windows that you want to make look bigger.
    • Low ceilings that you want to make appear higher.
    • Rooms where total light blockage is necessary.

    Disadvantages of Outside Mount Roman Shades

    Below are some of the pitfalls of installing roman shades outside.

    Room Space Limitations

    Outside mount shades protrude beyond the window frame, which could be an issue if your room is small or cramped. If space is limited, this extra projection could feel intrusive.

    Hiding Decorative Window Trims

    If you have intricate or decorative window trims that you want to show off, outside mount shades may obscure these features. In this case, inside mount shades would be a better option since they won’t cover up the trim.

    Visile Hardware

    Everything is visible from the rod to the dents the wall got when you tried to fix the shades yourself. Even if you hire some professional service to do the work, the hardware of the rod is still visible, which disturbs the appearance of windows if you want  a more minimalist look.

    Why Choose Inside Mount Roman Shades?

    Below are the reasons you should choose inside mount roman shades along with examples.

    Minimalist Look

    Inside Roman shades give your window a minimalist design. It’s because they stay within the window frame. They provide a sleek and modern look that complements other minimalistic decoration or furniture.

    Highlighting Window Trim

    Inside mount shades allow your window trim and moldings to take center stage. Since the shades fit inside the frame, they won’t obscure any intricate or ornate trim work, allowing the window’s architecture to shine.

    Hidden Hardware

    Inside mount shades have the advantage of hiding the hardware, creating a clean, unobtrusive look. Outside Roman shades don’t offer the polished look and minimalistic appearance that the inside mount offers.

    Layering with Curtains

    If you plan to layer your Roman shades with curtains, inside mounts are the best option. This allows the curtains to hang alongside the shades, adding texture and dimension to the room’s décor.

    Practical for Kitchens and Bathrooms

    Inside mount shades are a practical choice for kitchens and bathrooms. They stay out of the way of water splashes, and in kitchens, they are less likely to catch fire from cooking. You can use them in narrow hallways or smaller rooms where outside mounted shades might be too bulky.

    Better Insulation

    Because inside mount shades are positioned closer to the window, they provide better insulation. They help keep rooms cooler in summer by blocking heat from the sun, making them ideal for west-facing windows that receive intense afternoon sun.

    Best For:

    • Homes with beautiful trim you want to showcase.
    • Rooms with large windows where blocking some glass isn’t an issue.
    • High ceilings where you don’t mind raising the shade a bit.

    Disadvantages of Inside Mount Roman Shades

    Below are some of the pitfalls of installing roman shades outside.

    Small Window Frames

    If your window frame is too shallow (less than 3-4 inches deep), inside mount shades may not be possible. In such cases, outside mount shades are a better alternative.

    Irregularly Shaped Windows

    Inside mount shades work best on windows with straight edges. If you have arched, round, or triangular windows, inside mounts will not fit properly.

    Small Windows

    Inside mount shades can overwhelm small windows, making them look even smaller. The shades will not have enough space to stack properly, which may result in a clunky appearance.

    Obstructions Like Cranks or Handles

    Windows with protruding cranks, handles, or hardware may not work well with inside mount shades, as these elements can interfere with the smooth operation of the shades.

    Limited Light Control

    Since the shades stack inside the frame, they can block some light from entering the room. If you need more natural light, outside mount shades might be a better option.

    3 Factors to Consider When Choosing Between Inside and Outside Mount

    These are the most common and important things to consider when you choose between inside and outside mount roman curtains.

    1. Window Frame Depth: Inside mount Roman Shades require a window frame depth of at least 1 ¼ inches to be properly secured. If your window frame is shallower than that, you’ll need to go with an outside mount, as there are no depth requirements for outside mounting.
    1. Control Type: The control type (e.g., cordless or motorized) affects the installation needs. Some control systems may be too large for a window box, so an outside mount might be necessary.
    1. Aesthetic Preference: Inside mount Roman Shades show off your window’s trim, which works well if you have detailed trim you want to highlight. Outside mount Roman Shades cover the trim, which can create a cleaner look if your trim isn’t as appealing or if you want to make the window appear larger and the ceiling higher.

    Conclusion

    The choice between both depends on your room’s design.  Get inside mount shades for smaller rooms or if you want a sleek and minimalistic look. But if you want more light control or for some reason you have a small window frame, get outside mount shades. The bottomline is that your decision between both depends on your room’s architecture, the amount of light you need to block, and the look you’re going for. You can also contact Aura Curtains and we’ll help you pick the best ones for your one by inspecting your home’s design.

  • Adjusting Blinds to Fit your Needs

    Did you know the way you adjust your blinds could save you money on energy bills? Heat gain and loss causes homes to waste 30% of energy, which harms your wallet and the environment. So while shutters and blinds make your home look nice, they also help save energy, even if many people don’t know this. Double glazing and good doors can keep your home warm, but shutters and blinds are easier and cheaper to use. 

    Let’s learn about how you can use your blinds for the perfect privacy, light control and energy efficiency.  But before we do that, it’s important to know why people face trouble firsthand when it comes to adjusting blinds. Below are some issues they face typically along with their easy solutions.

    Problem 1: You Don’t Know How To Use Cordless Blinds

    Cordless Blinds

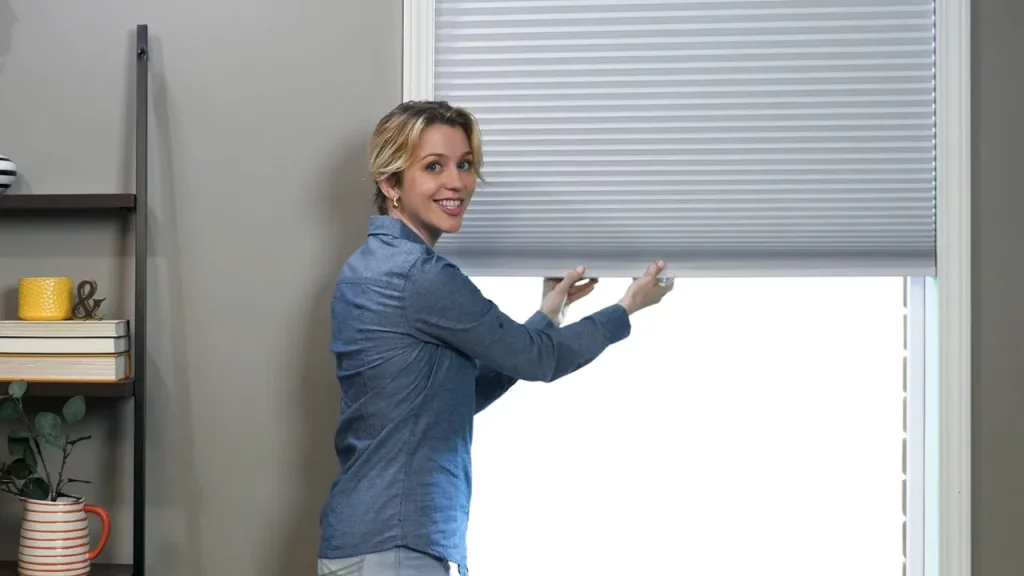
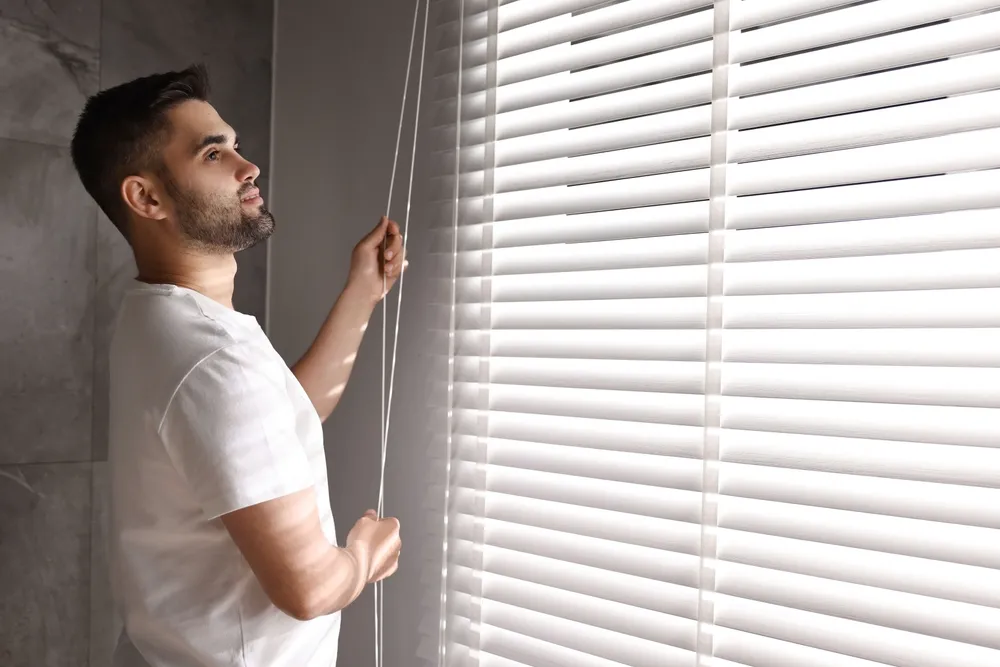
    Solution: Cordless blinds are easy to use. To open them, twist the rod until the slats are flat. Then, pull the bottom to lift or lower the blinds. If they’re hard to move, make sure the slats are straight. Cordless blinds move up and down when you pull or push the bottom. If you need help, you can find videos or instructions online. Be gentle when using the blinds to avoid breaking them.

    Problem 2: New Apartment Blinds Become Hard To Use

    Apartment Blinds

    Solution: Most modern blinds do not have cords. To lower them, hold the bottom and pull it down. To raise them, push up. If they don’t move, check for a button on the bottom. Be careful when using it.

    Problem 3: Custom Shades Ordered With Incorrect Measurements

    Solution: Carefully measure your windows when undergoing custom orders. Don’t settle at peace just because you see a non-refundable label on blinds. Early precision can save your time and get your right sized fit curtains.

    Problem 4: It Becomes Difficult To Adjust Blinds in Tight Space 

    Solution: For wider blinds near obstacles like TVs, adjust the slats to a flat position, then lift or pull down the bottom rail evenly. A step stool may help if the blinds are mounted high.

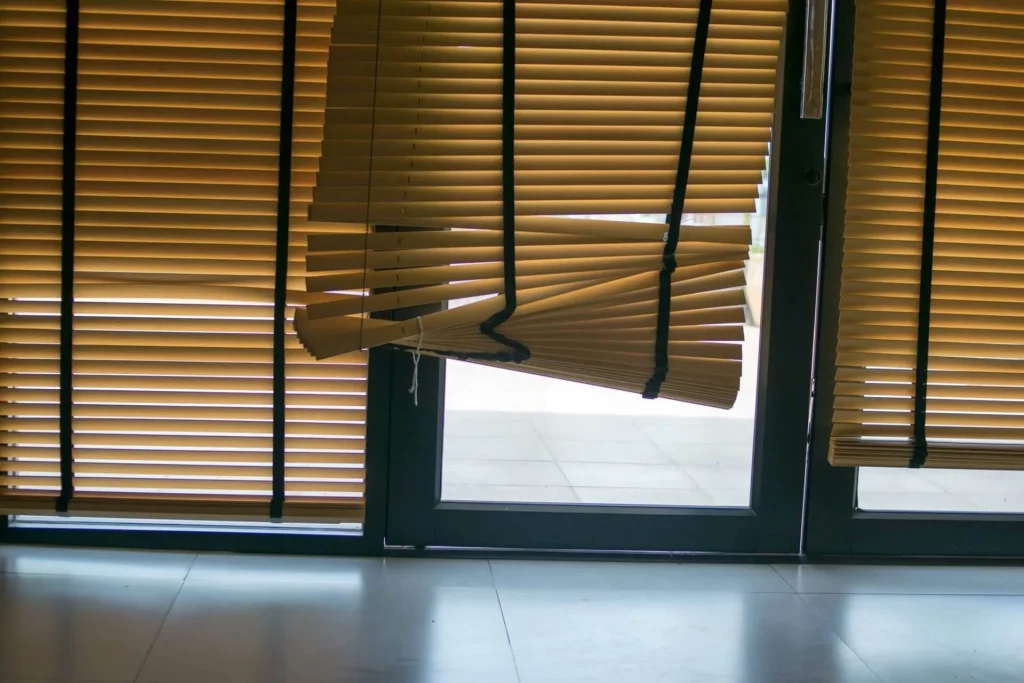
    Problem 5: Blinds Get Stuck And Can’t Move

    Blinds Get Stuck

    Solution: If your cordless blinds won’t move, make sure they are all straight. Try to push or pull the bottom part. If that doesn’t work, check if they are broken. You might need to get new ones.

    Now that you know the problems people face when adjusting blinds and the solutions, let’s talk about how to adjust blinds for privacy, light control and energy efficiency.

    Blinds Orientation for Privacy

    How you tilt window blinds whether up or down changes how much light gets in and how private your room is. When adjusting blinds for privacy, use the way that works best for your window and what you need.

    Blinds Up Or Down For Privacy

    • Tilt Slats Up: The convex or curved side faces outward, making it harder for people at ground level to see inside. This works well for lower Floors or street-level windows to block views from passersby. It also blocks daytime privacy while still allowing some natural light to filter through.
    • Tilt Slats Down: The flat side faces outward, providing a cleaner look and tighter closure. However, this may allow visibility inside depending on lighting angles. It’s best for upper floors where observers may look from taller buildings. It’s also best for nighttime privacy due to the tighter slat overlap, which reduces gaps.

    Additional Tips for Adjusting Blinds

     Adjusting Blinds
    • Dual Roller Blinds: Use sheer layers for daytime privacy and blackout layers at night for complete coverage.
    • Top-Down/Bottom-Up Shades: Adjust the bottom up for privacy while keeping the top open to allow sunlight.
    • Vertical Blinds: Fully overlap the slats to block visibility regardless of direction.
    • Honeycomb Shades: Opt for opaque shades with side channels for complete light and privacy control.

    To control light and privacy with blinds, tilt the slats up to keep people from seeing in, or tilt them down for more darkness. How you tilt them depends on what you need and where the window is.

    Blind Orientation for Light Control

    Blinds can manage the amount and quality of light in your home. You can change how bright it is and make it less shiny by moving the slats. This helps make the room feel nice. This flexibility helps save energy and keeps your home comfortable all year.

    Blinds Up Or Down For Privacy

    • Slats Turned Up: When angled upward, blinds reflect sunlight toward the ceiling, creating soft, diffused light without harsh glares. This works well for living rooms and bedrooms for a calm, evenly lit environment. It also fits well workspaces to reduce glare on screens while maintaining visibility.
    • Slats Turned Down: Turning slats downward allows more direct sunlight to enter, brightening the space. Use this in kitchens and bathrooms where clear visibility is needed for tasks. It’s also best for winter months to let in natural light and warm up rooms naturally.
    • Fully Closed Blinds: For maximum light blocking, fully close the blinds in either direction. This is ideal for daytime naps, movie watching, or darkening rooms entirely.
    • Aesthetic Appeal: Tilting the window slats up a little makes the room look nice and helps keep it private while letting in light. It also hides the parts of the window you don’t want to see.

    You can change how bright a room is by moving your blinds. Tilt the slats up for soft light or down for brighter light. Changing your blinds with the seasons also helps keep your room comfortable and saves energy.

    Blind Orientation for Energy Efficiency 

    Blinds keep  your home comfortable and save money on bills. In summer, they keep the sun out to make the house cooler. In winter, they help keep the warmth inside. You don’t have to rely on other resources to maintain the temperature in both types of weather.

    Adjusting Blinds in Summers

    During warmer months, the focus is on blocking sunlight to prevent heat buildup.

    • Slats Upward: This reflects sunlight toward the ceiling, keeping floors and furniture cooler while reducing UV damage that causes fading.
    • Fully Closed Blinds: Close blinds completely during peak heat hours, especially for west-facing windows. Materials like reflective aluminum or cellular shades enhance the cooling effect.
    • Use Sheer Blinds: Dual-layer blinds with a sheer option filter light while minimizing heat gain, keeping rooms cool but bright.

    Combining blinds with reflective films or layered curtains further reduces summer heat.

    Adjusting Blinds in Winter

    In colder months, blinds help retain warmth by blocking drafts and allowing sunlight to heat your space naturally.

    • Slats Downward: Angle slats downward during sunny hours to let sunlight in. This reduces heating needs and warms up the room naturally.
    • Fully Closed Blinds: Close blinds at night or on cloudy days to trap heat and block cold air. Materials like wood blinds or thermal-lined fabrics provide excellent insulation.
    • Top-Down/Bottom-Up Shades: Lower the top to let sunlight in while keeping the bottom closed for privacy and warmth.

    For kitchens and bathrooms, use blinds that handle moisture and keep the room warm. You can also put draft stoppers on windows to help keep heat inside.

    Put simply, in summer, point the blinds up, and in winter, point them down. Using special shades can help keep your home cozy all year.

    What Other Benefits Adjusting Blinds Can Give You?

    Shutters and blinds help keep homes warm by stopping heat from escaping and blocking cold air. Choose materials like wood or vinyl to improve energy efficiency. Wood is a good insulator, while vinyl works well in areas that may get wet. Open your shutters to let sunshine in and make your home warm. Close them to keep the house cool in summer. Using shutters with curtains helps keep your home cozy. Shutters and blinds can save you money on energy and make your home more comfy. They also help the Earth by reducing pollution.

    Conclusion

    Moving your blinds helps keep your home private, control sunlight, and save energy. And adjusting blinds is easy. Plus, it makes your home nice and cozy and can lower your bills. At Aura Curtains, we have great blinds and curtains to make your windows look good. Visit our collection to find something you like.

    FAQs

    How to shorten blinds?

    It’s very easy to shorten window blinds. Just grab a sharp scissor and glue. After you’ve marked the bottom slats that need to be cut, take out the rail plugs and remove the bottom rail. Then use the scissor to cut the slat. Reinsert the bottom rail that you removed earlier. For a cleaner look, trim the cord length further. Finally, use the glue to pocket them back and tie the knots. That’s how to cut blinds that are too long.

    Which way should blinds face for privacy?

    Tilt the blinds up so the outside part is curved and you get total privacy. This stops people from seeing in but still lets in some light. At night, tilt the blinds down to make it harder for anyone to see inside.

    How to fix blinds that are too small?

    You can fill the space above your blinds by adding a bigger valance, a cornice, or some curtains. If you like some DIY stuff projects, try putting up wooden boards and paint them to match the blinds.

  • 9 Best Blinds for Small Windows | A Brief Guide

    9 Best Blinds for Small Windows | A Brief Guide

    Many small window blinds are both stylish and practical without taking up too much room. They create a more compact and stylish look and reduce visual clutter. To choose the best blinds for short windows, think about the type of blind, fabric and color options, window size, and natural light. Avoid heavy or bulky blinds, as they can make the space feel smaller. Your small window blinds should look nice, provide privacy, and let in natural light.

    So, if you’re moving into a new home or want to change your décor, try these best blinds for small windows as they are both attractive and functional. Because when space is limited, you don’t want blinds that overwhelm the window or make your room feel smaller. Below is a list from which you can choose the best blinds for small windows. 

    1. Roller Blinds

    Roller Blinds

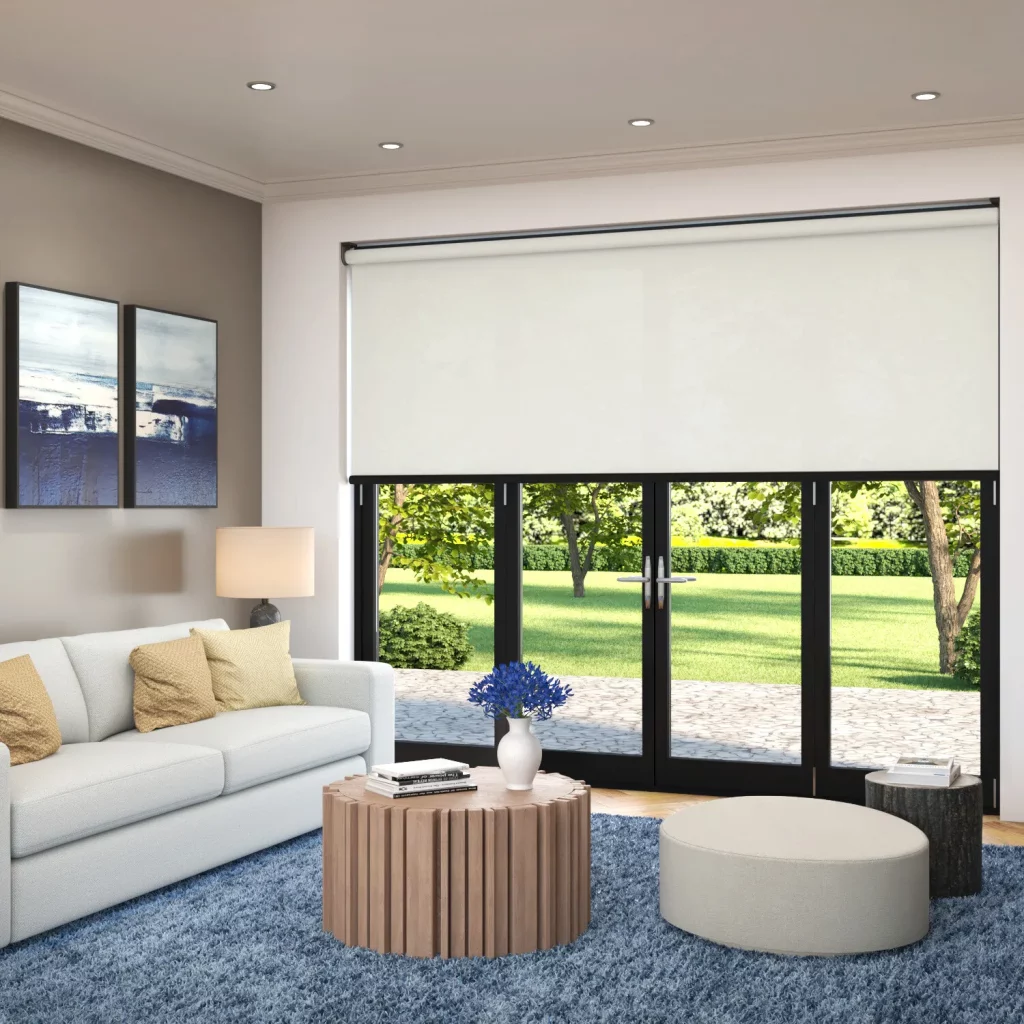
    Roller blinds are compact, made from one piece of fabric, space-saving, and available in many colors and styles: cellular blinds, zebra blinds, mini blinds, and solar blinds. Cellulars keep the room warm and let in some light. Zebra blinds have stripes that can be see-through or solid. You can choose how much light comes in. Mini blinds are simple, modern, and cheap. Solar blinds help block bright sunlight and protect from UV rays.

    Roller Blinds have a simple look that fits well in small windows. They don’t take up much space when they are up. They leave space for your decorations when you raise them. They roll up and down easily. Each type of blind helps with things like light, privacy, and style. That’s why people like to use them in their homes and offices. You can choose roller blinds in different colors and materials to fit your room.

    2. Mini Blinds

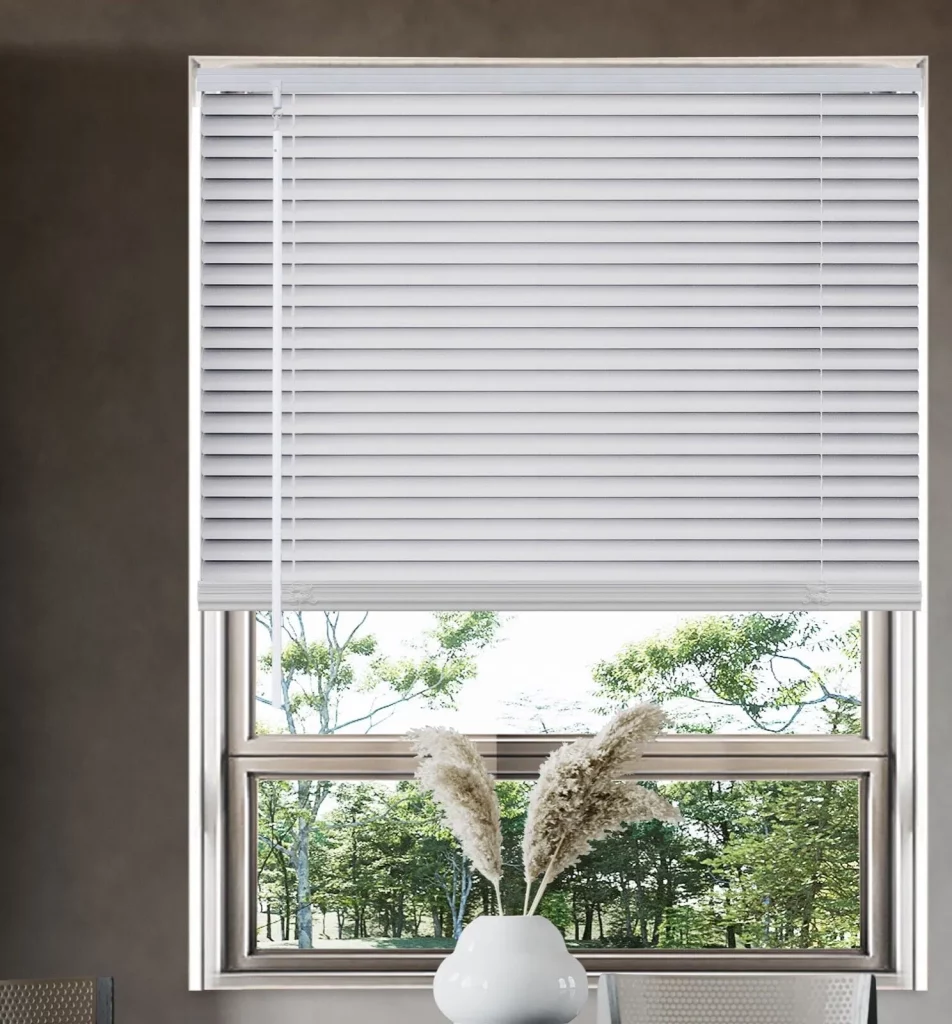
    Mini blinds are made for small windows. They have thinner and shorter slats than regular Venetian blinds. This design helps to improve visibility and airflow while using less space. For instance, if your window is less than 36 inches wide, use smaller slats that are about 1/2 inch. For wider windows, use slats that are 1 inch. The smaller slats let you see out better and look less bulky.

    Mini blinds come in lots of colors like White, Gold, Ivory, Bone, and more. You can choose classic mini blinds with a matching valance in colors like Almond or Mocha for style and affordability. Their sizes are versatile and can fit in any small window. They look nice and keep the room bright, especially in colors. These best blinds for small windows don’t have big parts, so your windows look tidy. They are also strong and won’t bend or scratch easily.

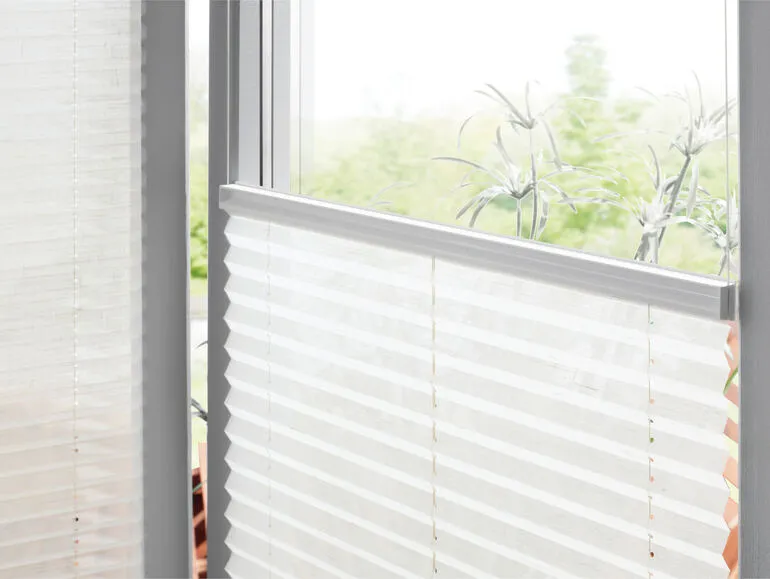
    3. Pleated Blinds

    Pleated Blinds

    These small blinds have two or three folds, providing a more opaque appearance and making them ideal for small spaces. They feature soft, accordion-style pleats that easily raise and lower. You can choose between single-cell and multi-cell options. Their inside or outside mounts work well especially for limited space on the window sill.

    You can choose light-diffusing fabrics like linen, lace, or polyester to filter light beautifully. If you want to darken the room, go for blackout fabrics. A streamlined fascia keeps the hardware out of sight. When they are closed, they block some light but let in a soft glow. If you want to make a room really dark, use blackout pleated blinds to keep out the sun and help keep the air in your home.

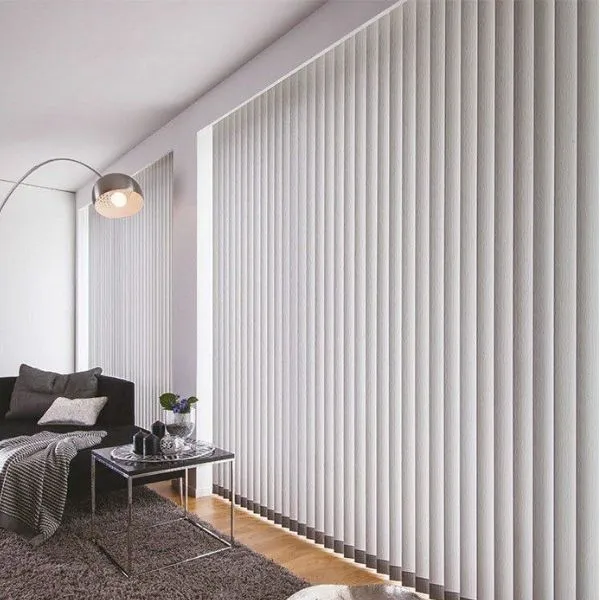
    4. Vertical Blinds

    Vertical Blinds

    Vertical blinds are a good choice for tall, skinny and small windows. They look modern and create the appearance of more height. Their widths of 2 1⁄2 to 3 1⁄2 inches fit most windows. For curved windows, use special tracks and bent vanes. You can also attach them to the wall or ceiling for flush windows. 

    They can be closed completely to control light and reduce glare. They have long strips that you can move to let in more or less light. Using vertical blinds can help make a small room feel bigger. They have long pieces of fabric that hang down from a bar. You can slide them open and closed from the sides without needing extra space.

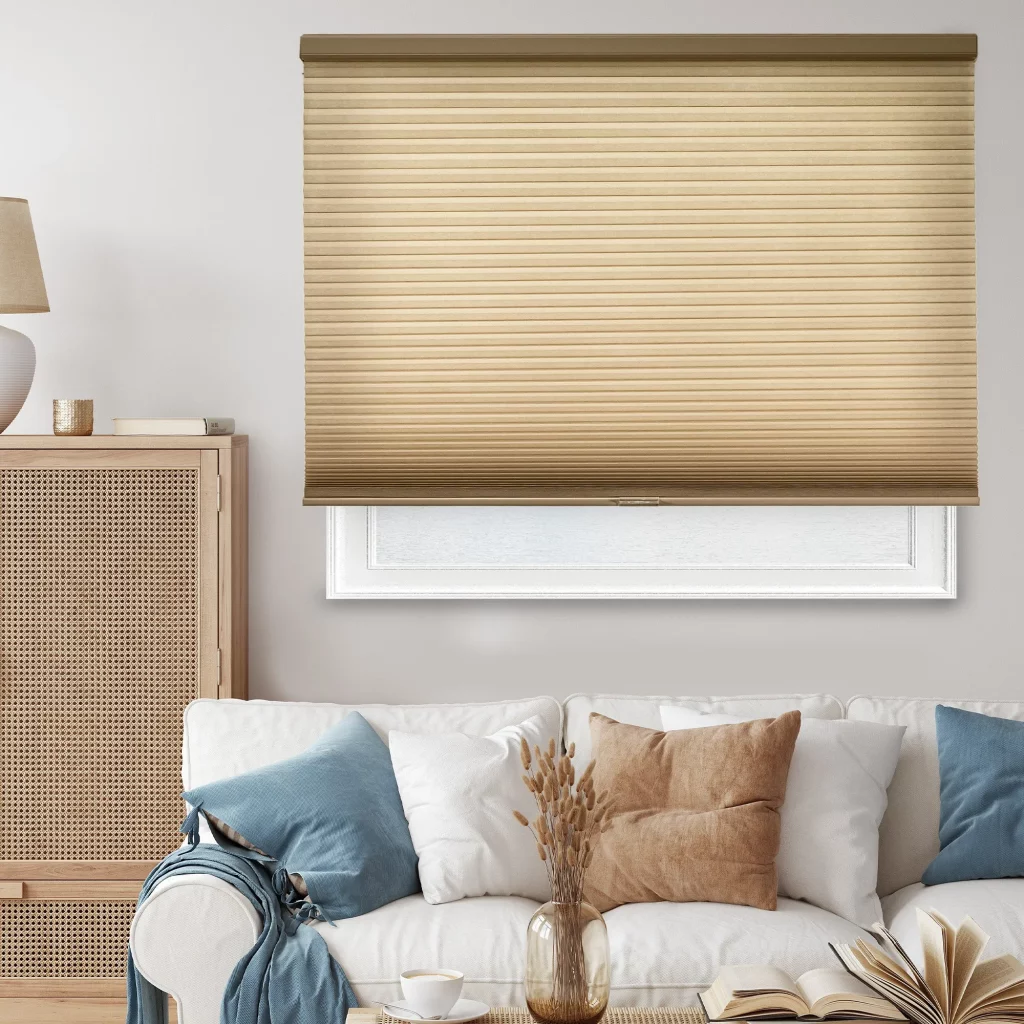
    5. Cellular Blinds

    Light filtering cellular blinds are great for small windows. They are also great for keeping warm homes insulated and reducing glare. They make the room look less messy. When decorating a small room, use cordless cellular blinds. 

    They come in different sizes and colors. You can use them to make any room in your house, condo, or apartment look nice.  Choose light colors like white or ivory to make the space feel bigger. Single cell shades help you maintain privacy while letting in natural light. They provide the right amount of sunlight for your room.

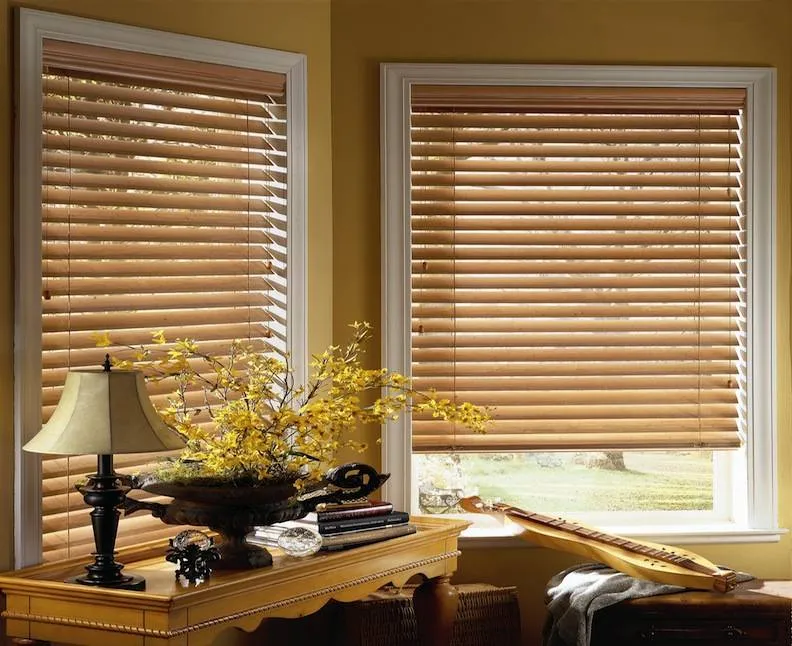
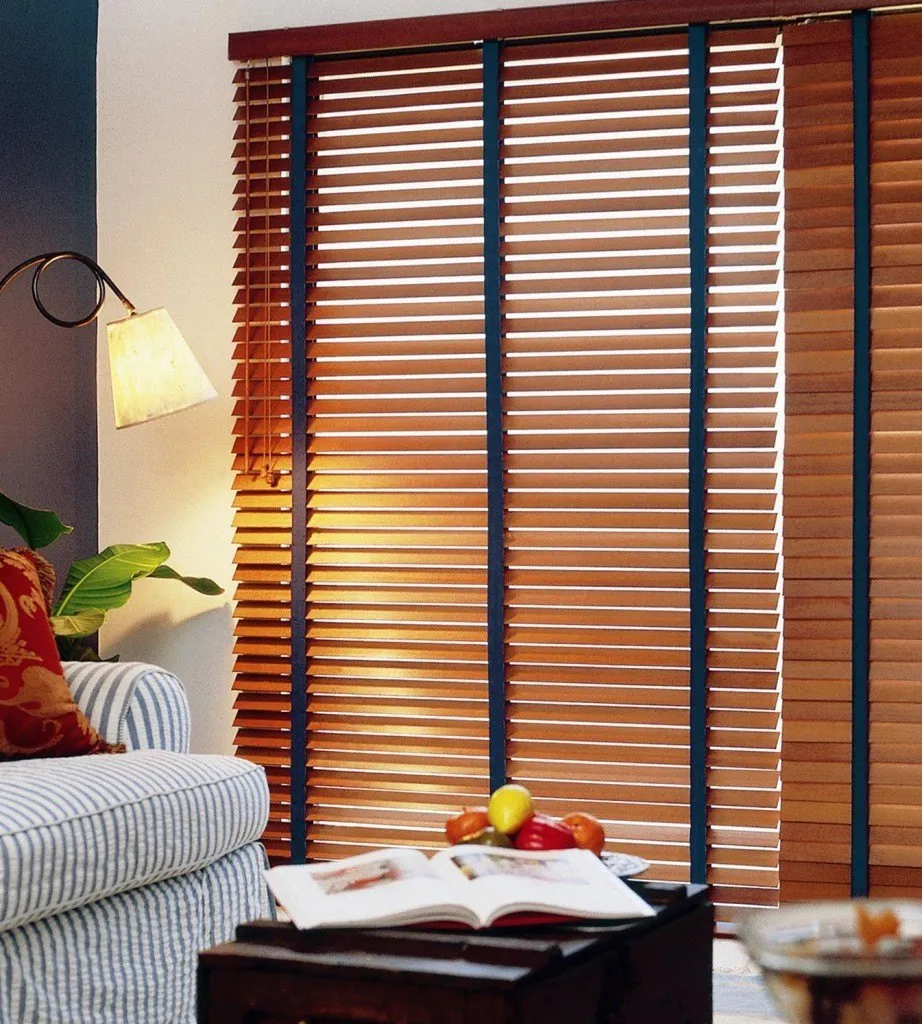
    6. Faux Wood Blinds

    Faux Wood Blinds

    These blinds look great on small windows. In a small living room window, real wood blinds also look nice. Choose small blinds with slats about one inch wide for tight spaces. Raised slats help bring in more light. You can also use matching fabric or metal parts for a nice look. Wooden blinds are light in color and make the room feel bright. Wooden blinds look nice on bedroom windows.  For your kitchen, use fake wood blinds because they can handle water. 

    Most faux wood blinds have vinyl slats that look like real wood and come in colors like oak, cherry, or whitewashed driftwood. You can tilt the slats to let in more or less light. They come with different tapes that can match or contrast for a cool look. Light colors can make a small room feel bigger. This way, wood window blinds bring warmth and style to small windows at a low cost. 

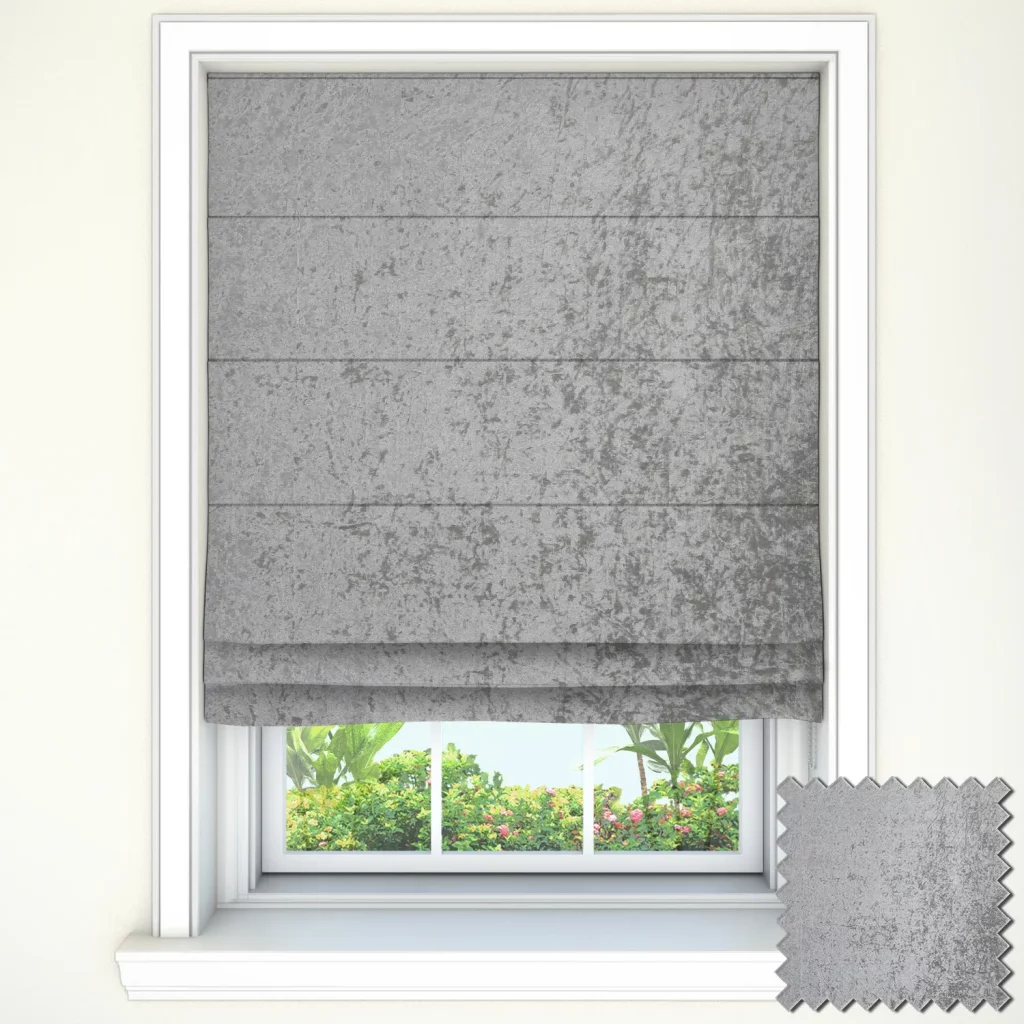
    7. Roman Blinds

    Roman Blinds

    Roman Blinds are good for small windows. Nowadays some Roman Blinds now come with electric options. Instead of using traditional pull cords, you can use an app to easily raise and lower the fabric. This feature makes it simple to access small windows that are hard to reach. 

    They are made of nice fabric and come in many colors and patterns. You can use them in your living room, dining room, or bedroom. These include flat, soft, plain, pleated, hobbled, and European folds. These new fabrics and styles make them look nice and work well on any window.

    8. Venetian Blinds

    Venetian Blinds

    Venetian Blinds are a stylish choice for your home and work well on small windows. These small blinds are good for tiny kitchen windows too. They are easy to clean if you spill something.  They have slats that you can move up or down to let in more or less light. They help make your kitchen or any small room look bigger and add nice style.

    Venetian Blinds have horizontal metal slats that adjust how much light you want in the room. Venetian blinds are a good choice for small rooms because they let you control how much light comes in. They come in many colors and materials, so you can find one that looks nice with your walls.

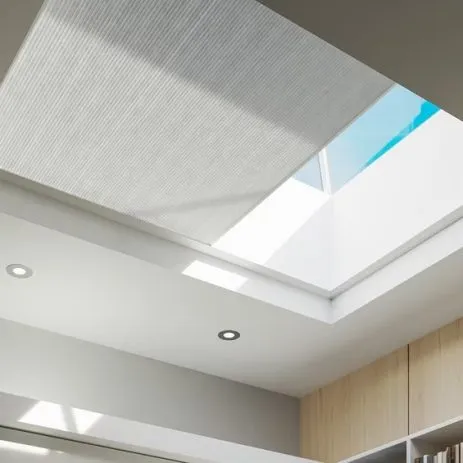
    9. Skylight Blinds

    Skylight Blinds

    Skylight windows let light into your home but you can use blinds to block some of that light. For these small windows, pick blinds that fit well and don’t have cords. This stops wires from hanging down. There are different kinds of blinds that fit skylight windows. Roller blinds look nice and are easy to use. You can find them in different colors and styles to match any room.

    You can find blinds for skylight windows in different shapes and sizes as well. There are many colors and fabrics to choose from, so you can match them with your room. If you want to make a room completely dark, you can find blackout blinds, too.

    Conclusion

    Picking the right blinds for short windows can make your room look bigger and brighter. Choose blinds that are slim and light, so they are easy to use. You can pick roller blinds, Roman shades, or mini blinds, depending on what you like. There’s a type of blind for everyone. If you want the best blinds for small windows, visit Aura Curtains. They have lots of premium and affordable choices.